toggle latch 3d models
19213 3d models found related to toggle latch.
thingiverse
The latch has circles to embed magnets, and are held in place with a screw, it's not terribly strong, but does help.I used 3/4" black pipe because I had some around, it's rather tricky to get the size you want, use pipe wrenches, The pipe clamps can...
prusaprinters
Push the latch into the window on the clamp until its flush with the surrounding surface. -> VII. Slide the lightbulbs into the rail on the clamp.<br/> -> VIII. Slide the pummel onto the heatsink and turn it clockwise until you hear a...
prusaprinters
Kintsuglue or Sugru) 3D Parts (1 x Adapterring , 2 x Clip) Insulating tape (black) Instructions Initial steps Remove wall mount (1 screw) Open Housing (latches) and remove acrylglass holding ring (3 screws). Remove and discard plate with dummy...
thingiverse
The 3D printed parts needed from RobotHuts design are: footclip 2, latch 1, bodyBack 1 / the door will be replaced, foot 2, leg 2, bodyFront 1. The motor frame and body frame are the two big parts that need replacing. The rest of the parts are...
prusaprinters
... Push the latch into the window on the clamp until its flush with the surrounding surface.-> VII. Slide the lightbulbs into the rail on the clamp.-> VIII. Slide the pommel onto the heatsink and turn it clockwise until you hear a satisfying click.
cults3d
The box has 2 latches to ensure that it does not open during transport or handling. I have also added foam pads so that the items inside will not be damaged if they receive any knocks. *The MX master 2 also fits in the box, however it does not fit...
prusaprinters
Otherwise set it to 1 for printing.Print SettingsPrinter: Prusa I3 MK3SSupports: NoResolution: 0.20 mm layersInfill: 20% cubicFilament: Any non-flexible Notes:You can print this with no top and bottom surfaces to speed up print time although the...
prusaprinters
Key features:6 slide-in Latching Quick-Swap Hard Drive bays (3.5" HDDs up to 1 inch thick)3 Additional 2.5" SSDs (System drive + dual cache SSD)Full height single-slot PCIe card support (SATA card, Slim video card, Network card etc.)Magnetic...
cults3d
Optional for safety, you can wire and use a push button to activate a relay that self latches to hold power to run everything. after buzzer ends it will release the relay. this is NOT in the Code Yet. Parts Used: This list is just a list. I get...
thingiverse
There are latches used to secure these holders in place.These magnet holders use the same size magnets as the original designs:32mm diameter, 7.6mm height, 95lbs pull force cup magnet for dominant hand25mm diameter, 5.5mm height, 60lbs pull force...
thingiverse
It has several problems: 1) the front plexiglass is too close to the print bed to allow my Titan Aero to come all the way to the front of the bed 2) the PSU mount I printed doesn't leave enough room for the wiring, so it hasn't been included in the...
thingiverse
**Before** 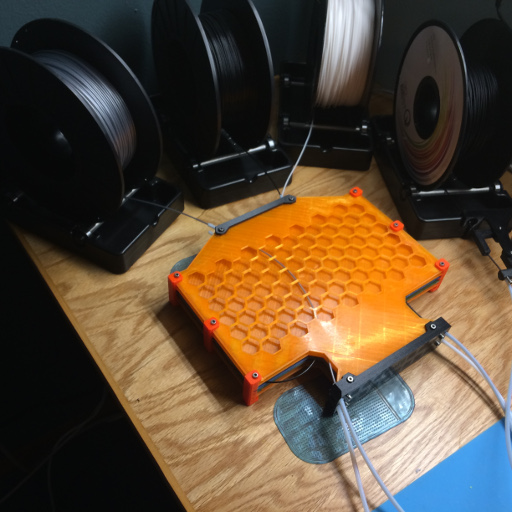 **After** 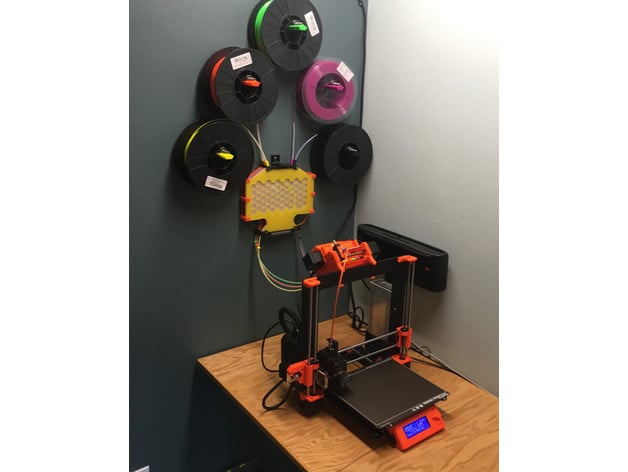 I...
cults3d
W x H x L = 53mm x 23mm x 53mm 4 x 18650 LiPo batteries (recycled or new, just make sure at full charge they are close in voltages) 1 x 2S BMS 7.4/8.4v...
prusaprinters
The latch requires a long screw which I did not have so I used a special metal threaded insert for plastic where you heat it up and press it into place. ...A pocket for a nut would be nice so the long screw would not be needed.</p> </p></p></p> ...
prusaprinters
Add print pauses before 13.7mm (layer 46) and 185.6mm (layer 619) to insert magnets. Magnet Latch | Magnets should be installed with alternating polarity. There are marks at the bottom of some of the holes to guide installation. Orient magnets...
prusaprinters
You can either power it up manually with a latching switch, jumper it permanently on, or automatically power up it up with a load switch. Pico shrouded version has (optional) internal room for a Pico 200 dcdc step down module for when using 19v...
prusaprinters
I do not talk even about assembly of the screw ;-) So i have designed my own horizontal spool holder. What are the differences to other horizontal spools: Assembly do not require any screws or nuts, only one 608ZZ (8x22x7) bearing.It have central...
thingiverse
... and collecting images for paint and decals. Feedback and questions are welcome. Update 4/3/2020 - Fixed back stock and added missing front stock piece. Update 4/5/2020 - Fixed latch length. Added ring on barrel. Added updated stock plate. ...
thingiverse
The openscad file is provided (Fibo_Hygrometer_Top_Port_Latch_Platform_Options.scad). The viewing port currently takes a 125mm x 18mm x .5mm thick. This is commonly the plastic used in clear plastic jugs and containers... so no need to buy...
thingiverse
Some parts (trigger, sear, and latch release arms among others) may require some hand fitting to get the mechanism just right, but less so than with the original files in my experience. The firing group parts need to be well lubricated (I prefer...
cults3d
A canopy that can be opened and closed easily with a latch system and a large inner space of the fuselage are easy to work with. Basically, this aircraft is a sailplane, So, it is not suitable for extreme aerobatics or high speed. You can enjoy a...
thingiverse
Thingiverse App Instructions Using The Following Settings: length = 115.25 inches Mashup Type: Combination Mode 1 Primary Color: Vibrant Red Corner Radius (Right): 8 units Width (Middle): 58.6 mm Pattern Shape: Geometric, Pointy Tip 30° Secondary...
thingiverse
... material joining the two. Much "Beefier" now! - **06/07/2017** Recommend change to rear leg bases print orientation. This is due to the latches weakness and breaking where it meet the base structure since the strength only came from the layers.
prusaprinters
The SpoolSide is a Latch for holding the unit to the wall. Print one each. Pay attention to how high you mount the buffer as the feeder tubes might touch a tall print. I shortened the tubes to the MMU to 40cm (16 inches) and mounted the buffer...
thingiverse
The outer metallic shell with magnetic latch I bought from amazon as a glasses case. You can find it here for under $10:...
thingiverse
8) Pre-made 0.25" thick acrylic panels can be purchased on http://renev.biz/category/enclosures/renev-endless-enclosures/ Hardware: 1) 3D Print It Yourself hardware can be found on this page 2) Heavy-duty aluminum and steel hardware can be purchased...
myminifactory
Once you have your prints, start bending the hinge points and latching the hooks together! I start with the outside and work inwards, then do the snowflakes last, but really, it's just a matter of what's convenient. Once you have two halves...
thingiverse
... height =0.2mm, with no solid layer needed and no infill required. There are two parts that I could only slice correctly using Cura: the tire brim and latch brim, which require a shell thickness of 0.4mm, layer height of 0.2 mm, and 100% infill.
pinshape
Many other ideas were considered, such as a spring-loaded pin with notches, a push-pull locking design, latches, etc. But in the end, friction worked best and made the design simple, easier to operate, and completely metal-free. This model is...
pinshape
STEP 4: PLACE THE TRIGGER IN THE GROOVE WITH THE LATCH FACING THE ASSEMBLED RODS. THE TRIGGER IS HELD IN PLACE USING THE 5 X 20 MACHINE SCREW. TAKE TWO RUBBER BANDS ONE AT A TIME AND WRAP THEM AROUND THE TRIGGER ASSEMBLY BLOCK. STEP 5: USE THE 3 -...