0-4"/100mm Dial Caliper
prusaprinters
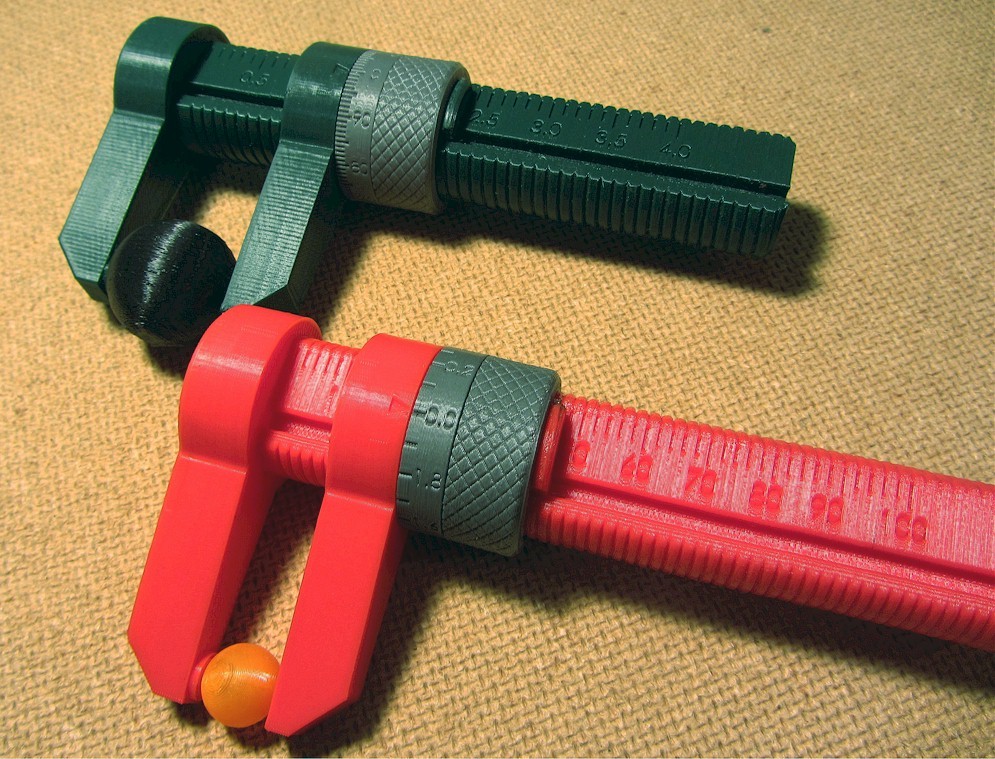
<p>The inch version of these calipers has a direct-read scale with 0.1" markings and a secondary micrometer-style scale that reads down to 0.001"! (Yeah, right...) Realistically, it's maybe accurate to +/-0.010".</p> <p>The metric version has a direct-read scale with 2mm markings and a secondary scale with 0.1mm graduations.</p> <h3>Instructions</h3> <p>UPDATE: A metric version has been added! The same slider part is used for both.</p> <ul> <li>For metric, use the parts: body_mm.stl, nut_mm.stl, dial_mm.stl and slider.stl.</li> <li>For imperial, use the parts: body_in.stl, nut_in.stl, dial_in.stl and slider.stl.</li> </ul> <p>These parts were printed in PLA with 0.2mm layers, 3 perimeters and 20% infill. If you don't have a heated bed, you should print the body and slider parts with a raft to make sure they are flat. You should print them fairly slowly to retain as much detail as possible. After printing, you'll probably need to lightly sand some of the parts, particularly the inside threads on the nut, to remove any lumps.</p> <p>To Assemble:</p> <ol> <li>Test fit the dial on the nut. You want it to have some friction so that it takes a little effort to rotate it. Sand down the ID if it is too tight, add a little scotch tape if it is too loose.</li> <li>Pinch the ears on the slider together and push then into the nut. Once they are started, screw the nut onto the ears until it snaps into place.</li> <li>Apply a little grease or vaseline to the outer threads on the body. Slide the slider onto the body and start screwing on the nut. At first, the nut will be pretty tight, but as you work it back & forth along the entire length of the body, it should loosen up.</li> <li>Close the calipers almost all the way. Take a piece of 120 grit (or so) sand paper and clamp it lightly with the grit side facing the nub on the fixed jaw. Slide the sandpaper back & forth to hone the surface of the nub parallel to the moving jaw.</li> <li>Before using, close all the way until you can't see any light between the fixed nub and the moving jaw. Hold the nut stationary and rotate the dial so that it reads "0". As the threads wear, you may need to re-zero the calipers.</li> </ol> Category: Hand Tools
With this file you will be able to print 0-4"/100mm Dial Caliper with your 3D printer. Click on the button and save the file on your computer to work, edit or customize your design. You can also find more 3D designs for printers on 0-4"/100mm Dial Caliper.