1-3/8 Exhaust Header 3d Modeling Block System
thingiverse
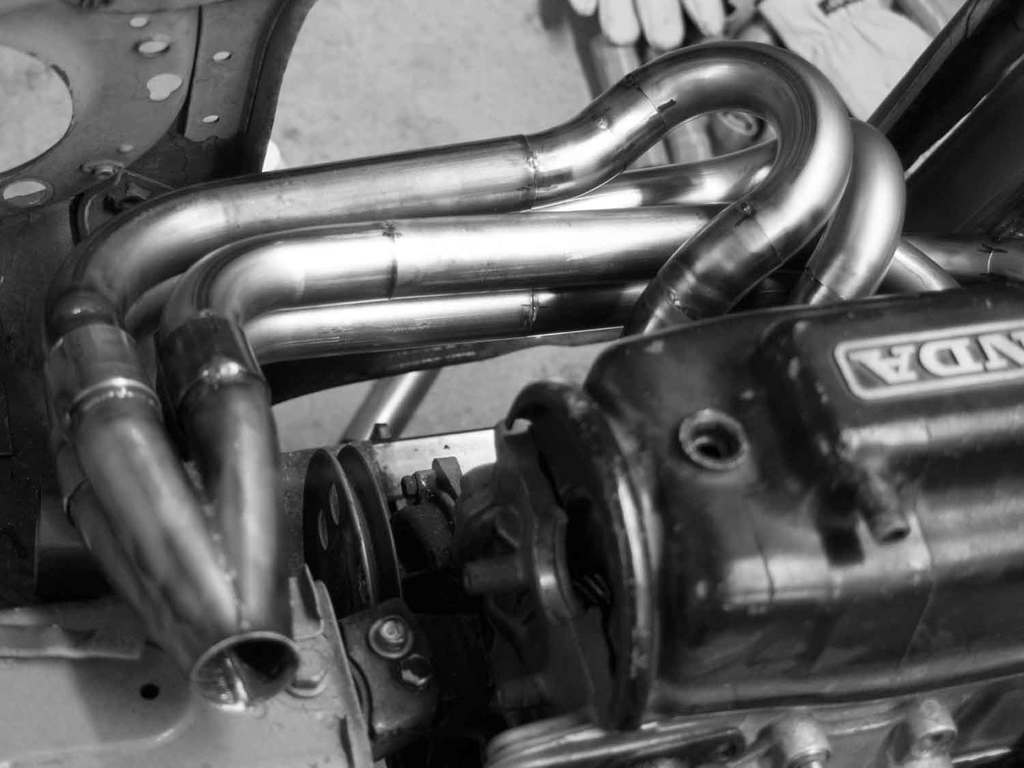
I designed these blocks to help the layout for a 1-3/8 (35mm) OD exhaust header. The tube radius is 2" and 3". Metal bends can be sourced from Performance Tube Bending in California. There is also a merge collector jig file, see pictures. You must print the plastic bits ONE AT A TIME with PETG. Use a good brand of PETG with good layer adhesion. I did not do this and had layer adhesion issues until I purchased a better quality filament. If you try to print more than one at a time the layers cool down too much and layer adhesion gets really bad even with better filament. The result is parts that are not durable. I did print the cutting guides and merge jig from PLA as they are not structural. The tube blocks are best printed at 100% infill. The cut guides can be any infill you wish as its not critical. To attach the blocks and remove them you MUST flex the two sides with the clips in and gently rock it out with little to no force. It was designed like this. Even with the tight fit the plastic still has a bit of slop and will rotate compared to the steel tube its trying to mock up. If you do not flex and follow these instruction be prepared to break a lot of parts. If you lack the finger strength a set of channel lock type pliers can apply more pressure. This was needed a lot with the tighter 2" radius sections as they are stiffer. Assembly and disassembly is made harder if you have boogers from the petg on the mating surfaces so I used a deburring tool. Be careful though, cut off more and you get a really sloppy fit and a lot of sag. To attach the stub parts to your header outlet use Dorman 570-007 Rubber Expansion Plugs The cut guides are easy. pick the angle and mark it in one or two places with a sharpie. Then slide a zip tie around the tube and complete the sharpie mark all the way for the cut line. Most of the parts are the 3" radius, the 2R files are the parts that have a 2" radius. The files took hours to make and do work, they could use some more refinement though. The cut guides are missing the 67 degree mark, I used my band saw to make it, but would add that before printing if I was doing it again. To actually complete a header build, a good band saw that makes straight cuts, is a must as well as a tig or gas welder. For header building design specs I would look at pipemax software for a start.
With this file you will be able to print 1-3/8 Exhaust Header 3d Modeling Block System with your 3D printer. Click on the button and save the file on your computer to work, edit or customize your design. You can also find more 3D designs for printers on 1-3/8 Exhaust Header 3d Modeling Block System.