MTB mudguard brackets
prusaprinters
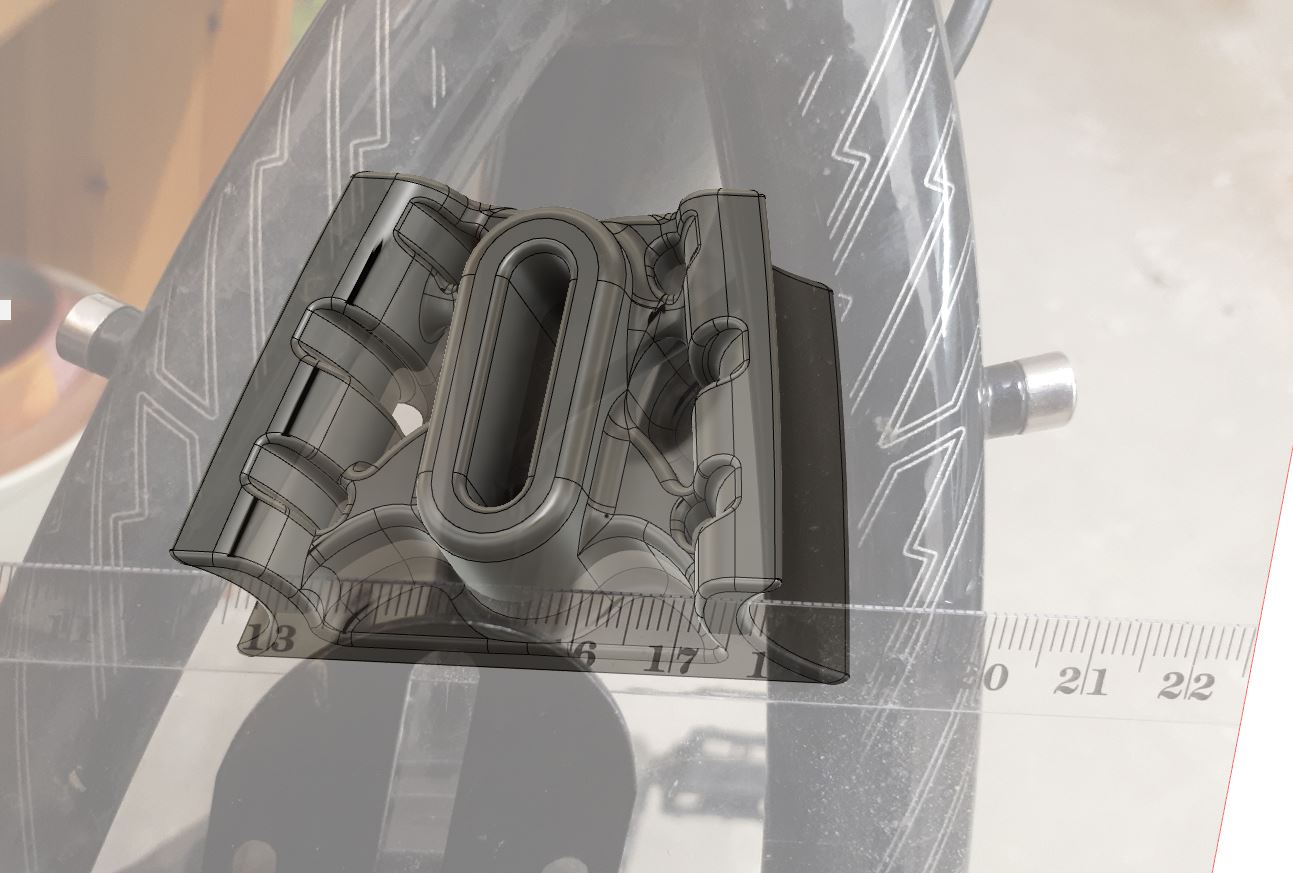
<p>Hi MTB friends!</p><p>Every owner of a mountain bike probably knows the problem: The stable mounting of mudguards is really difficult, because the manufacturers of the bike have not provided a solution for it.</p><p>Fortunately, we are Maker so take measurements, fire up Fusion360 and do it yourself!</p><figure class="image image-style-align-center image_resized" style="width:50%;"><img src="https://media.printables.com/media/prints/251025/rich_content/d86c2415-2cb1-4dea-bf63-3c825a3828e2/img-20210916-wa0025.jpg#%7B%22uuid%22%3A%22efa9223b-ac6e-4142-9e9d-54e60a18cbe2%22%2C%22w%22%3A1536%2C%22h%22%3A2048%7D"></figure><figure class="image image-style-align-center image_resized" style="width:50%;"><img src="https://media.printables.com/media/prints/251025/rich_content/5873d9bb-5289-4c4c-8f06-a4db4522fa46/img-20210916-wa0026.jpg#%7B%22uuid%22%3A%2274a85c58-2960-46b6-bc67-2f2af99bfd96%22%2C%22w%22%3A2048%2C%22h%22%3A1536%7D"></figure><figure class="image image_resized" style="width:50%;"><img src="https://media.printables.com/media/prints/251025/rich_content/0561e5e9-8703-4ca9-b383-be08a5425af2/img-20210917-wa0000.jpg#%7B%22uuid%22%3A%229ca8f843-8371-4e81-8a3b-a64c2c6826c6%22%2C%22w%22%3A1078%2C%22h%22%3A1002%7D"></figure><figure class="image image_resized" style="width:50%;"><img src="https://media.printables.com/media/prints/251025/rich_content/d1139aeb-11f8-4188-a65c-51efdade09db/img-20210917-wa0001.jpg#%7B%22uuid%22%3A%2259460063-7d0e-4f21-a84e-f8e93e9b7c38%22%2C%22w%22%3A1099%2C%22h%22%3A879%7D"></figure><figure class="image image_resized" style="width:50%;"><img src="https://media.printables.com/media/prints/251025/rich_content/80bd4833-2f11-4a31-8225-2357342fb258/img-20210918-wa0011.jpg#%7B%22uuid%22%3A%224fb8f552-2ca5-4cd4-ac4b-155eb28435e9%22%2C%22w%22%3A1293%2C%22h%22%3A873%7D"></figure><p>I tried to make the bracket as universal as possible. It attaches to the bike using cable ties only, as you can see in the pictures. At the rear bracket is an elongated hole so that the distance between the fender and the rear wheel is adjustable. The blue framed angle was included with the fender.</p><figure class="image image-style-align-center image_resized" style="width:50%;"><img src="https://media.printables.com/media/prints/251025/rich_content/873b5ec0-f33b-43eb-ba1f-40bb650c390a/img-20210920-wa0003.jpg#%7B%22uuid%22%3A%2268cfc55c-9d8b-40c4-afd4-1d0ba96bfbb9%22%2C%22w%22%3A1166%2C%22h%22%3A1070%7D"></figure><p>To secure the bracket against slipping and to protect the frame I have made myself rubber pads from an old bicycle tube, which I glued to the areas facing the frame. The edges were trimmed after the glue had dried.</p><figure class="image image_resized" style="width:50%;"><img src="https://media.printables.com/media/prints/251025/rich_content/d560abe2-0882-4e97-98c8-92e8947981e6/20210919_151832.jpg#%7B%22uuid%22%3A%228e0c1836-5bab-4031-b65d-400d2c711872%22%2C%22w%22%3A3456%2C%22h%22%3A4608%7D"></figure><p>This is the mounting for the mudguard of the front wheel:</p><figure class="image image_resized" style="width:75%;"><img src="https://media.printables.com/media/prints/251025/rich_content/a500496d-3da5-446a-bba2-d277fbfc2301/img-20210916-wa0022.jpeg#%7B%22uuid%22%3A%22535894f7-96d2-4dfe-9d06-4434f59f6091%22%2C%22w%22%3A1836%2C%22h%22%3A3264%7D"></figure><p>The tube diameter of the front clamp (on the suspension fork) is 36mm, on the attachment to the rear frame (rear wheel) it is 17mm.</p><figure class="image image_resized" style="width:75%;"><img src="https://media.printables.com/media/prints/251025/rich_content/fbf09b6b-35a6-42d0-993f-0f2397b904e3/2.jpg#%7B%22uuid%22%3A%228c9c9771-5f13-4942-8a1d-7d95d7101960%22%2C%22w%22%3A792%2C%22h%22%3A928%7D"></figure><figure class="image image_resized" style="width:75%;"><img src="https://media.printables.com/media/prints/251025/rich_content/1f3379ed-f6d2-4658-9cfa-f9463e6b897e/1.jpg#%7B%22uuid%22%3A%22d2751573-e612-4822-bb6d-761742362bc3%22%2C%22w%22%3A747%2C%22h%22%3A903%7D"></figure><p> </p><p>The cable ties I used are 4.6mm x 200mm. </p><p>The brackets are now installed for about 9 months on my bike and keeps what it promises. It has become very stable. To improve the optics I will soon exchange the white cable ties against black. Probably these are also more resistent to solar radiation over time.</p><p>Printing the parts is really easy. You can see my recommended printing direction in the pictures. No supports are needed!</p><figure class="image image_resized" style="width:75%;"><img src="https://media.printables.com/media/prints/251025/rich_content/a5c43585-1c55-41ca-b7bc-c2aa8f2a90c8/img-20210918-wa0012.jpg#%7B%22uuid%22%3A%22f4d62b87-2646-4502-ac6d-832951fcb880%22%2C%22w%22%3A1099%2C%22h%22%3A838%7D"></figure><figure class="image image_resized" style="width:75%;"><img src="https://media.printables.com/media/prints/251025/rich_content/e4258fc7-28df-449e-b4c1-b08200e4b3bf/3.jpg#%7B%22uuid%22%3A%22bf4d59c4-3ea5-4d8e-96d4-c839fe6ac0b8%22%2C%22w%22%3A1559%2C%22h%22%3A1002%7D"></figure><p>If any questions come up, feel free to send me a message. I will be happy to help.</p><p>Have fun with it!</p>
With this file you will be able to print MTB mudguard brackets with your 3D printer. Click on the button and save the file on your computer to work, edit or customize your design. You can also find more 3D designs for printers on MTB mudguard brackets.