10kg IC3D Filament Dry Boxes
prusaprinters
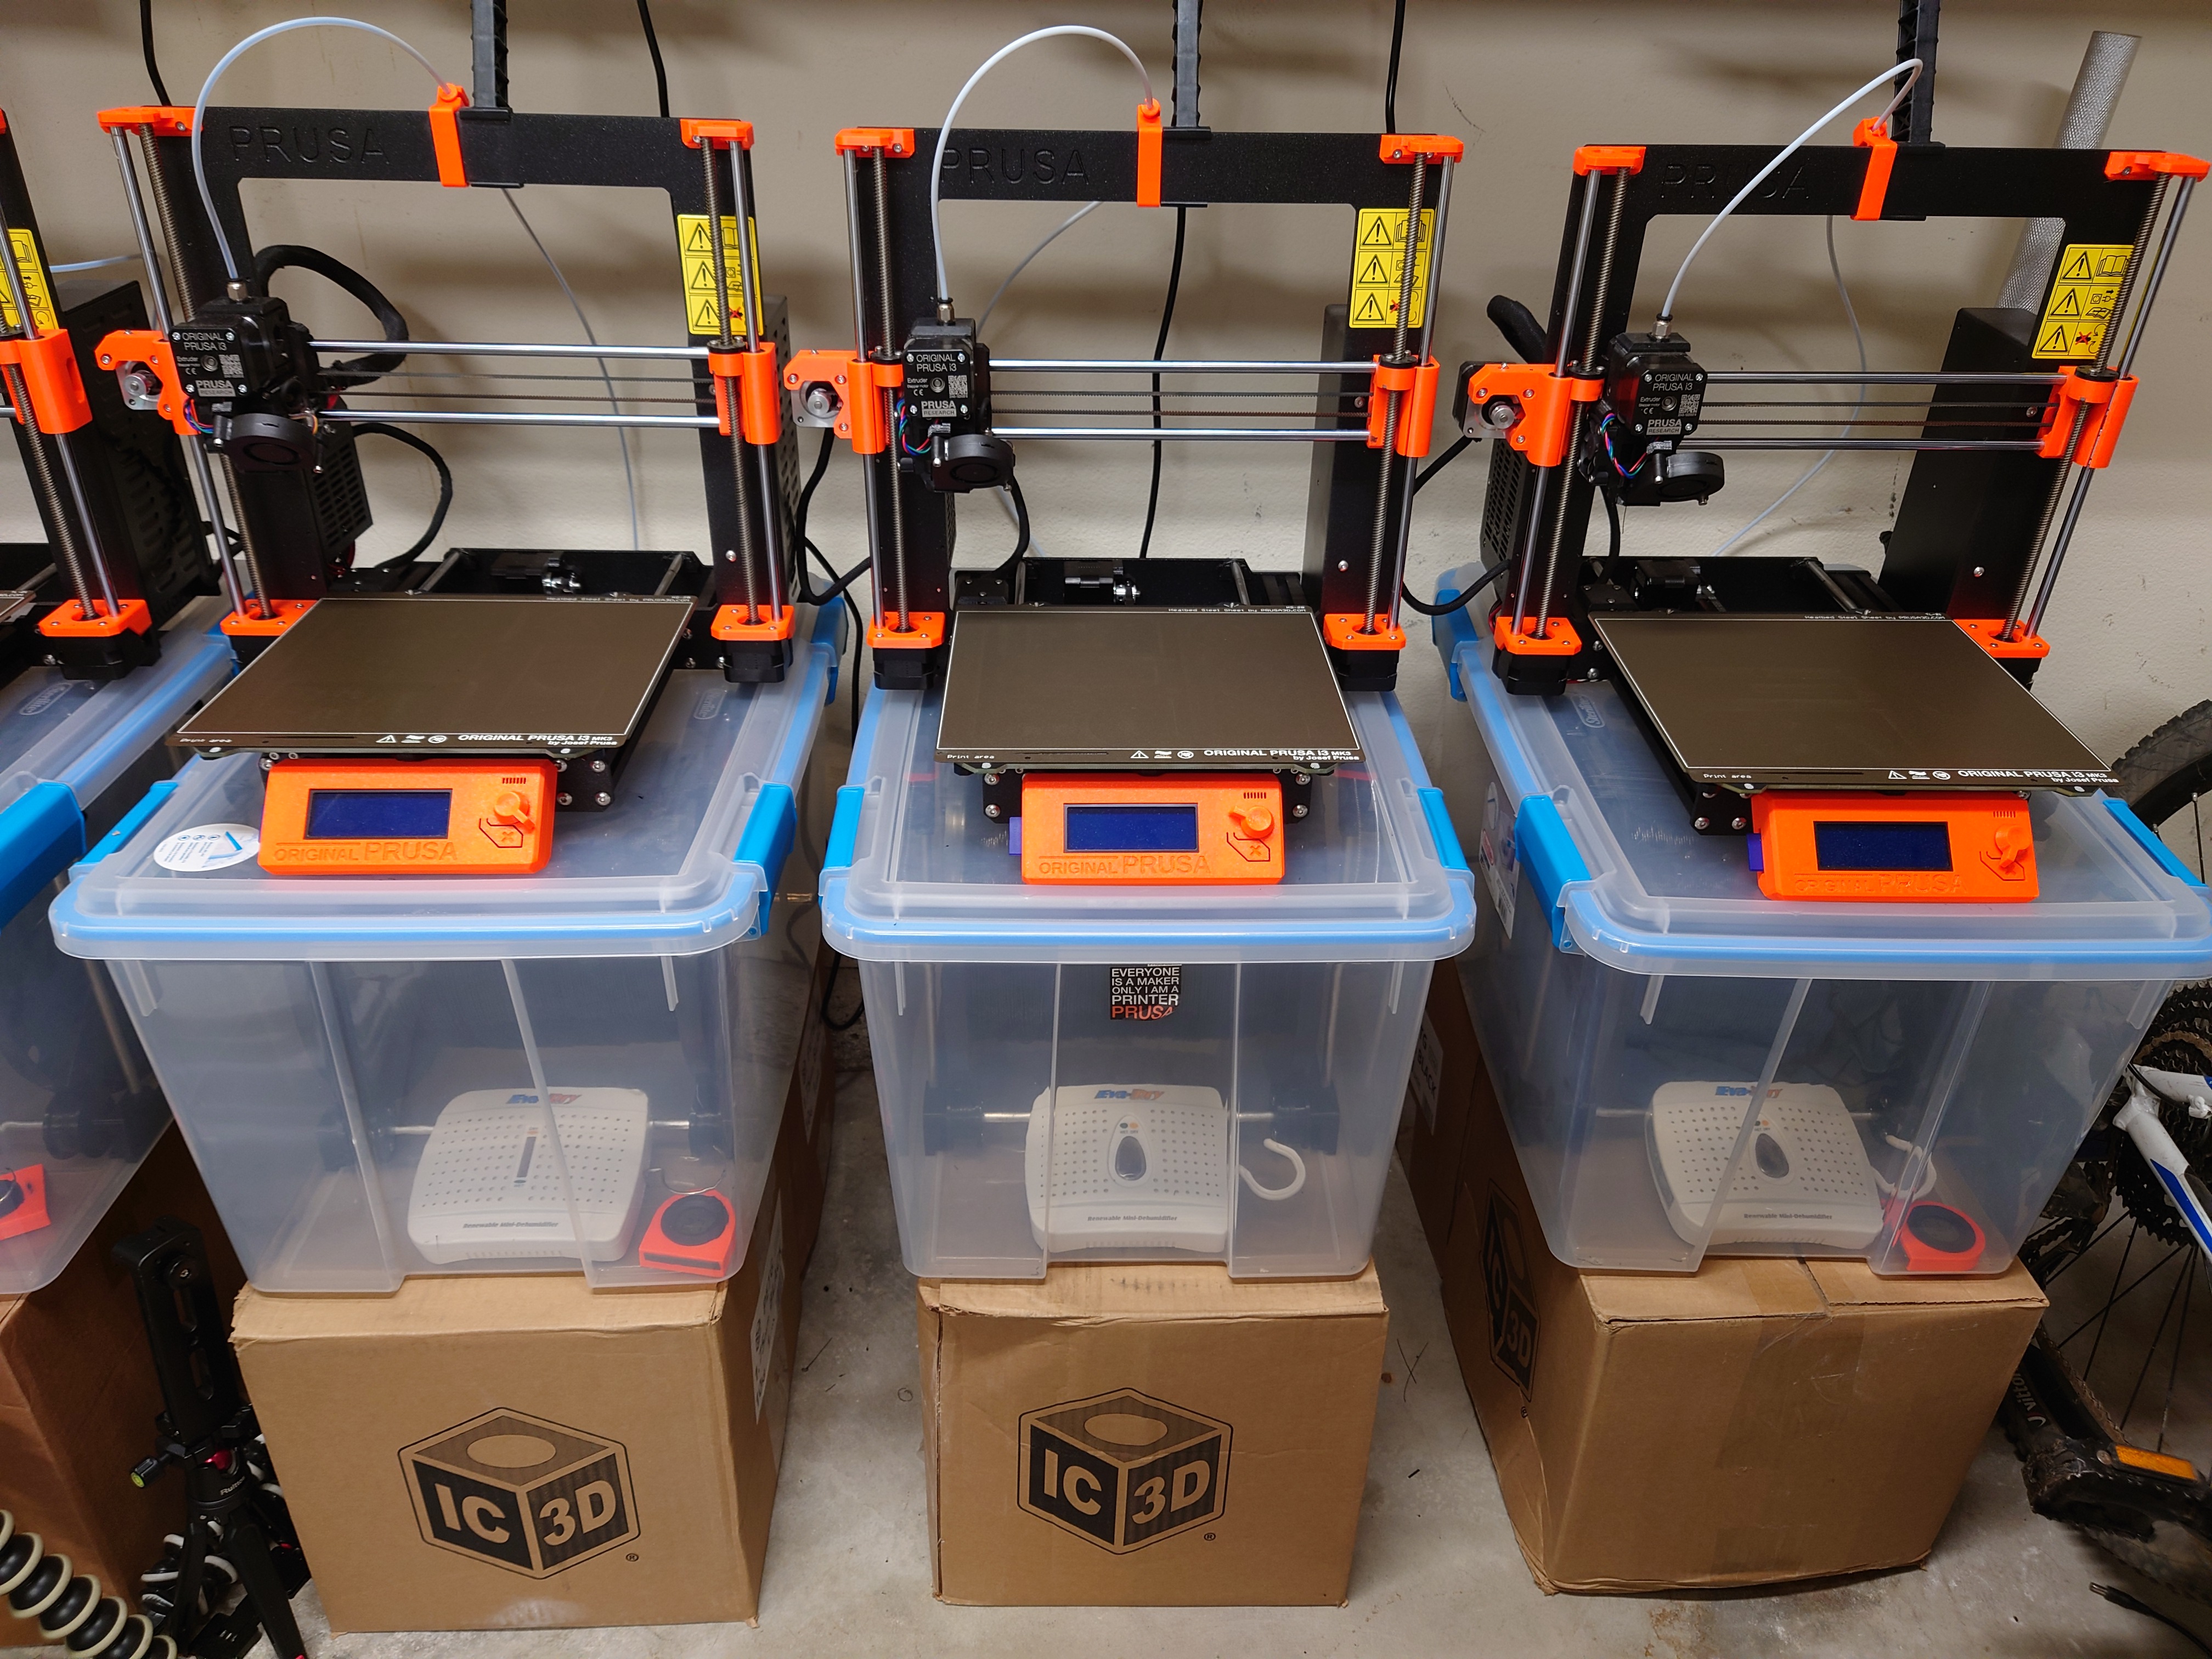
<p>We like big rolls and we cannot lie… but they can be a challenge!</p><p>The <a href="https://www.ic3dprinters.com/shop/petg-filaments/">10kg filament rolls that we use from IC3D</a> are big, heavy, and can be a struggle to work reliably with consumer-level printers. They're also very difficult to dry back out if they get moisture in them, so it's best to keep them in a humidity-controlled dry box at all times. </p><p>In addition to the printed parts, you'll need the following (suggested links are affiliated):</p><ul><li>Sterilite 19344304 54QT gasket box - <a href="https://amzn.to/3F6r2OK">https://amzn.to/3F6r2OK</a></li><li>Six 12" x 5/16" (305mm x 8mm) rods - <a href="https://ebay.us/t75IHw">https://ebay.us/t75IHw</a></li><li>Four 22mm x 7mm skateboard bearings - <a href="https://amzn.to/3dZ4TG4">https://amzn.to/3dZ4TG4</a></li><li>Six M5-0.8 x 10mm screws - <a href="https://amzn.to/3IV2kmF">https://amzn.to/3IV2kmF</a></li><li>Twelve M5-0.8 x 20mm screws - <a href="https://amzn.to/3IV2kmF">https://amzn.to/3IV2kmF</a></li><li>Eva-Dry Dessicant - <a href="https://amzn.to/3IVNWdN">https://amzn.to/3IVNWdN</a></li></ul><p>You'll also need a drill and bits to make holes in the box to pass the filament and screws through.</p><p><strong>Printing:</strong></p><ol><li>You'll need four pairs of rollers and four of the wear ridges. We recommend printing the wear ridges separately with 1mm perimeters and setting seam position to random in the slicer.</li><li>The cage STL is already laid out for printing on a MK3S build plate. Draft profile works fine.</li><li>Exit adapters should be oriented flat side down. Draft profile works fine.</li><li>PTFE guide STL is already oriented correctly. Draft profile works fine.</li></ol><p><strong>Assembly:</strong></p><ol><li>Make sure your bearings can slide over the rods. We've found that rod diameters can vary and sometimes need to be sanded down.</li><li>Assemble the rollers with a bearing and wear ridge sandwiched between roller halves and secured with 20mm screws.</li><li>Slide the rollers onto rods with screw heads facing in.</li><li>Assemble each side of the cages with two rods sandwiched between a top and bottom piece. Make sure the rods are fully inserted.</li><li>Slide the roller rods into the cage sides and place in the center of the dry box.</li><li>Drill holes in the sides of the dry box where the 10mm screws will secure the cage.</li><li>Cage is done.</li><li>Drill a hole in the back of the dry box for filament to pass through. Angle the drill bit to elongate the hole.</li><li>Insert a piece of PTFE tubing through the outside exit adapter, through the hole in the dry box, and into the inside exit adapter. </li><li>Mark screw holes.</li><li>Drill the screw holes and secure the exit adapter with 10mm screws.</li></ol>
With this file you will be able to print 10kg IC3D Filament Dry Boxes with your 3D printer. Click on the button and save the file on your computer to work, edit or customize your design. You can also find more 3D designs for printers on 10kg IC3D Filament Dry Boxes.