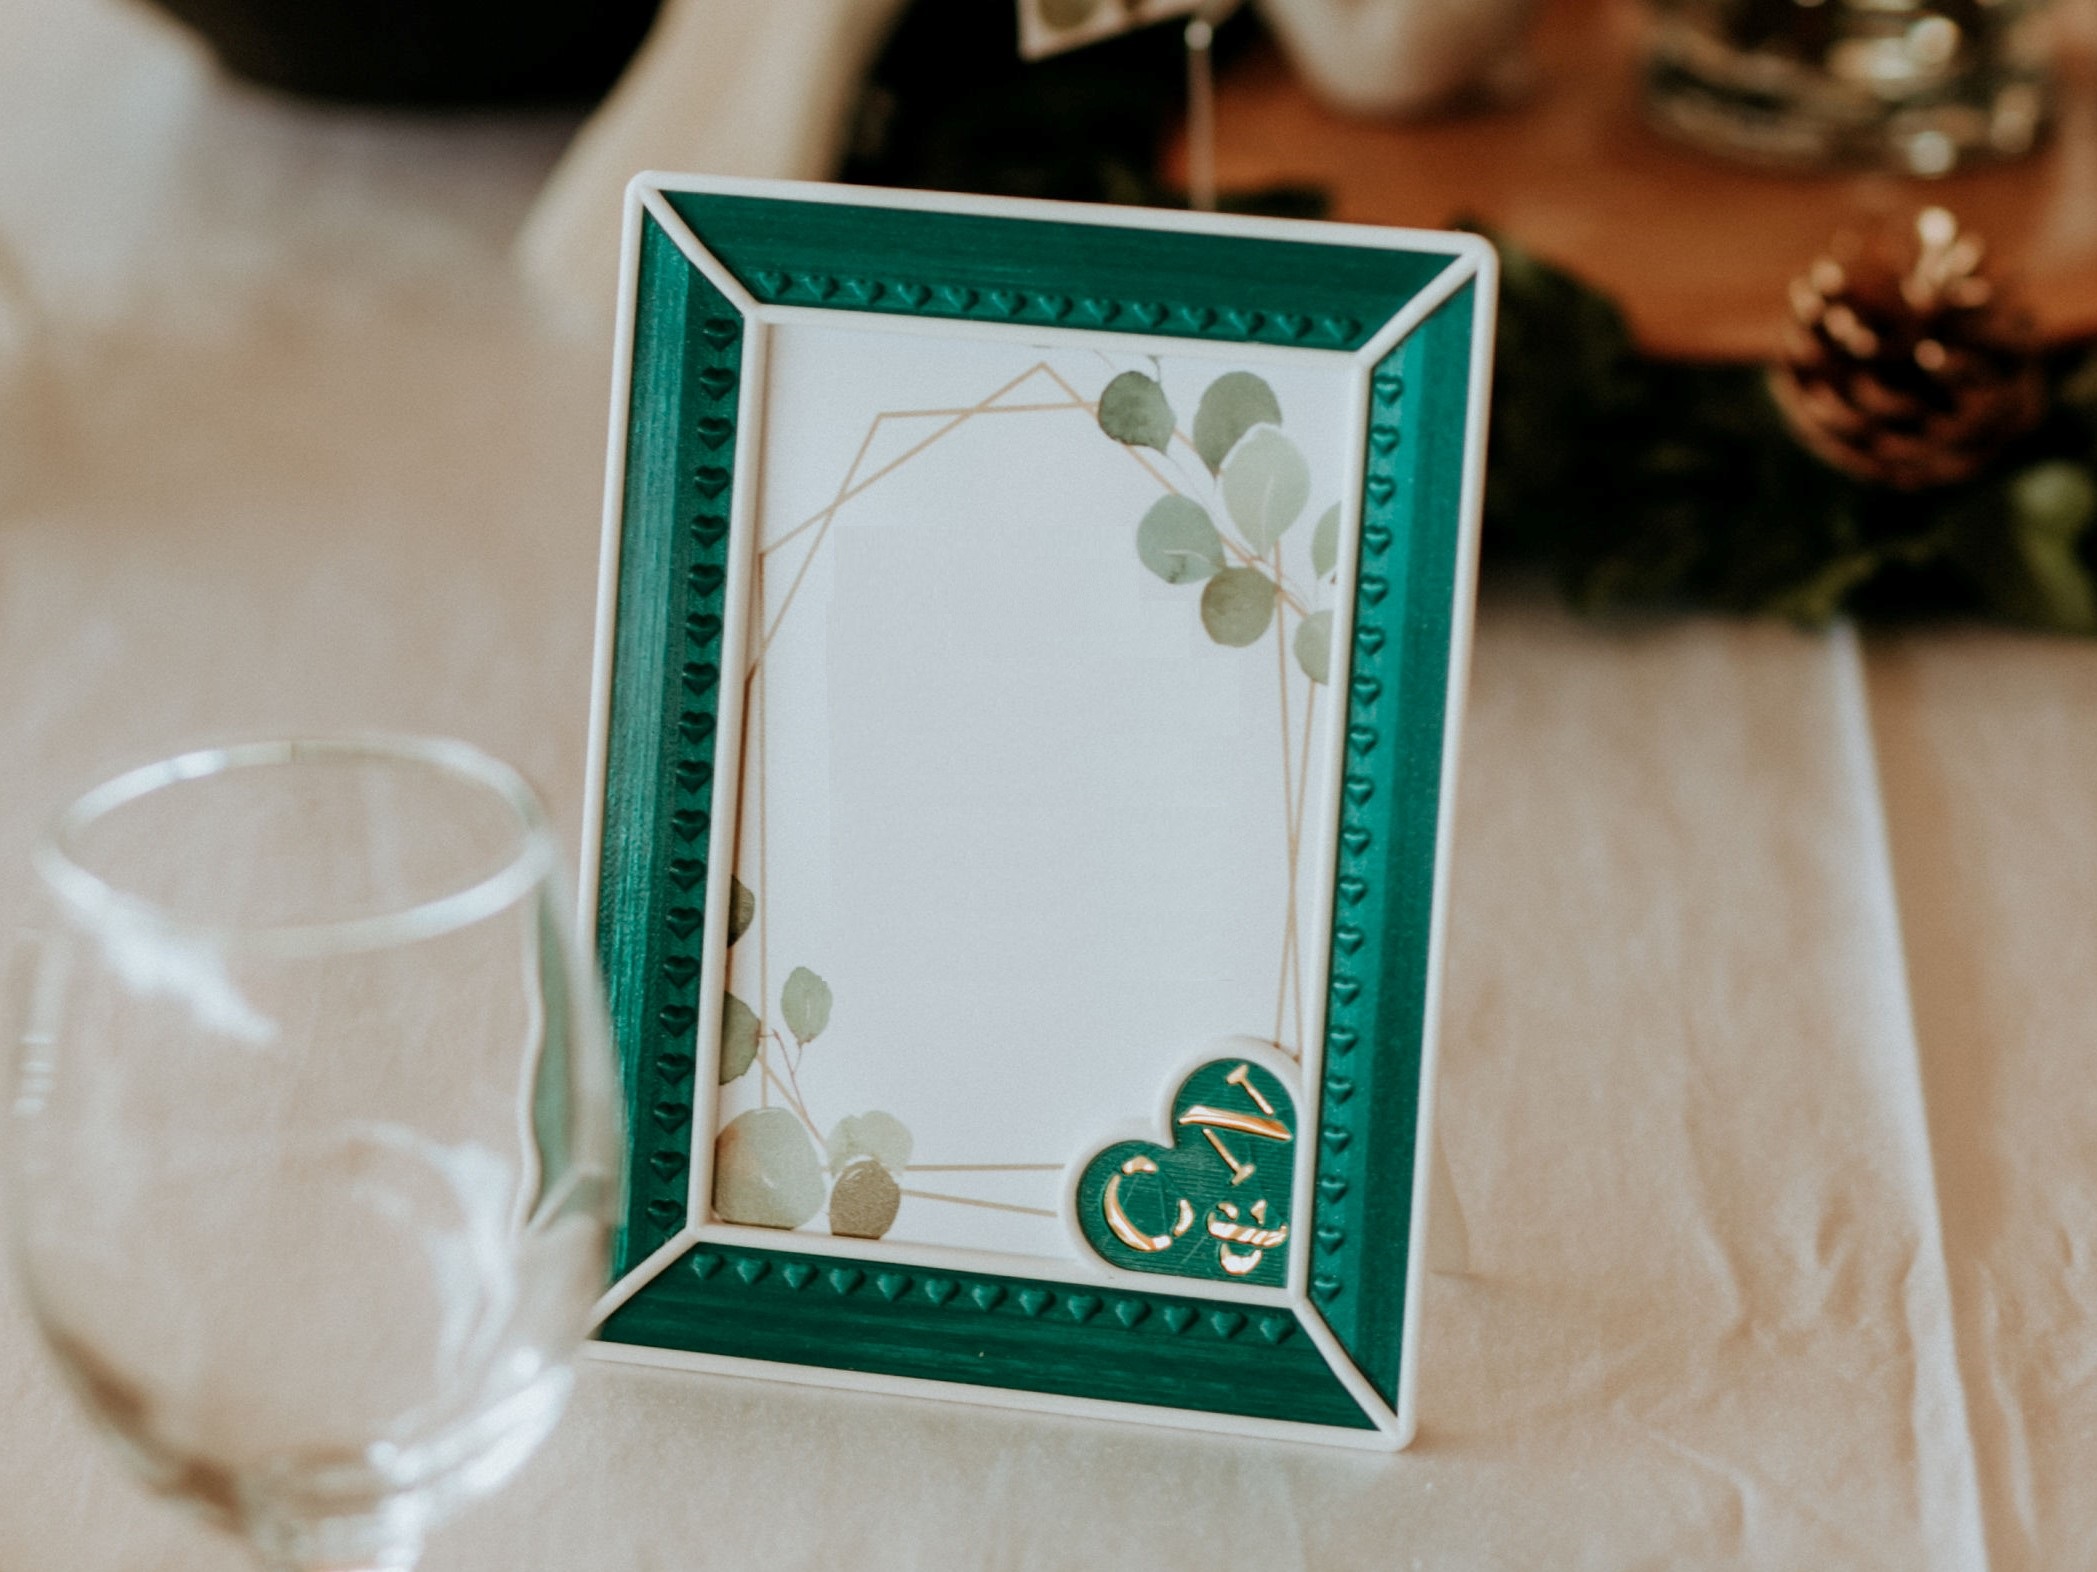
10x15 photo frame with snap-in accents
prusaprinters
<h3>Description</h3><p>The frame takes a 10x15 (4''x6'') photo and is designed to stand up in portrait or hanged up on wall (though landscape can also be used albeit at a steeper angle).</p><p>The frame itself has 2 variants (with/without the heart in the corner).</p><p>The inserts also have 2 options so far (simple and with little embossed hearts). </p><p>I uploaded a blank heart plate .step file so you can customize it if desired. I also added .step files for the frame inserts. One could add embossed text or other shapes on it if desired.</p><h3>Background story (feel free to skip)</h3><p>I designed this frame for our wedding to use as a small gift to each of our guests. We planned on having a photo booth at the reception so I decided to make some frames that can hold those pictures (photo booth printed a composite of photos in 10x15 format). The frames were waiting for the guests at their tables with a welcome message and each guest's name (to help with seating arrangements). Our guests loved the frames (or so we were told:)) ).</p><p>In total I had to print about 120 of frames so printing had to be easy, material use as low as possible, post-processing minimal and assembly quick. I designed the parts to snap in place; no glue necessary. The assembly process was really satisfying despite being repetitive. Some pictures of the pile of printed parts added for fun.</p><p>For all those frames I did not have any major print failures apart from 1 or 2 due to bed adhesion (my fault, really, for not cleaning the bed often enough).</p><p>Wedding photos credit: Andreea Alexandroni</p><h3>Printing instructions (recommended)</h3><p>Note: none of the parts require supports.</p><h4>Frame</h4><p>0.15mm layer height, 2 bottom layers, no top layers, 10% rectilinear infill, 2 perimeters</p><h4>Back rim parts</h4><p>0.2mm layer height, 3-4 bottom layers, no top layers, 20% rectilinear infill, 2 perimeters</p><h4>Folding legs</h4><p>0.15mm layer height, 3 bottom layers, 3 top layers, 20% rectilinear infill, 3 perimeters</p><h4>Back plate</h4><p>0.15mm layer height, no bottom layers, no top layer, around 7-12% infill - choose wahtever you like, 4-5 perimeters</p><p>An A6 thick card stock can also be used as a back plate but a hole should be made where in roughly the hexagonal hole position in the model. It greatly aids with inserting/removing and aligning the picture as it allow it to be grabbed from both sides.</p><h4>Heart insert</h4><p>0.15-0.2mm layer height, no bottom layers, 3 top layers, 20% rectilinear infill, 1-2 perimeters</p><h4>Side inserts</h4><p>0.15mm layer height, 2 bottom layers, 2 top layers, 10% rectilinear infill, 2 perimeters</p><p>This one might needs slicer/printer specific adjustment to print nicely. If possible set the seam position at the back of the insert. Note the print orientation for best results. It is not designed to be printed laying flat (as in the assembled frame).</p><h3>Assembly</h3><p>Most parts use snap-fit. Align the pins with the slots in both orientation before applying pressure. I tried to capture the order of assembly and the satisfying snap sound in this video. Apologies for the quality.</p><p>Not shown in video (my bad) is how to assemble the fold-up legs. Attach the legs to the back side rim by using a short piece of 1.75mm filament as a hinge. Trim flush with inner edge of part. </p><figure class="media"><oembed url="https://youtu.be/7IBIWc6iNAQ"></oembed></figure><p> </p>
With this file you will be able to print 10x15 photo frame with snap-in accents with your 3D printer. Click on the button and save the file on your computer to work, edit or customize your design. You can also find more 3D designs for printers on 10x15 photo frame with snap-in accents.