120mm Adjustable Fan Vent
prusaprinters
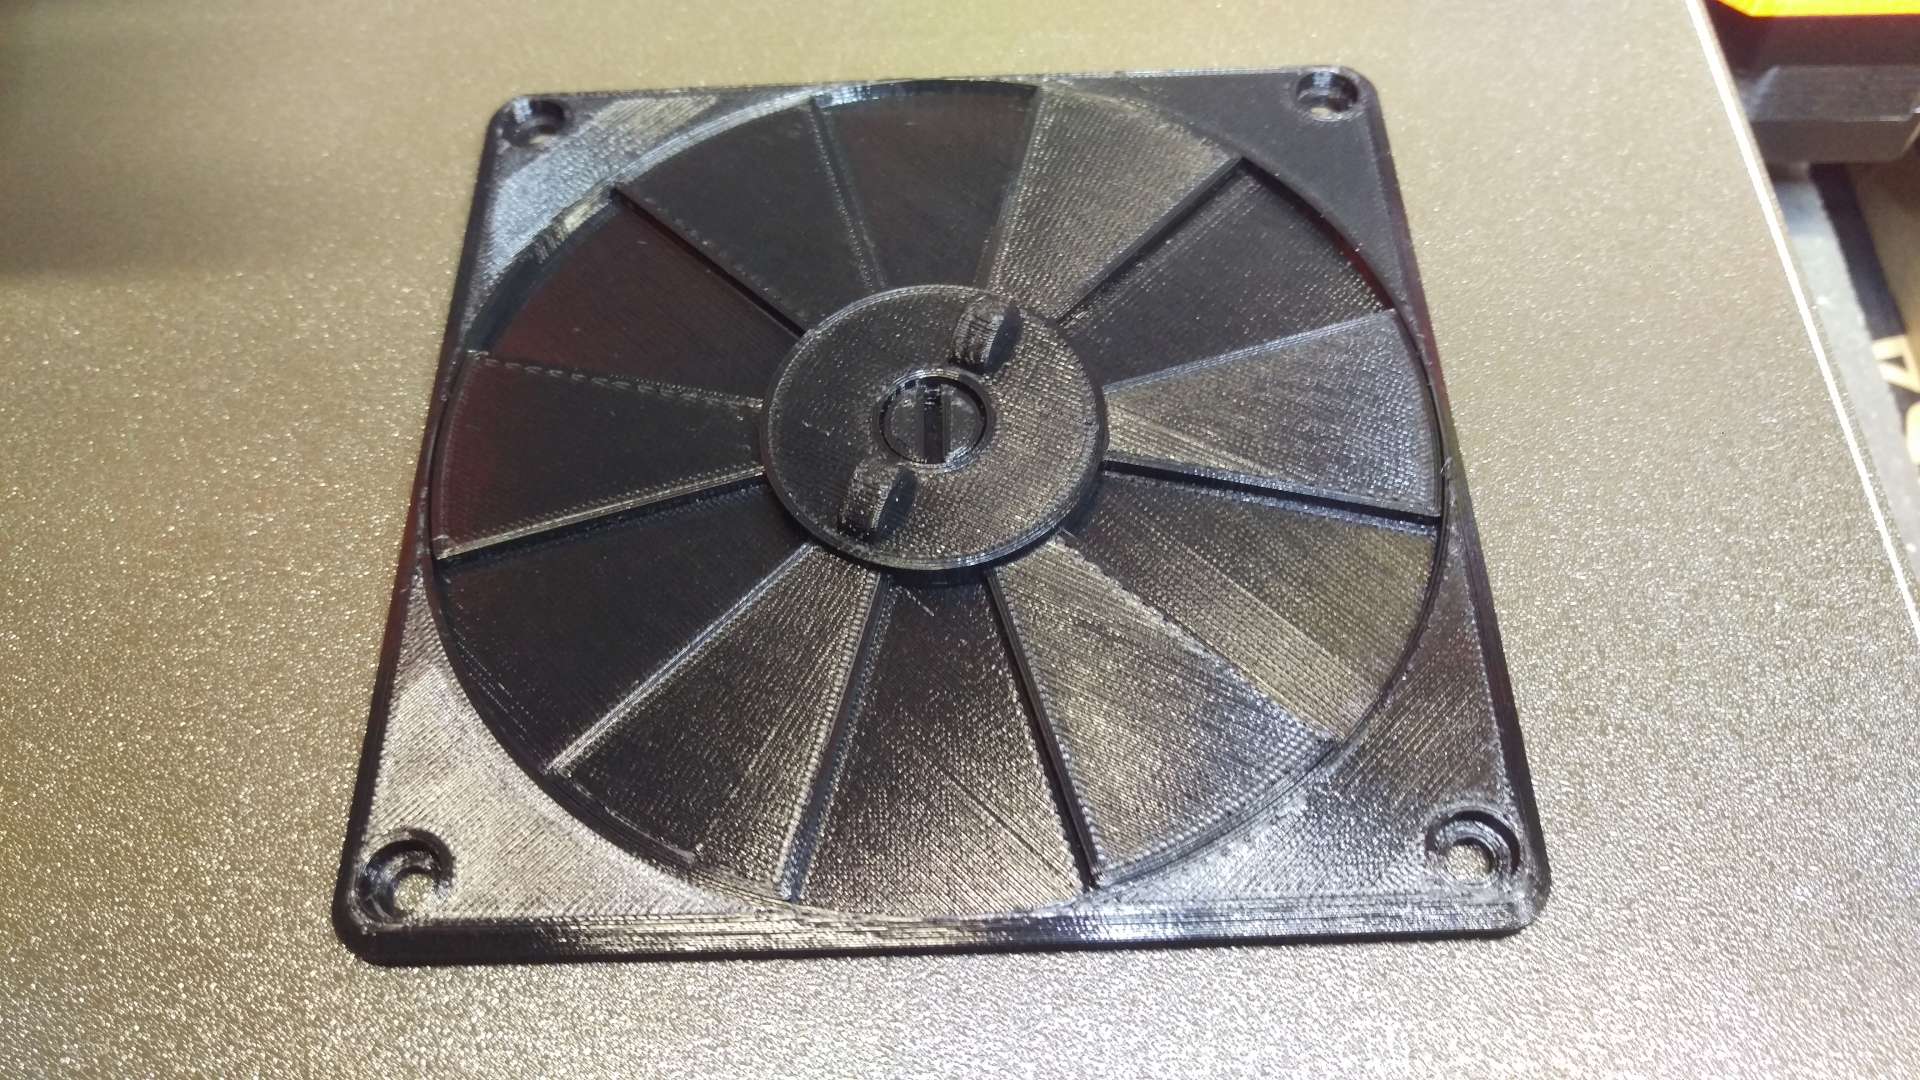
<p>I am building a print enclosure and wanted the ability to close off the extractor fan hole to retain as much heat as possible when the fan is not being used.</p> <p>I found the original design by @Edezigns:</p> <p><a href="https://www.thingiverse.com/thing:1071038">https://www.thingiverse.com/thing:1071038</a></p> <p>and the remix by @Stevie135s:</p> <p><a href="https://www.thingiverse.com/thing:4070870">https://www.thingiverse.com/thing:4070870</a></p> <p>I printed Stevie135s as it looked to be a nice improvement on Edezigns original, but the finished print had way too much slop in the shaft, which allows the blades to rock all over the place and also spin like a windmill. There was also way too large a gap between the blades and the main body, which allowed too much air to pass through in the fully closed position.</p> <p>Using their designs for inspiration, I have done a ground up redesign.</p> <p>The central hub now finishes flush with all the tolerances at 0.2mm on the hub and 0.1mm between the outer edge of the blade tips. This has essentially eliminated all of the slop. I did try 0.1mm on the hub, but it made assembly too hard.</p> <p>I have incorporated a small overlap in the blades and the small lip in the outer edge of the slots in the base. This closes of the air gaps and also removes the ability for the blades to be pushed through the slots in the body.</p> <p>I have further reduced the overall thickness (6mm down to 4.5mm) as it was still excessively thick and I didn't like the look of the shaft extending beyond the blade centre.</p> <p>The mount holes have been reduced to 4.5mm to take standard M4 bolts and the clearance and seating depth is designed for M4 pan head/round head bolts so that the heads sit just below flush.</p> <p>The ergonomics of the finger tabs has been improved by making them larger and therefore easier to use.</p> <p>Other minor geometry changes have been made with FDM printing in mind so as to improve the print quality of the finished product.</p> <p>Both pieces fit on the bed of a Prusa i3 MK3S at the same time.</p> <p>My MK3S prints below 0.1mm tolerance without issue, so YMMV on your own printer.</p> <p>Be sure to carefully inspect the shaft before assembly to remove any blobs or dags. Due to the tight tolerances in the design, tiny imperfections can give you trouble with assembly and operation.</p> <p>Assembly does require a little force, but if you do it on a solid flat surface and go at an angle (rather than just square from on top) with the slot in the shaft centred on the side you start pushing on from, the uprights will deflect inwards just enough.</p> <p>If initial rotation is a little tight with the finger tabs, manually turn the actual blades with your finger a dozen times or so to free it up.</p> <p>I hope you like it! :)</p> <h3>Print instructions</h3><p>I printed with Aurarum PETG in black. I used all PrusaSlicer defaults on 0.2mm Quality except for:</p> <p>5 top and bottom layers<br/> 3 perimeters<br/> Seams = ALIGNED<br/> Detect Bridging Layers = ON<br/> Fan speed 90% for bridging<br/> 245C on the extruder for all layers<br/> 95C on the bed for the first layer and 90C for the rest</p>
With this file you will be able to print 120mm Adjustable Fan Vent with your 3D printer. Click on the button and save the file on your computer to work, edit or customize your design. You can also find more 3D designs for printers on 120mm Adjustable Fan Vent.