2 Axis Mirror Galvanometer - Peachy Printer
thingiverse
This is a remix of Timogiles' version. I changed the coil holders so that they are cut from acrylic and glued together. A 1/4 inch bolt is used in the center of the bottom, middle, and top pieces. They are glued and the bolt allows for easy attachment to an electric drill for winding the coils. After, the bolt is taken out and the two screw holes attach it to the bottom board. I chose the acrylic coil holders vs the 3d printed because the printed version would need huge amounts of cleanup or a 2 nozzle printer with support material. Also, they couldn't be hooked to an electric drill for easy coil winding. I modified the main assembly making it smaller and using S-shaped springs. The mirror section is to be cut out and a first surface mirror should be placed in the square hole and recessed so the surface is at the midway depth point. This ensures no odd Trig problems (curved lines when they should be straight). You could also use a regular mirror glued in the middle and just not laser cut the center. But the first surface is nicer because you don't loose 20% of your laser energy intensity by going through the acrylic and back out.
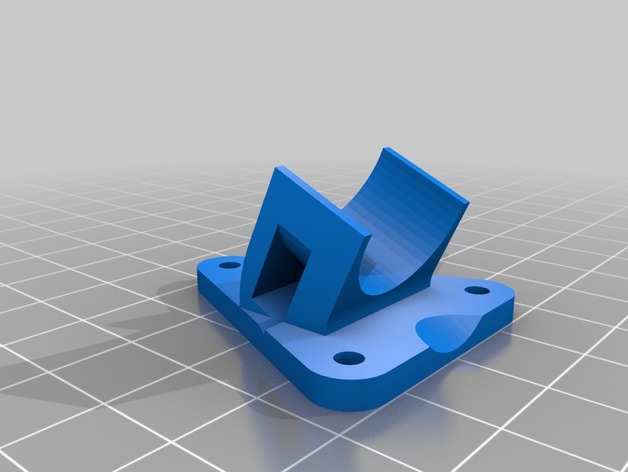
With this file you will be able to print 2 Axis Mirror Galvanometer - Peachy Printer with your 3D printer. Click on the button and save the file on your computer to work, edit or customize your design. You can also find more 3D designs for printers on 2 Axis Mirror Galvanometer - Peachy Printer.
