2 Pole Slip ring - Perpendicular mount (light duty)
prusaprinters
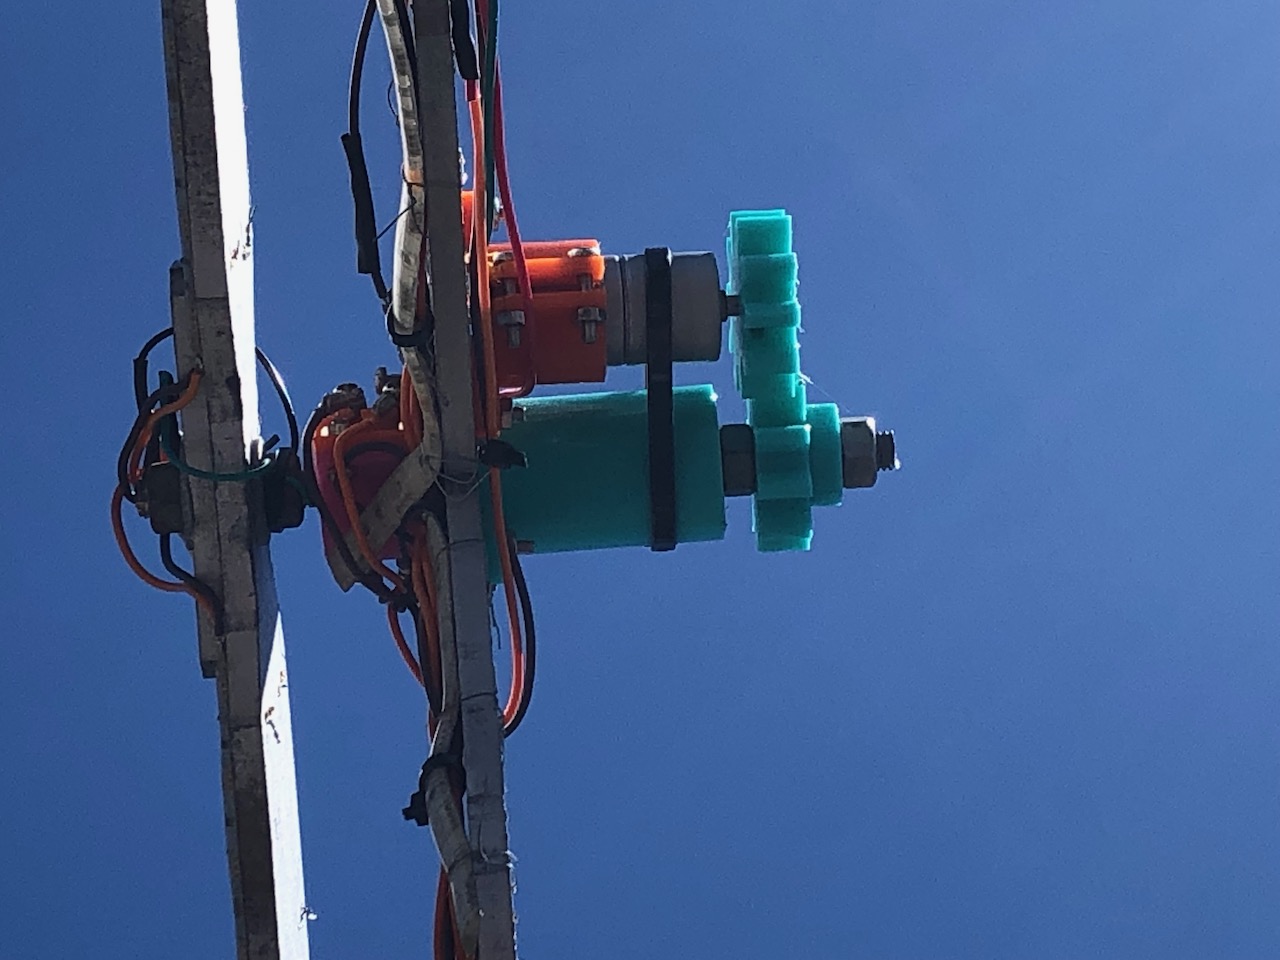
<p>I needed a slip ring quickly but could not find anything so came up with this. It uses 18mm x 12mm x 4mm bearings, 8mm threaded bar and 3mm nuts and bolts. You need to cut two grooves in the 8mm threaded bar to suit whatever wire you are using. I used an angle grinder with a cutting disc but you could use a Dremel. The grooves need to be cut all the way from one side of the threaded bar to where you want to place the slip ring. Remove the insulation from the wire and feed this wire from the inside of the bush through the holes and then slide the bearing over. It should be a tight fit and this makes the electrical contact. Need to ensure you pull the wire far enough through the hole so no part of the wire makes contact with the 8mm threaded bar. You may need to drill out the holes to fit your wire. Photos of the bush show just one wire. Do the same for the other wire but at 180 deg from the first wire. Slip the bush over the grooved threaded bar ensuring the wires follow the grooves you've cut. The wires (and grooves) need to point towards the rotating side (in my case a helicopter tail rotor). </p><p>Then place the slip ring bearing holders (x2) around the bearings and use M3 bolts (10mm) and nuts to hold in place. Then screw another M3 (10mm) bolt with a nut and electrical connector into the holes at 45 deg. Be careful not to tighten too hard and compress the bearings or strip the thread. Best way is to use a multimeter in resistance mode to check for contact as you tighten the bolts. The other bearing holder is designed to fit a standard skateboard bearing (one each side if needed) and the concept is to mount this on the opposite side of the slip ring setup. It is a fairly light duty system but proven to be quite reliable running multiple days on my roof in lots of strong wind. If a more robust slip ring system is required, see my other print which I used for the main rotor.</p><p>This is part of my Christmas light Heli https://www.prusaprinters.org/prints/104250-christmas-lights-heli</p><p>Brief video of how it works and looks</p><figure class="media"><oembed url="https://youtu.be/Erspeju-8B8"></oembed></figure>
With this file you will be able to print 2 Pole Slip ring - Perpendicular mount (light duty) with your 3D printer. Click on the button and save the file on your computer to work, edit or customize your design. You can also find more 3D designs for printers on 2 Pole Slip ring - Perpendicular mount (light duty).