2 Stage Model Rocket - "The Carrot"
prusaprinters
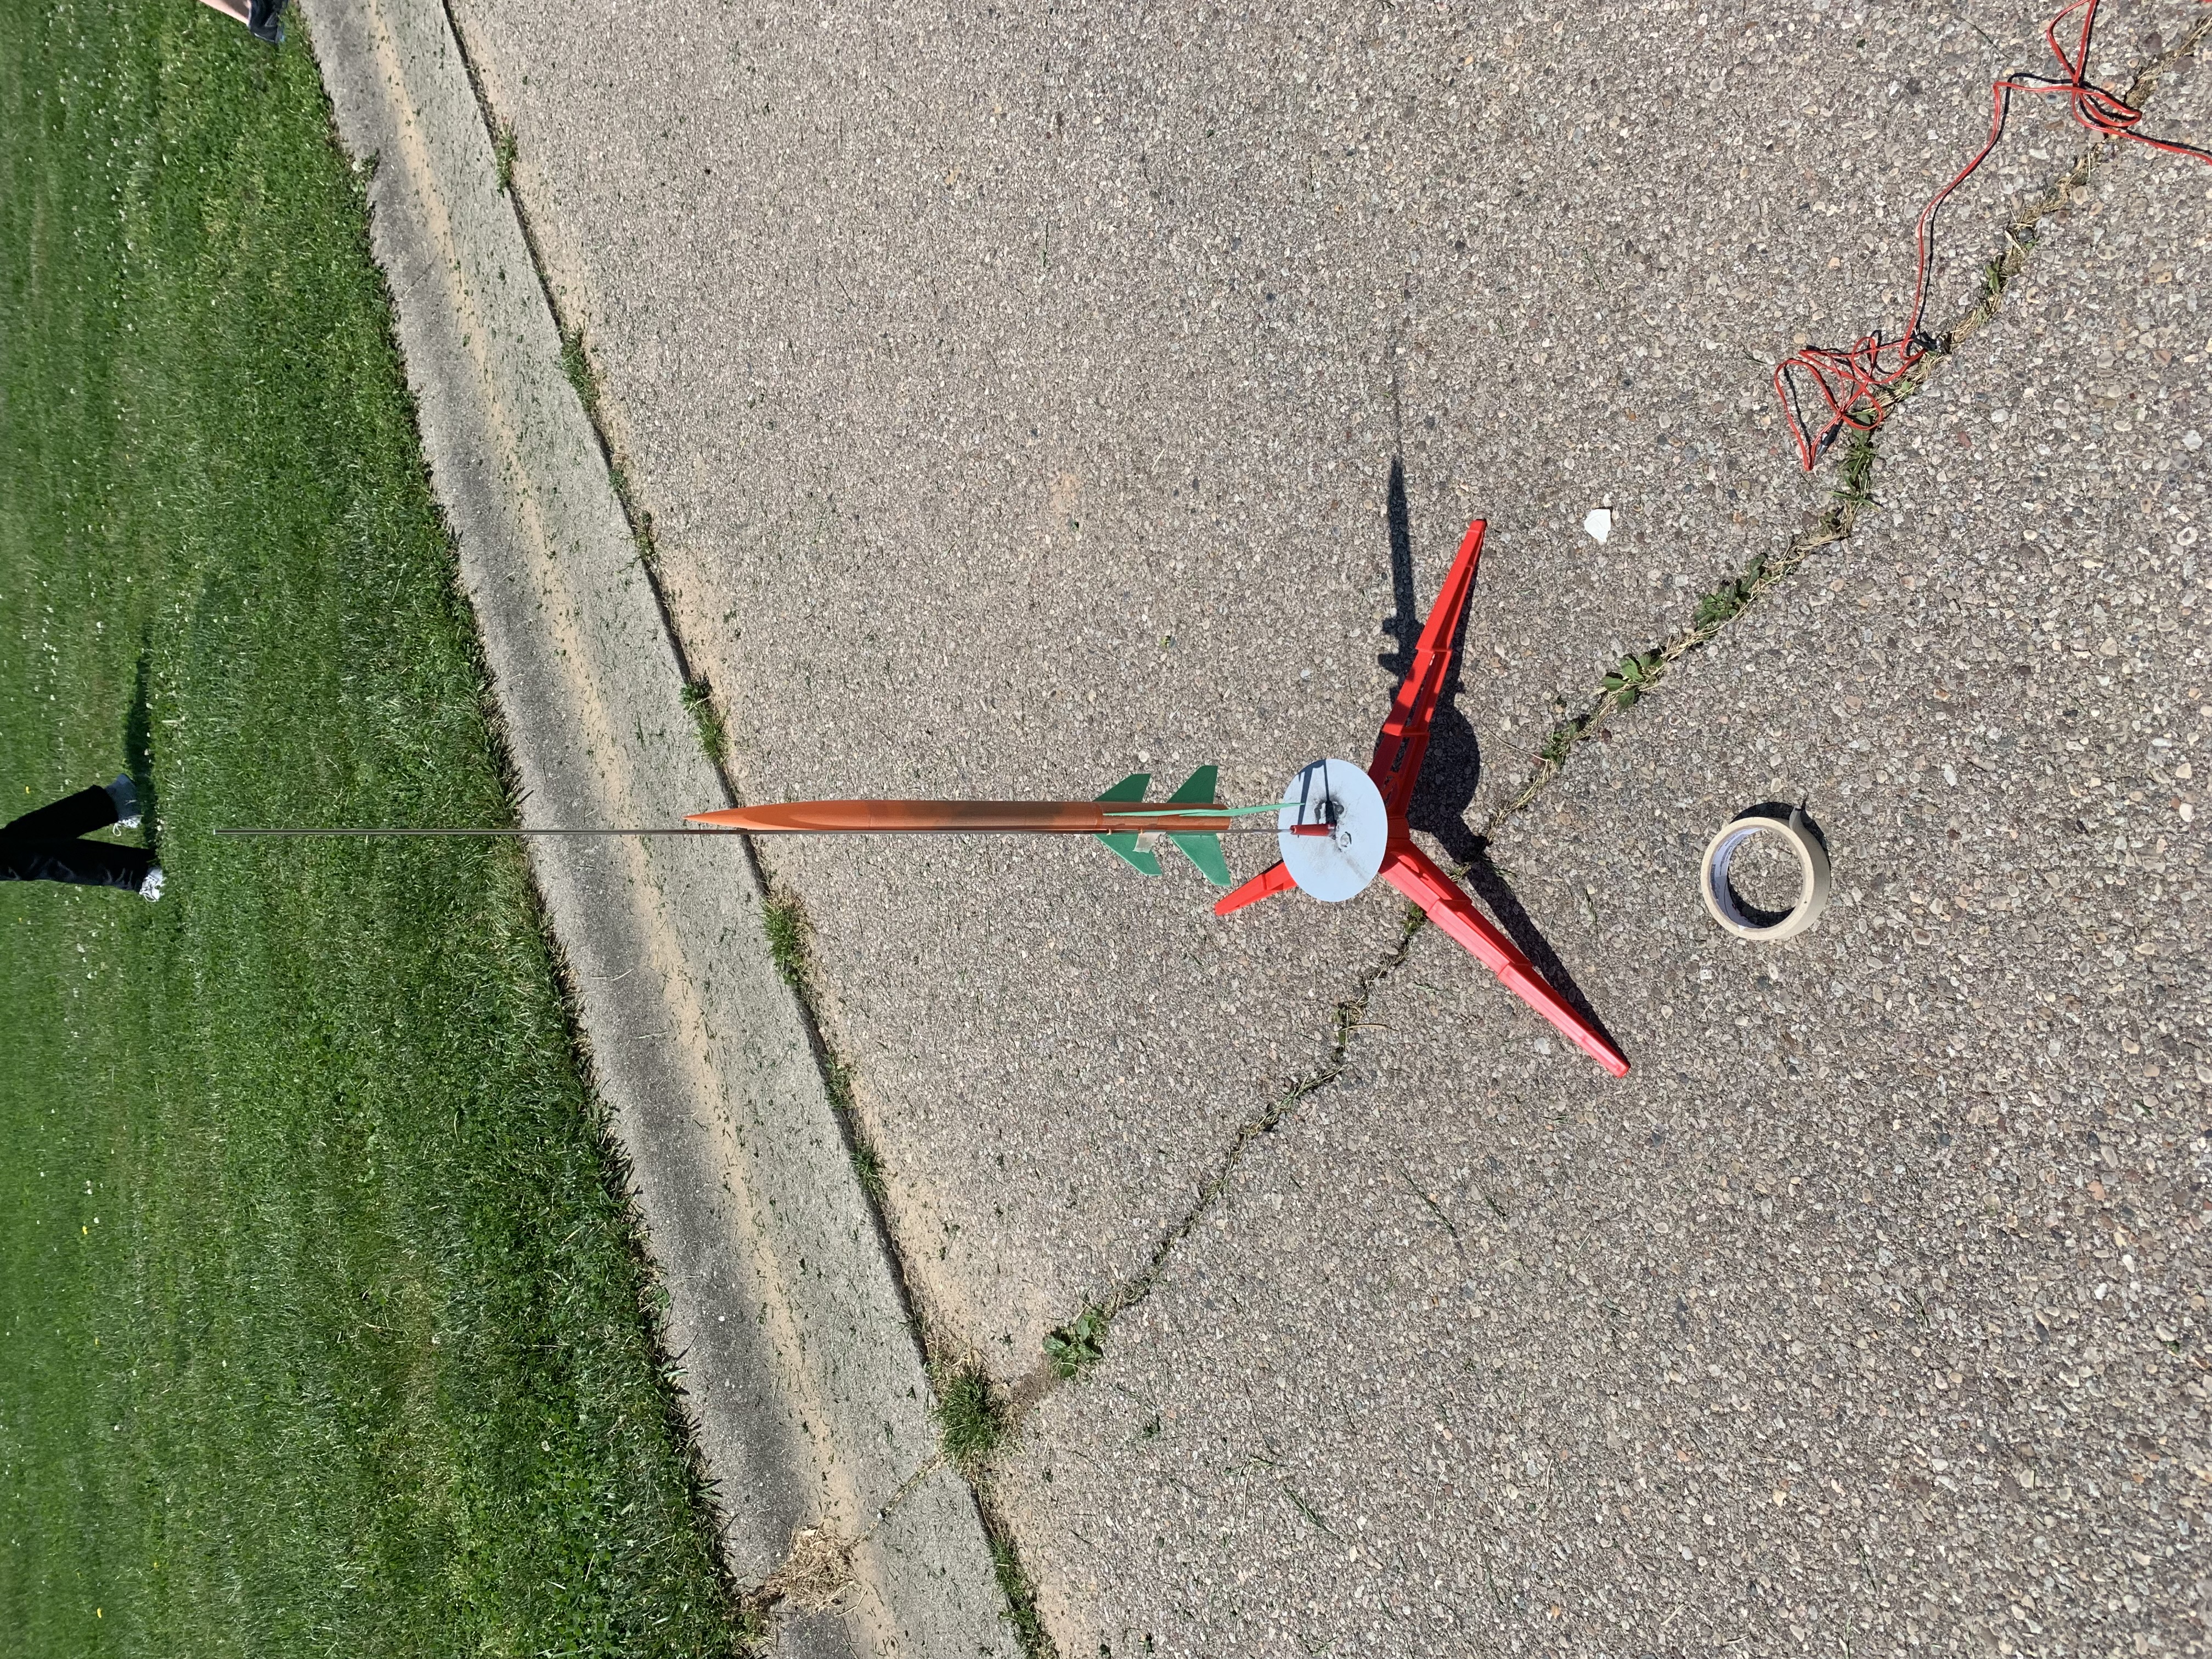
<h4>Background Info</h4><p>I designed this rocket for a school project. I wanted to learn and better understand how rockets work and improve my abilities with CAD design. This design was made using Fusion 360 and <a href="https://github.com/openrocket/openrocket/">OpenRocket</a>.</p><h4>The Design</h4><p>As mentioned earlier, I used Fusion 360 and OpenRocket to design the rocket. I settled upon a two-stage rocket because I realized that it wouldn't be too much harder to design and make but would be much more fun to launch. </p><p>The Fins and Nosecone were both computer optimized by Open Rocket for altitude while still having a fair amount of stability. The rocket was also designed with the ability to carry an <a href="https://github.com/LyricPants66133/Arduino-Altimeter">Arduino Altimeter(also my design); however</a>, its use is completely optional.</p><p>The stage separation is straightforward. Two rocket engines are taped together. When the first stage is done burning, flaming material shoots out the other end immediately. It lights the second engine(this is important because any delay could cause the rocket to point the wrong way and make its subsequent trajectory dangerous). The second engine lights and burns off the tape, ejecting the first stage. Due to its lightness, it will safely tumble down to earth. Meanwhile, the second stage continues. A couple of seconds after fuel expenditure, an ejection charge is shot out the other end of the engine. This mix of hot gas and particles ejects the cone, the parachute, and the protective recovery wadding. From here, the rocket will safely float back down. For a better explanation with pictures, go <a href="https://www.apogeerockets.com/Tech/How_2-Stage_Rockets_Work?m=education">here</a>.</p><h4>Printing and Outside Parts</h4><p>Printing the design is simple. So to keep it simple, here is a parts list:</p><h5>3D Print:</h5><ul><li>1x Nose Cone</li><li>1x Bodytube*</li><li>1x Stage 2 fincan**</li><li>3x Stage 2 fins (small fins)***</li><li>1x Stage 1 fincan**</li><li>3x Stage 1 fins (big fins)***</li></ul><p>*Print in Vase Mode with one layer walls, at 0.45mm</p><p>**10% infill</p><p>***100% infill</p><p>ABS or ASA is recommended, however, the use of other materials is OK.</p><h5>Outside:</h5><p>NOTE: DO NOT purchase anything here only because I link it. These are only general guidelines. Please do your research as to what is appropriate for you. </p><ul><li>Sandpaper (optional, but highly recommended)</li><li>Spray paint (optional, but cooler looking rocket = cooler launch)</li><li>Superglue</li><li>Cellophane tape</li><li>Shock Cord<ul><li>2 feet or more</li></ul></li><li>Parachute</li><li>Launch System<ul><li>EXAMPLE: <a href="https://www.apogeerockets.com/Launch_Pads/Sky_Complete_Launch_System">Complete Sky Launch System by Apogee Components</a></li></ul></li><li>18mm Booster stage Engines (Estes Purple Label)<ul><li>EXAMPLE: <a href="https://www.apogeerockets.com/Rocket_Motors/Estes_Motors/18mm_Motors/Estes_Motors_B6-0">B6-0</a></li></ul></li><li>18mm Upper stage Engines (Estes Red Label)<ul><li>EXAMPLE: <a href="B6-6">B6-6</a></li></ul></li></ul><p>For engines, see the below image. Realistically, any 18mm purple and red engine will work, however, anything past a C engine is too much for a rocket of this size and weight.</p><figure class="image image-style-align-center image_resized" style="width:43.51%;"><img src="https://media.prusaprinters.org/media/prints/67280/rich_content/cc38e84f-71b7-4d4c-9642-b211c317d7c2/engine_chart_8_1.jpg#%7B%22uuid%22%3A%22e79ce523-3e37-4d1e-8fba-3d34ea45722c%22%2C%22w%22%3A715%2C%22h%22%3A1000%7D"></figure><h4>Putting everything together</h4><p><br>Step 1: Sand all of the parts. Be careful not to break the stage 2 launch rings</p><p>Step 2: Tie one end of your shock cord to the stage 2 fincan through the hole.</p><p>Step 2: Superglue the body to the stage 2 fincan, making sure that the shock cord goes inside of the body, and comes out the other side</p><p>Step 3: Superglue the fins to their corresponding fincan. They can only be oriented one way, so you can't place them upside down. </p><p>Step 4: Tie the other end of the shock cord to the hole in the cone. Make an<a href="https://www.101knots.com/butterfly-knot.html"> Alpine Butterfly Loop Knot</a> between the end of the body and the cone, attaching your parachute to this knot.</p><p>Assembly is complete!</p><p><strong>Launch</strong></p><p>Launch is similar to most other model rockets, so online guides on how to do a generic launch will be useful.</p><p>Step 1: now you need to tape your engines together. Place the upper stage engine(purple) on top of your booster stage engine(red), both having their nozzles facing down. Tape them together using ONLY 1 layer of cellophane tape. This tape will be burnt through on stage separation.</p><p>Step 2: Slide your double engine inside of the fin cans. If they slide freely, layer tape on each engine until the fin-cans are firm. Make sure that the securing tape only contacts one fincan, you do not want to friction fit the two fincans together, only the engines to the fincans.</p><p>Step 3: Load 3 pieces of crumpled-up recovery wadding into the body tube, lightly pushing it all the way down. </p><p>Step 3.5: tie your altimeter to the same Alpine Butterfly Loop Knot for easy recovery.</p><p>Step 4: Fold your parachute and insert it into the body, along with your shock cord. Make sure any accessories are below the parachute. Place your cone on top of it, making sure everything is securely inside. </p><p>Step 5: Follow your engines setup instructions. You only need to insert the igniter into the lower engine(its the only one you have access to anyways).</p><p>Step 6: Place your rocket on its launch pad, and press the launch button!</p>
With this file you will be able to print 2 Stage Model Rocket - "The Carrot" with your 3D printer. Click on the button and save the file on your computer to work, edit or customize your design. You can also find more 3D designs for printers on 2 Stage Model Rocket - "The Carrot".