2'x2' Intubation Cube - Laser Optimized
thingiverse
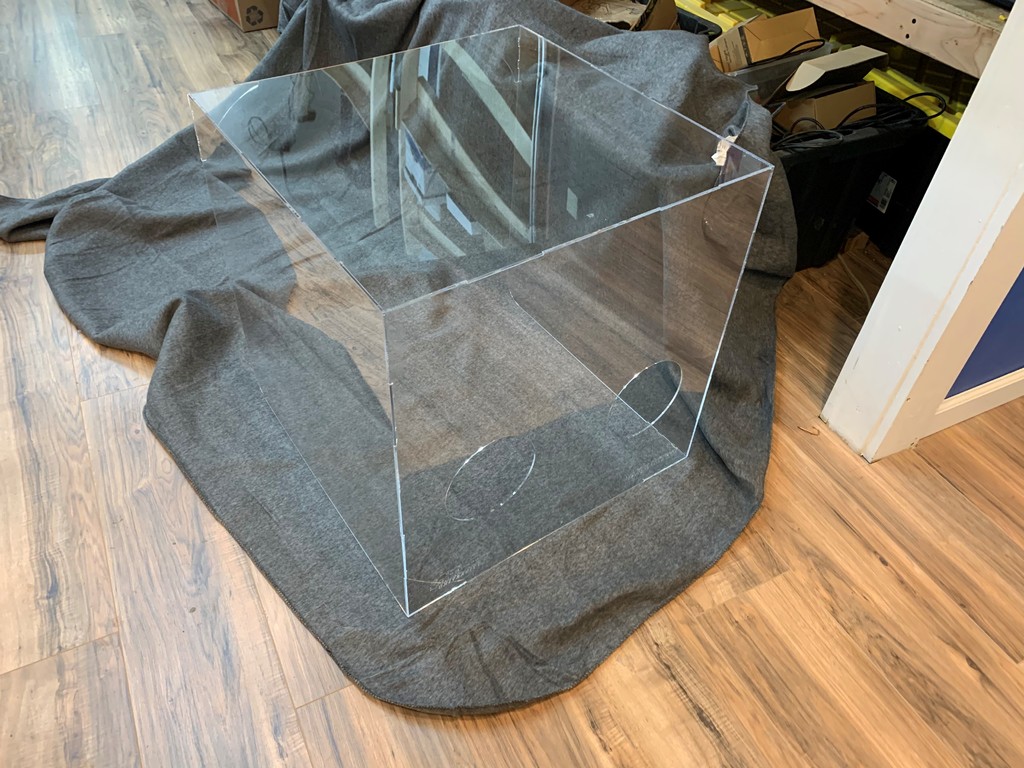
We crafted these at M4Reactor, a makerspace in Salisbury, Maryland, with precision and care. This is a laser-optimized cut pattern for a 2x2 foot intubation cube. The finished size measures 23 inches by 23 inches, allowing ample space on a 4-foot wide or 2-foot wide sheet of acrylic. This design is tailored specifically for 1/8 inch thick acrylic sheets. To facilitate assembly, the pieces feature tabs that snap into place with ease. To assemble this intubation cube: Cut all individual parts from the acrylic sheet. Carefully remove the film or paper mask, taking special note to clear around edges where it will be glued in place. Use masking tape or painter's tape to hold the components together during assembly. Do not apply glue until the entire structure is complete. Once fully assembled, apply a strong adhesive, such as SCITEK #4 cement, along all edges. If using liquid welding cement, it's best to apply it to standing edges to minimize runs and drips. We recommend working on a large fleece blanket to prevent scratching and absorb any excess cement. Wait at least an hour before removing the tape securing the components in place. When choosing an adhesive for acrylic, we highly recommend SCITEK #4 cement, specifically designed for welding acrylic together. Avoid using silicone as it fails to adhere to acrylic or plexiglass over time. As a convenient alternative, clear strong packing tape can be used effectively. This design draws inspiration from other online patterns and is open to modification and sharing. Please note that this document does not provide guidelines on handling the intubation cube to maintain sterility. Our hospital received and sterilized them upon arrival, so we did not encounter any specific requirements for delivery.
With this file you will be able to print 2'x2' Intubation Cube - Laser Optimized with your 3D printer. Click on the button and save the file on your computer to work, edit or customize your design. You can also find more 3D designs for printers on 2'x2' Intubation Cube - Laser Optimized.