2020 DRAWbot Drawing Robot

2020 DRAWbot Drawing Robot

thingiverse

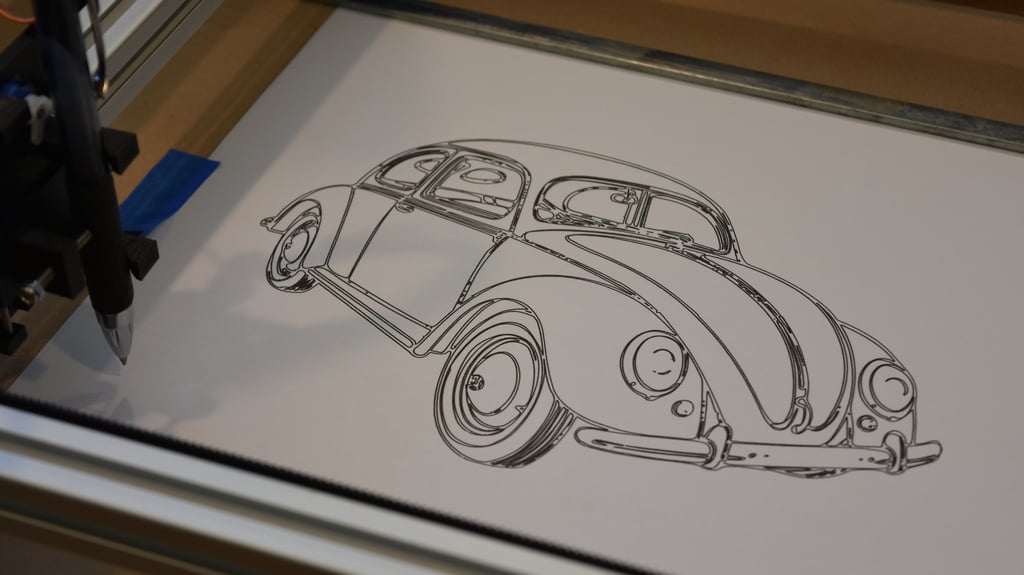
This is a drawing robot or pen plotter machine designed around 2020 aluminum extrusions. It uses a coreXY movement for precise fast moves. [More info on CoreXY here: http://corexy.com/theory.html]. The design goals were to create a reliable, easy to print and build coreXY platform that could be used with pens for drawing or laser modules for cutting and etching. The modular design using 2020 extrusions will allow you to build much bigger or even much smaller versions. This machine can be built for around $80 to $100. This machine will allow you to take a line drawing in Inkscape, convert it to G code and draw it on paper with a pen. There's also a document that can be found in the Files section of this thing which explains how to install Inkscape, the Inkscape MI extension, and the Universal G-Code Sender. It guides you through some example projects as well. Here is a video of an early test, sorry for the focus and lighting ;-) https://www.youtube.com/watch?v=97m4MML1zPs&t=81s Another video https://youtu.be/fN6t37Ey4qE Firmware for the Arduino https://github.com/robottini/grbl-servo Make sure to edit the your "config.h" in the /Arduino/libraries/grbl folder to enable CoreXY. Instructions for compiling the grbl firmware https://github.com/grbl/grbl/wiki/Compiling-Grbl Use Gcode command M03 S90 to lower the pen; Use Gcode command M5 to raise the pen. NOTE: This design will also work an Arduino MEGA and RAMPS 1.4 or any other CNC/3D printer controller that supports CoreXY and servos. Inkscape which is free https://inkscape.org/en/ Inkscape GCode plugin MI Inkscape Extension http://www.mediafire.com/file/ae0wquqornzc3o2/MI+Inkscape+Extension.zip The plugin is easier to use than the built in GCode Tools in Inkscape. Note: If you get an error when trying to export your gcode from inkscape there is apparently an error with newer versions of python. The fix is the edit the "servo.py", change the line 3085 to the following: doc_height = self.unittouu(self.document.getroot().xpath('@height', namespaces=inkex.NSS)[0]) Source Rabbit G Code Sender https://www.sourcerabbit.com/GCode-Sender/ Or Universal G Code Sender https://winder.github.io/ugs_website/ HARDWARE (for a work area of approximately 300mm x 200mm) 2 X 2020 Extrusion x 450mm, X axis frame 2 X 2020 Extrusion x 350mm, Y axis frame 1 X 2020 Extrusion x 325mm, Y axis carriage NOTE: For different sized machines. The travel distance on the Y axis will be about 120mm less than the length of the Y axis frame length. The travel distance on the X axis is about 150mm less than the length of the X axis frame length. XY Axis 2 X Nema 17 2 X GT2 Pulley 20 teeth 2 X 1500mm GT2 belt 12 X Printed Pulleys or Upgrade to GT2 pulleys with bearings or use 2 F623ZZ flange bearings front-to-front per pulley Z Axis 1 X Servo sg90 micro-servo 2 X 75mm x 3mm rods (from CD_Rom or other smooth rods), Z Axis 1 X ballpoint pen spring 20 X M5 x 10mm screws 20 X M5 extrusion nuts (slide-in or drop-in) 7 X M3 x 28mm screws (The pulley's also work well with finish nails) 16 X M3 x 8mm screws 1 X M3 x 12mm screw (You can also supper glue the Belt Clamp to the CarriageBeltSide) misc M3 nuts and washers Zip-Tie 5mm wide zip-tie (cut 4 X 10mm long pieces to use as locking wedges for the belt clip) ~150mm UHMW Polyethylene Film Tape or Teflon tape. This tape is used on the inside surfaces of the XYJoiner and the carriage to reduce friction. It can be found at hardware stores and is used on drawer slides. This is optional however it is highly recommended. https://www.amazon.com/gp/product/B00XK9V9ZS/ref=oh_aui_detailpage_o03_s00?ie=UTF8&psc=1 I used it only on the small pads that touch the 2020 extrusion. Your carriage and XYJoiners should slide easily along the 2020 extrusion, if it is too tight file or sand the pads on the printed parts until it slides easily. Electronics Arduino Uno CNC Shield 2 X Pololu A4988 stepper driver (with 6 jumpers @ 16x microstepping) 12V 2A Wall Transformer Printed Parts 1 X 2020_DB_Belt clamp 1 X 2020_DB_CarriageBeltSide 1 X 2020_DB_CarriageMountSide 2 X 2020_DB_CornerMotor 2 X 2020_DB_CornerMotorTop 4 X 2020_DB_CornerPulley 2 X 2020_DB_Foot 1 X 2020_DB_Pen holder ver8 2 X 2020_DB_xyJoiner (top and bottom) 12 X 2020_DB_belt_pulley and spacers (Upgrade to GT2 pulleys with bearings or use 2 F623ZZ flange bearings per pulley) (These printable GT2 Pulleys https://www.thingiverse.com/thing:1999234 worked well) July 13, 2017: I have updated the pen holder with a new design utilizing 3mm x 75mm smooth rods liberated from an old CD/DVD ROM. This design is a little more ridged than the original design. Building Tips: Lay everything out on a table and test fit the parts together to make sure you have everything and have an idea of how it should go together. Put the UHMW Polyethylene film tape on the pads of the sliding components and make sure that they slide smoothly. file or sand the pads down if they do not move easily. Check the electronics to make sure everything is working. Don't forget to add the three jumpers under each of the stepper drivers. Check the 5mm holes, if the screws don't go through easily drill them out. Most of the 3mm screw holes are small so the screw threads will bite into the plastic. Be careful that you do not over tighten and strip the plastic. If you do you can use a drop of supper glue to hold the screw in place. Attach the stepper motors to the motor mounts, and note which way you want the wires to face, before building the frame. The X motor is on the right and the belt for it should be on the top, the black wire should be plugged in toward the center of the board. The Y motor belt should be on the bottom, the blue wire should be toward the center of the board. Assemble the frame before trying to put the belts in, leave the motor covers off until you have the belts installed and lined up.

Download Model from thingiverse

With this file you will be able to print 2020 DRAWbot Drawing Robot with your 3D printer. Click on the button and save the file on your computer to work, edit or customize your design. You can also find more 3D designs for printers on 2020 DRAWbot Drawing Robot.