3 Switch Plate for MendelMax
thingiverse
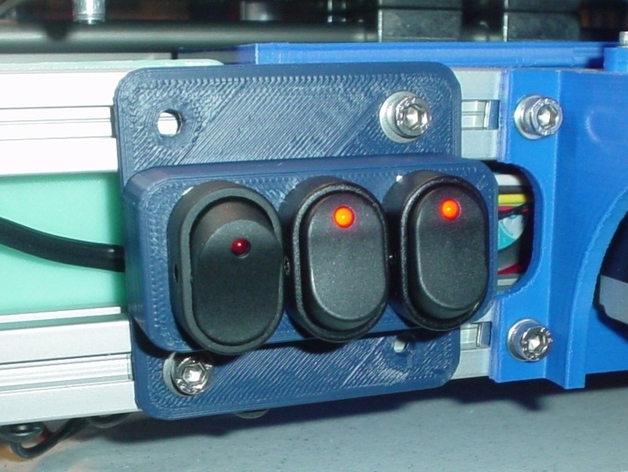
With LED lights and a fan for ABS, my printer needed several switches for +12 DC supplies. In case of problems, I also wanted a DC switch to turn off the RAMPS board, just in case. Switches from RS or local auto store have LED light inside (red, blue, white or green are available) and rated for 10 amp load. Instructions With all the stuff mounted inside the rails, the wire connections needed to be between the rails and that kept me from using a flat plate style. Using LED lighted switches from RS or your local auto store, this bathtub configuration prints with default support. I used 0.18 honeycomb fill. Versions for 2 mounting holes and 4 mounting holes are included. 2 are plenty, of course! Mount the switches and tighten the nuts with long nose pliers. Ground and +12 VDC can be strapped together for all switches. Use the LEDs to check polarity. If they light with the switch 'on', your wiring is correct. The long center contact goes to your load, with a 1/4" push-on connection to each load. There is minimal gap between switches, but if the body turns after you mount everything, just put a small drop of CA instant set glue at the top of the gap between switch body and the printed plastic plate.
With this file you will be able to print 3 Switch Plate for MendelMax with your 3D printer. Click on the button and save the file on your computer to work, edit or customize your design. You can also find more 3D designs for printers on 3 Switch Plate for MendelMax.