3 x 5.25in bay to four 3.5in hard drives cage
prusaprinters
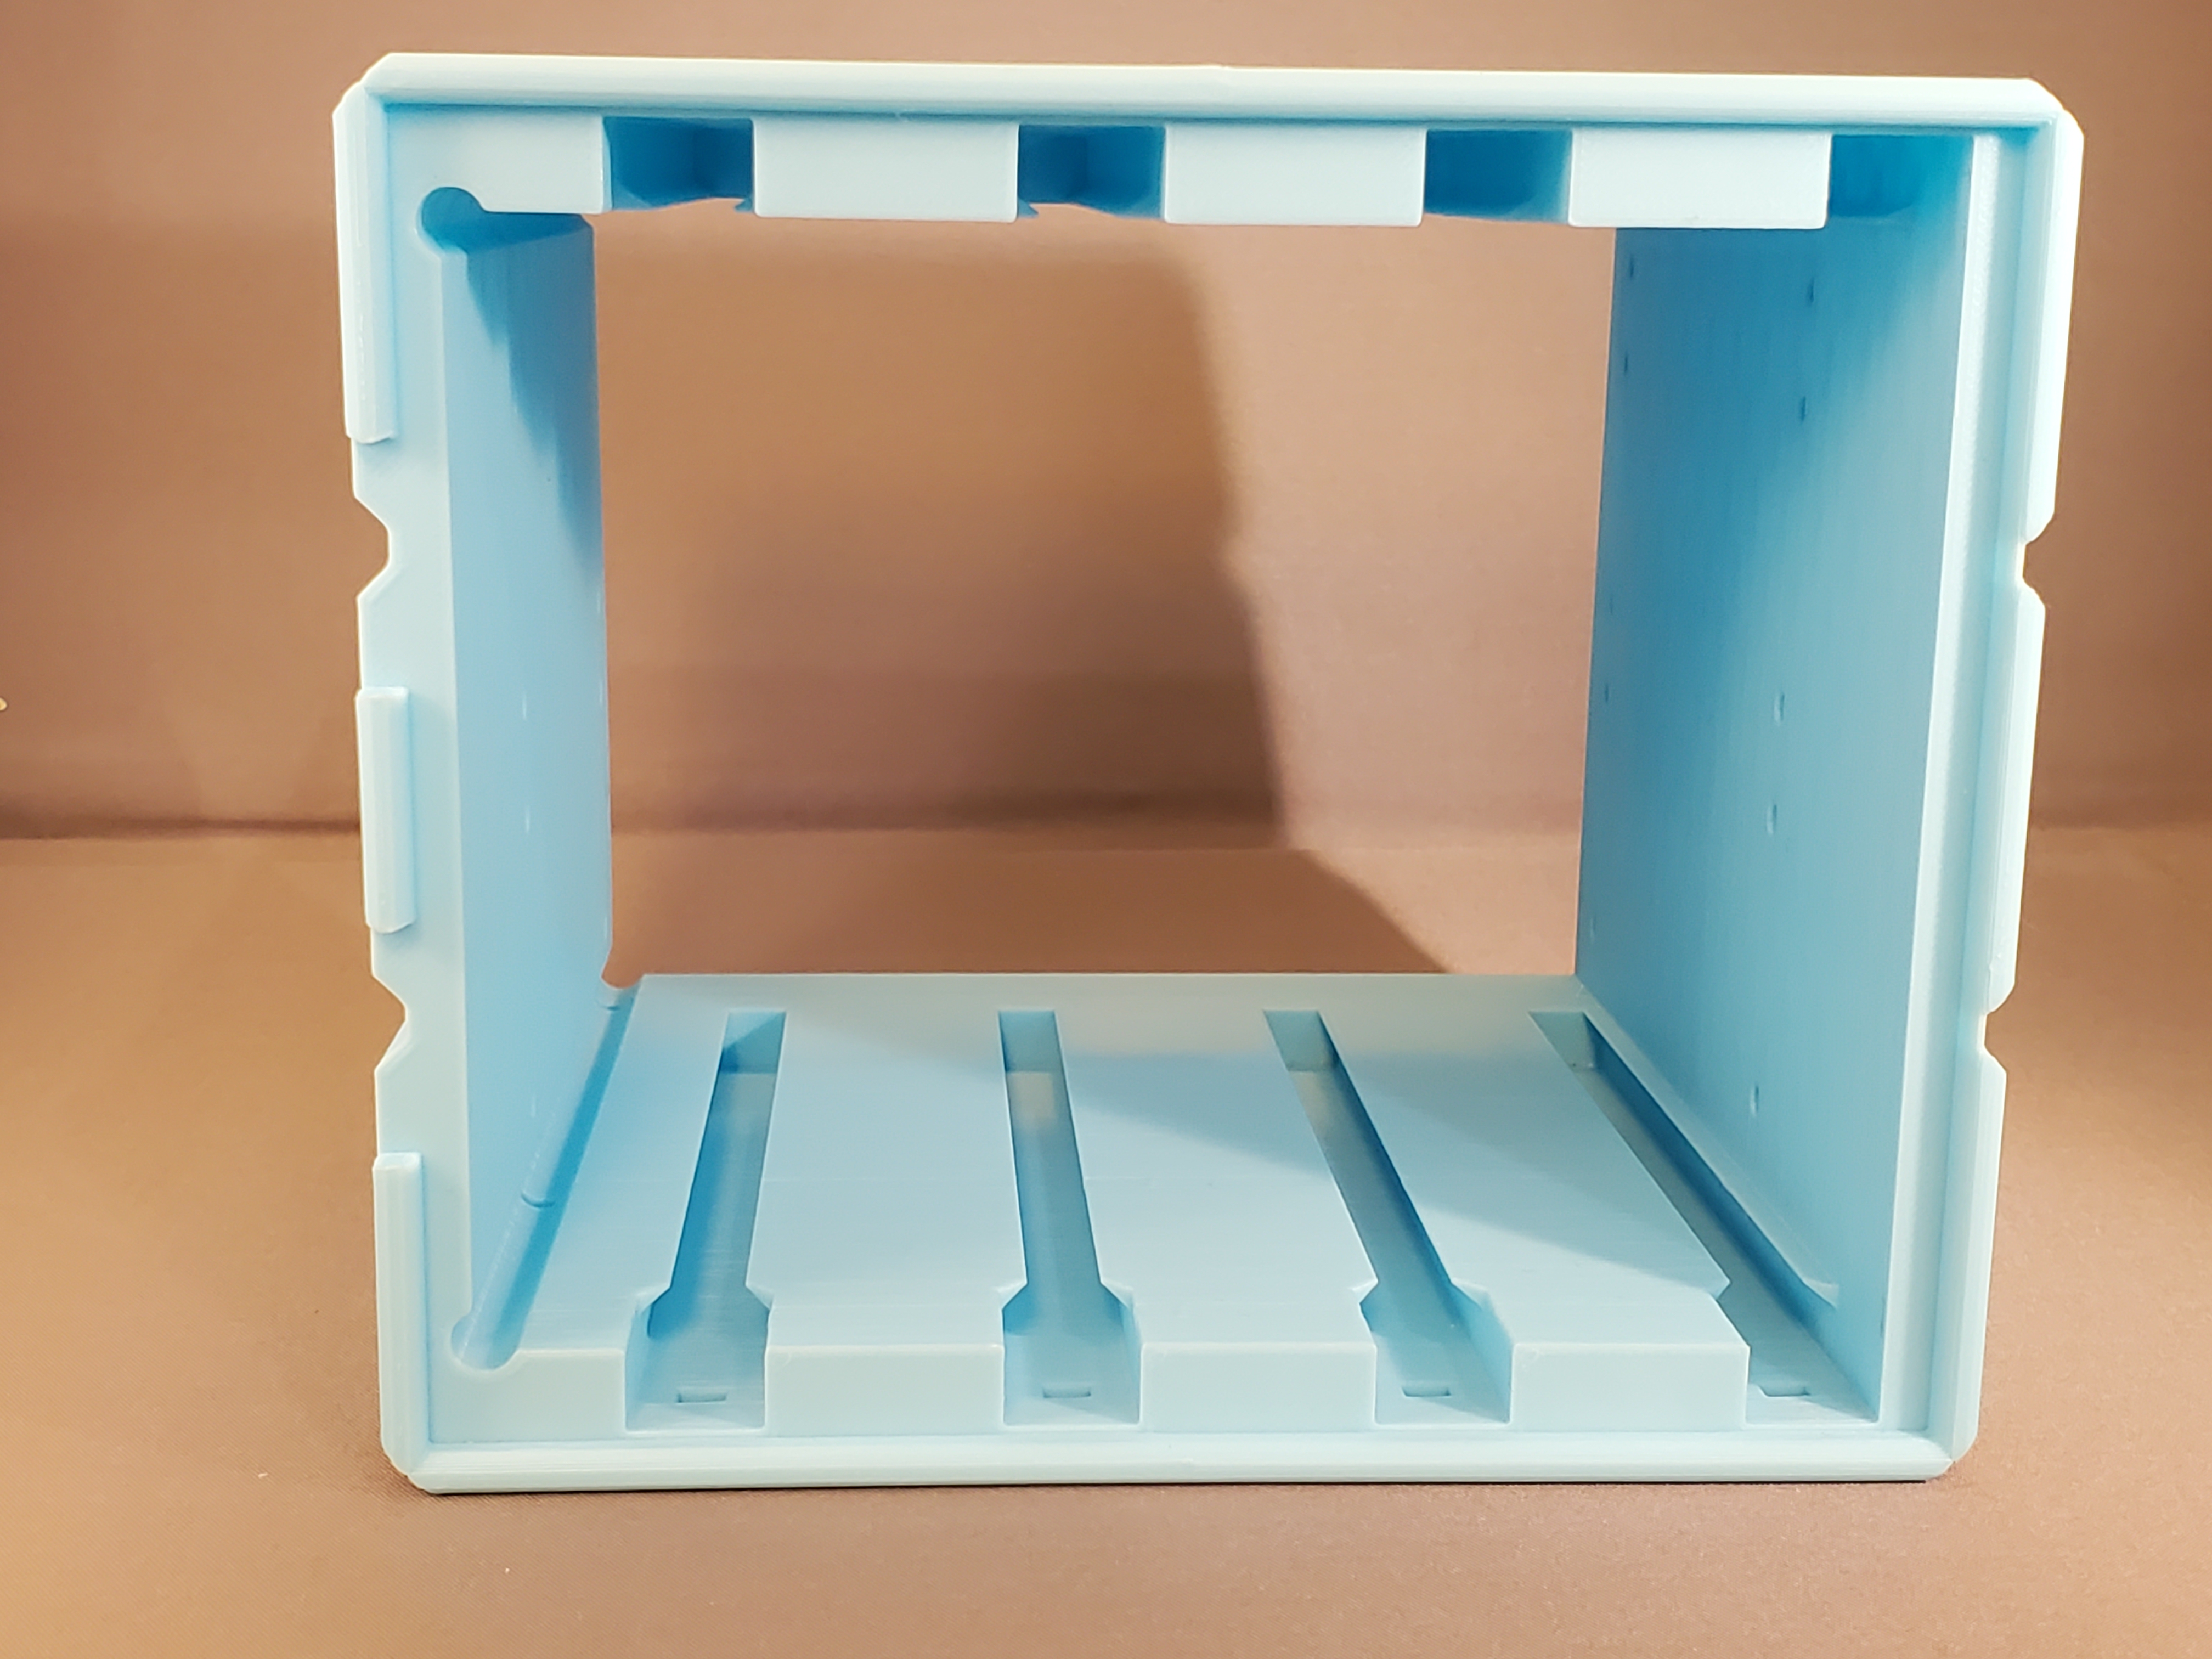
<h3>Overview</h3><p>OpenSCAD project to create a cage that fits in 3 5.25" drive bays and holds 4 3.5" hard drives using rails.</p><p>Optionally supports a fan shroud to provide additional airflow to the drives.</p><p>You need to print:</p><ul><li>1 cage-cage.stl</li><li>8 cage-rail.stl</li><li>[optional] 4 cage-fan_mounting_pin.stl</li><li>[optional] 1 of the cage-fan_shroud stl files.</li></ul><p>Note: Monitor the print closely when printing the fan mounting pins. They are very small and can detach from the bed fairly easily. If you continue to have problems, perhaps print the pins on a raft.</p><p>Pictures are of the cage-fan_shroud_web.stl</p><p>Note that the cage has a cylinder channel cut out at the top and bottom on one side. The channel is for routing the power cable of the fan to the back of the case. It should be on the left side of the cage when it is inserted into the case.</p><ul><li>Code: <a href="https://github.com/AnthonyZ71/triple_5.25_to_four_3.5_hdd_cage">Github Repository</a></li><li>STLs:<ul><li><a href="https://www.prusaprinters.org/prints/120546-triple-525-bay-to-four-35-hard-drives-cage">Prusa Printers</a></li></ul></li></ul><h3>Printing Notes</h3><p>All parts except the rail are designed to be printed without supports.</p><p>I print all parts except the rail with typical settings for the material in which they are being printed.</p><ul><li>5% infill is sufficient</li></ul><p>For the rail:</p><ul><li>Plater -> 5% infill</li><li>Plater -> Support on build plate only</li><li>Print Settings -> Layers and perimeters -> Vertical shells -> Perimeters: 3</li><li>Print Settings -> Layers and perimeters -> Quality -> Detect bridging perimeters: true</li><li>Print Settings -> Support material -> Support material -> Overhang threshold -> 40</li></ul><p>This should cause very little support to be generated by the pegs for the hard drives and the clip for latching into the cage. The rest of the rail should not require support.</p><p>Note that the number of perimeters is increased from 2 to 3 to ensure that the pin of the rail is solid. Check the result of slicing the rail, you only need enough perimeters to ensure a solid pin.</p><p> </p><h4>Optional test print</h4><p>The cage-test.stl doesn't need to be printed at all unless you want to test the tolerances with your printer before committing to a full print. The components of the test print are all oriented as they would be printed individually, and allows validation of size / spacing of the print before committing the time to print all of the components. The parts of the test print are:</p><ul><li>A single full channel and rail to allow validation that the rail slides easily and locks into the cage.</li><li>A single fan shroud mounting pin to ensure that it will connect the front of the case to the fan shroud</li><li>A slice of the cage to validate that it will slide into the bay openings for your computer</li><li>A small portion of the fan shroud to ensure that the mounting pin will connect the shroud to the front of the cage. (note that it is ok that the pin spins in the mounting holes. Once all four pins lock the shroud to the full cage, it prevents movement.)</li></ul><h3> </h3><h3>My Equipment</h3><ul><li>Prusa MK3</li><li>PrusaSlicer-2.3.3</li></ul><h3> </h3><h3>References</h3><p>Several other projects aided in the creation on this HDD cage.</p><p> </p><h4>Modified Parametric Pin Connectors</h4><p>This project makes use of <a href="https://www.thingiverse.com/thing:3218332">Modified Parametric Pin Connectors</a> by <a href="https://www.thingiverse.com/acwest/designs">acwest</a> on thingiverse. After testing other fan mounting mechanisms, I liked using this pin and socket mechanism, primarily because even if I end up accidentally breaking a pin, printing out a new part is minutes, not hours.</p><p> </p><h4>Customizable Fan Grill Covers</h4><p>This project makes use of <a href="https://www.thingiverse.com/thing:4837562">Customizable Fan Grill Covers</a> by <a href="https://www.thingiverse.com/OutwardB">OutwardB</a> on thingiverse.</p><p>Several preset grills are provided using these settings:</p><p>all:</p><ul><li>Frame -> fan preset: 120mm</li><li>Frame -> frame option: full</li><li>Frame -> screw hole chamfer: bottom</li><li>Frame -> min border size in millimeter: 5</li><li>Pattern -> line size in millimeter: 1.6</li><li>Advanced | Frame Setting -> rounded corners: no</li></ul><p>crosshair</p><ul><li>Pattern -> grill pattern: crosshair</li><li>Pattern -> line space in millimeter: 19.0</li></ul><p>crosshex</p><ul><li>Pattern -> grill pattern: crosshex</li><li>Pattern -> line space in millimeter: 8.0</li></ul><p>grid:</p><ul><li>Pattern -> line space in millimeter: 8.0</li></ul><p>teardrop:</p><ul><li>Pattern -> line space in millimeter: 8.0</li><li>Pattern -> grill pattern rotation: 180</li></ul><p>web:</p><ul><li>Pattern -> grill pattern: web</li><li>Pattern -> line space in millimeter: 19.0</li></ul><p>none:</p><ul><li>Frame -> screw hole chamfer: no</li></ul><p>To create a custom grill, you can use any STL file that fits the grill pattern with the expectation that the front of the grill is what is facing down on the printer bed and that the center of the grill is at the origin [0, 0, 0] when the STL is loaded into OpenSCAD. Use the settings describe above if using OutwardB's custom fan grill cover generator, and then make the desired changes, render, and export the STL as fan_cover_custom.stl Then in OpenSCAD, select "fan_shroud" as the part, grill style of custom. You will then see the customized fan shroud. Render it and export the STL.</p><h3> </h3><h3>Final Note</h3><p>The current pictures are of an early iteration that used hinges for the fan shroud/cage instead of the pins. The fan shroud was painted black to match the case. All of the testing of the design worked fine until it was put into the case for actual use. The fan shroud does not open far enough to access the drives. With the fan shroud attached, the front of the case cannot be removed. See the makes for pictures of the new design and I will update my photos when I reprint the case in the future. The latest iteration is much better than the photos.</p>
With this file you will be able to print 3 x 5.25in bay to four 3.5in hard drives cage with your 3D printer. Click on the button and save the file on your computer to work, edit or customize your design. You can also find more 3D designs for printers on 3 x 5.25in bay to four 3.5in hard drives cage.