3D chain mail hood
thingiverse
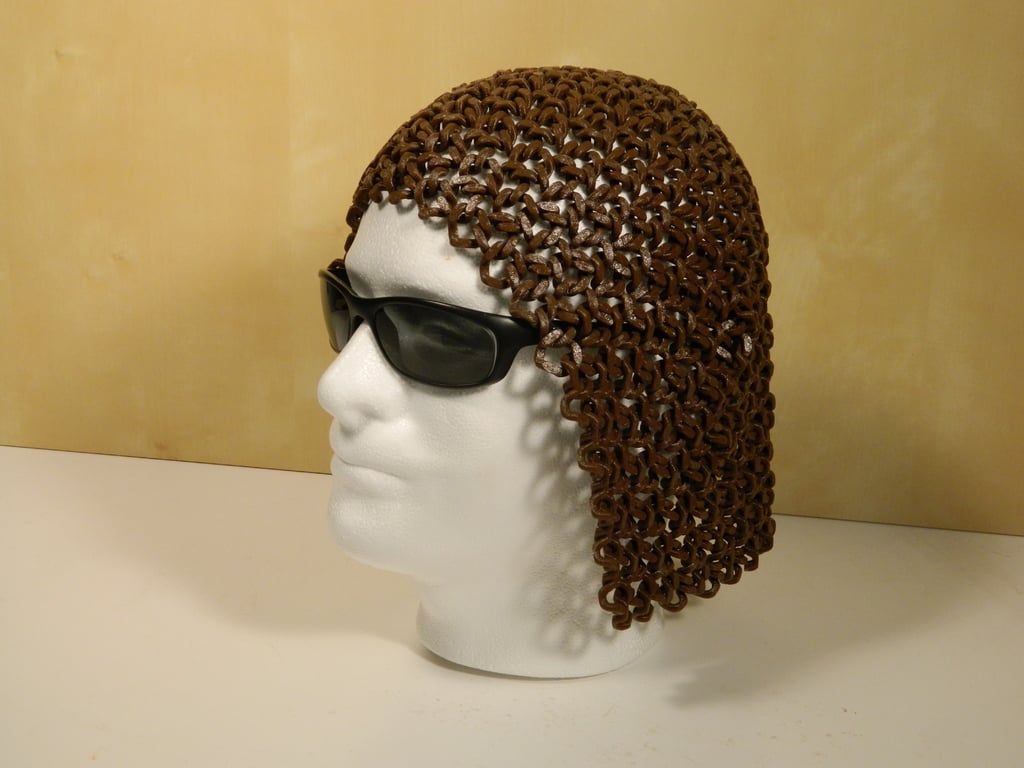
It always bothered me that there was no good way to take pieces of flat printed chain mail and join them in a way to conform over a 3D surface. Normal fabric can be joined with curved seams so the finished pattern conforms to a 3d surface but chain mail will end up with loose links or bunched links and will just look messy. I have seen 3D printed clothing where they change the size and shape of each link to make the pieces conform but this requires that each piece be custom designed. So here is a way to do it but it requires that the chain mail have 3-way rotational symmetry so it can be patterned as equilateral triangles. For this project I modified a chain mail I designed earlier: https://www.thingiverse.com/thing:2611564 so it could be printed as equilateral triangles. Joining 6 triangles will just make a flat pattern but joining 5 triangles so they all meet at a point will not lay flat. An icosahedron is made up of 20 triangles all meeting at 5 to a point This hood example is made from 12 triangles of a icosahedron. Each triangle has 7 links on each side. The chain mail pattern has about +/- 10% slack so it can curve smoothly within each triangle. Rather than printing 12 separate triangles I printed 6 pairs of triangles where each pair were joined together. This saved joining time and the joined pairs just happened to fit on my 8"x8" (200x200mm) bed. This hood took about 3 days to make. Each pair took about 6 hours to print so I printed one during the day and one at night. The actual joining time took only about 1/2 hour. Joining was done by snipping a link at the base flat and then bending it open and snapping it onto the mating link. The links were fairly flexible but I did happen to break a few. I found that keeping the links warm by working under a hot lamp made them more resilient. I did not bother to re-bond the split links for this hood but I have been experimenting. The quickest and least messy way I found so far is to drill a .078" (2mm) diameter hole through the split and then re-fill it with PLA using a hand-held 3D printing pen. I did some rough strength tests: The load to break a solid link is 42 lb (187N), the load to break a split link is 13 lb (58N), and the load to break a re-bonded link is 26 lb (116N). The last picture shows what the inside of the hood looks like. You can see some of the split links and the circle shows one of the few places where 5 links meet rather than 6. The Styrofoam head in the pictures is about 22" (559mm) in circumference and you can see how the hood fits. My head is about 23" (584mm) and it fits fairly well. The easiest way to change the size is to scale the STL file. I think this technique could eventually be used to make an entire suit but software to map equilateral triangles onto a 3D surface would be necessary.
With this file you will be able to print 3D chain mail hood with your 3D printer. Click on the button and save the file on your computer to work, edit or customize your design. You can also find more 3D designs for printers on 3D chain mail hood.