3D Chameleon switch and trigger for Ender 3 S1 Pro
thingiverse
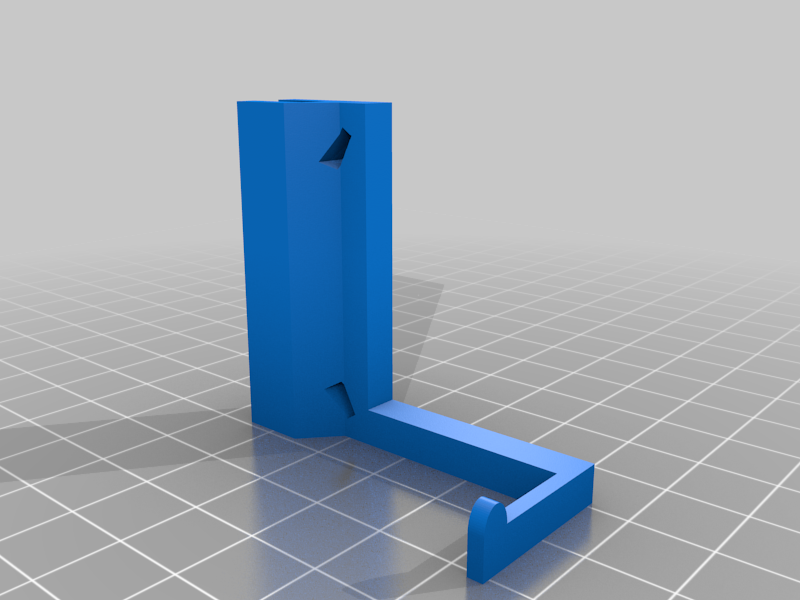
The Ender 3 S1 Pro has a big plastic base that covers up a lot of places where the switch for the 3D Chameleon color changing system could be mounted. I decided to go simple and mount the switch right on the plastic base using 3M Command Strips. So I designed this system to press the switch. The button pusher slides tightly onto the side of the metal base to the heated bed. With a little work and a pair of needle nose pliers, you can get a couple of zip ties in there to secure it tightly. Mount the switch with a couple of tiny screws to the switch mount here, and stick it down in the right spot so the button pusher just presses the switch with the last 3mm of movement when the bet gets to Y=220, just like the 3D Chameleon instructions say. If you need to tweak the location a bit, the Command Strips are easy to adjust. It's just a hook-and-loop stick. As you see in the photos here, the little nub on the button pusher is at just the right height on my printer to hit that switch.
With this file you will be able to print 3D Chameleon switch and trigger for Ender 3 S1 Pro with your 3D printer. Click on the button and save the file on your computer to work, edit or customize your design. You can also find more 3D designs for printers on 3D Chameleon switch and trigger for Ender 3 S1 Pro.