3D Maze
myminifactory
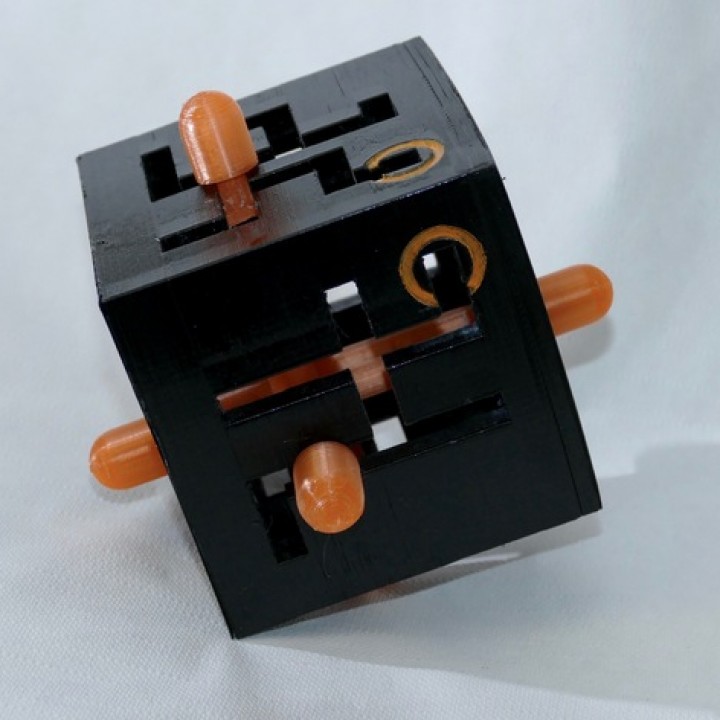
The 3D Maze V2 - Designed by Hendrik Koopmans is a mind-bending puzzle based on an article from Scientific American September 1988. The innovative design of the maze, including the actuator structure, was crafted by me. Your goal is to move the actuators from one corner to another. To achieve this, you must understand that moving forward in one dimension can be obstructed in another. To build the machine, print all six walls and assemble them together using glue. Make sure to print the walls with the inside facing up on the build plate for a sturdy structure. Ensure that all maze corridors are smooth. Alternatively, you can print all panels except the top as a single box. Later, attach the top panel after breaking out supports and polishing any filled openings. To prevent warping during printing, apply your own expertise to address this issue. You will need to print the actuator three times. Assemble one of the actuators by cutting it, constructing the internal structure within the box, and then gluing the cut part in place. Make sure all surfaces are smooth. Print the knob six times. Final assembly requires assembling the actuators first, followed by attaching the panels one at a time. Insert the actuator structure after two panels have been glued together. Attach the knobs to the actuators in such a way that smooth movement is possible (test before applying glue). If you build the box and top panel simultaneously, assemble the actuators inside the box and then attach the top panel. I applied a clear polyurethane coat to my finished project. If you've built one yourself, feel free to share your photos!
With this file you will be able to print 3D Maze with your 3D printer. Click on the button and save the file on your computer to work, edit or customize your design. You can also find more 3D designs for printers on 3D Maze.