3D + Polymer Clay
thingiverse
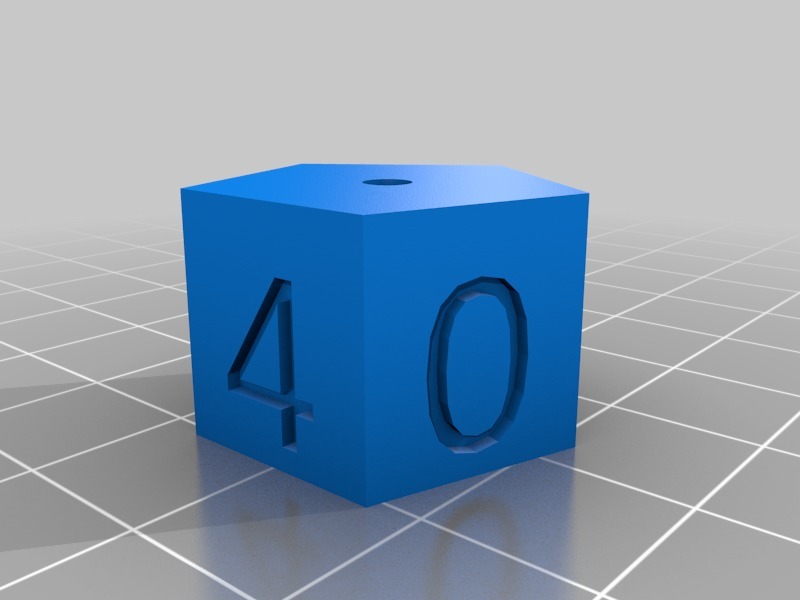
I was trying to make a 5 sided knob for my Z-Stop adjuster on my Anet-A8. The M3 bolt used to set the adjustment has 0.5mm pitch, so a 5 sided knob would equate to 0.1mm. However the knob with these numbers on it was far too big. (I will publish the smaller one in another post, but without polymer-clay.) The question remained though - how to highlight the numbers? I eventually tried Polymer Clay, as advised by my friendly craft supplier in town. I was able to clean up the faces first with wet and dry abrasive paper, and then after it was dry, pressed home the polymer clay into the numerals. To finish I used a sharp blade to simply gut off the excess clay, slicing along the face of the knob. A hair dryer was used to heat the knob up and start the polymerisation. The contrasting purple numbers in the yellow PLA plastic gave the contrast I was seeking. Depending on the smoothness of the finish there will be some bleeding or irregularities in the characters (see 0&1), however a good finish is possible (see 4). I am about to transfer my A8 to an AM8, and I have printed the user interface. It has an AM8 banner on it, so I have filled it with Bright Yellow polymer clay. Should look pretty good. This is not rocket science but others may find the combination of 3-D printing and polymer clay a good trick to keep up a makers sleeve! NB OpenSCAD previewer here will not render the numbers. I can reassure you, they are in the file.!!! See also: https://www.thingiverse.com/thing:366007 and https://www.thingiverse.com/thing:378250
With this file you will be able to print 3D + Polymer Clay with your 3D printer. Click on the button and save the file on your computer to work, edit or customize your design. You can also find more 3D designs for printers on 3D + Polymer Clay.