3D Printable Bolt Action Retractable Pen
prusaprinters
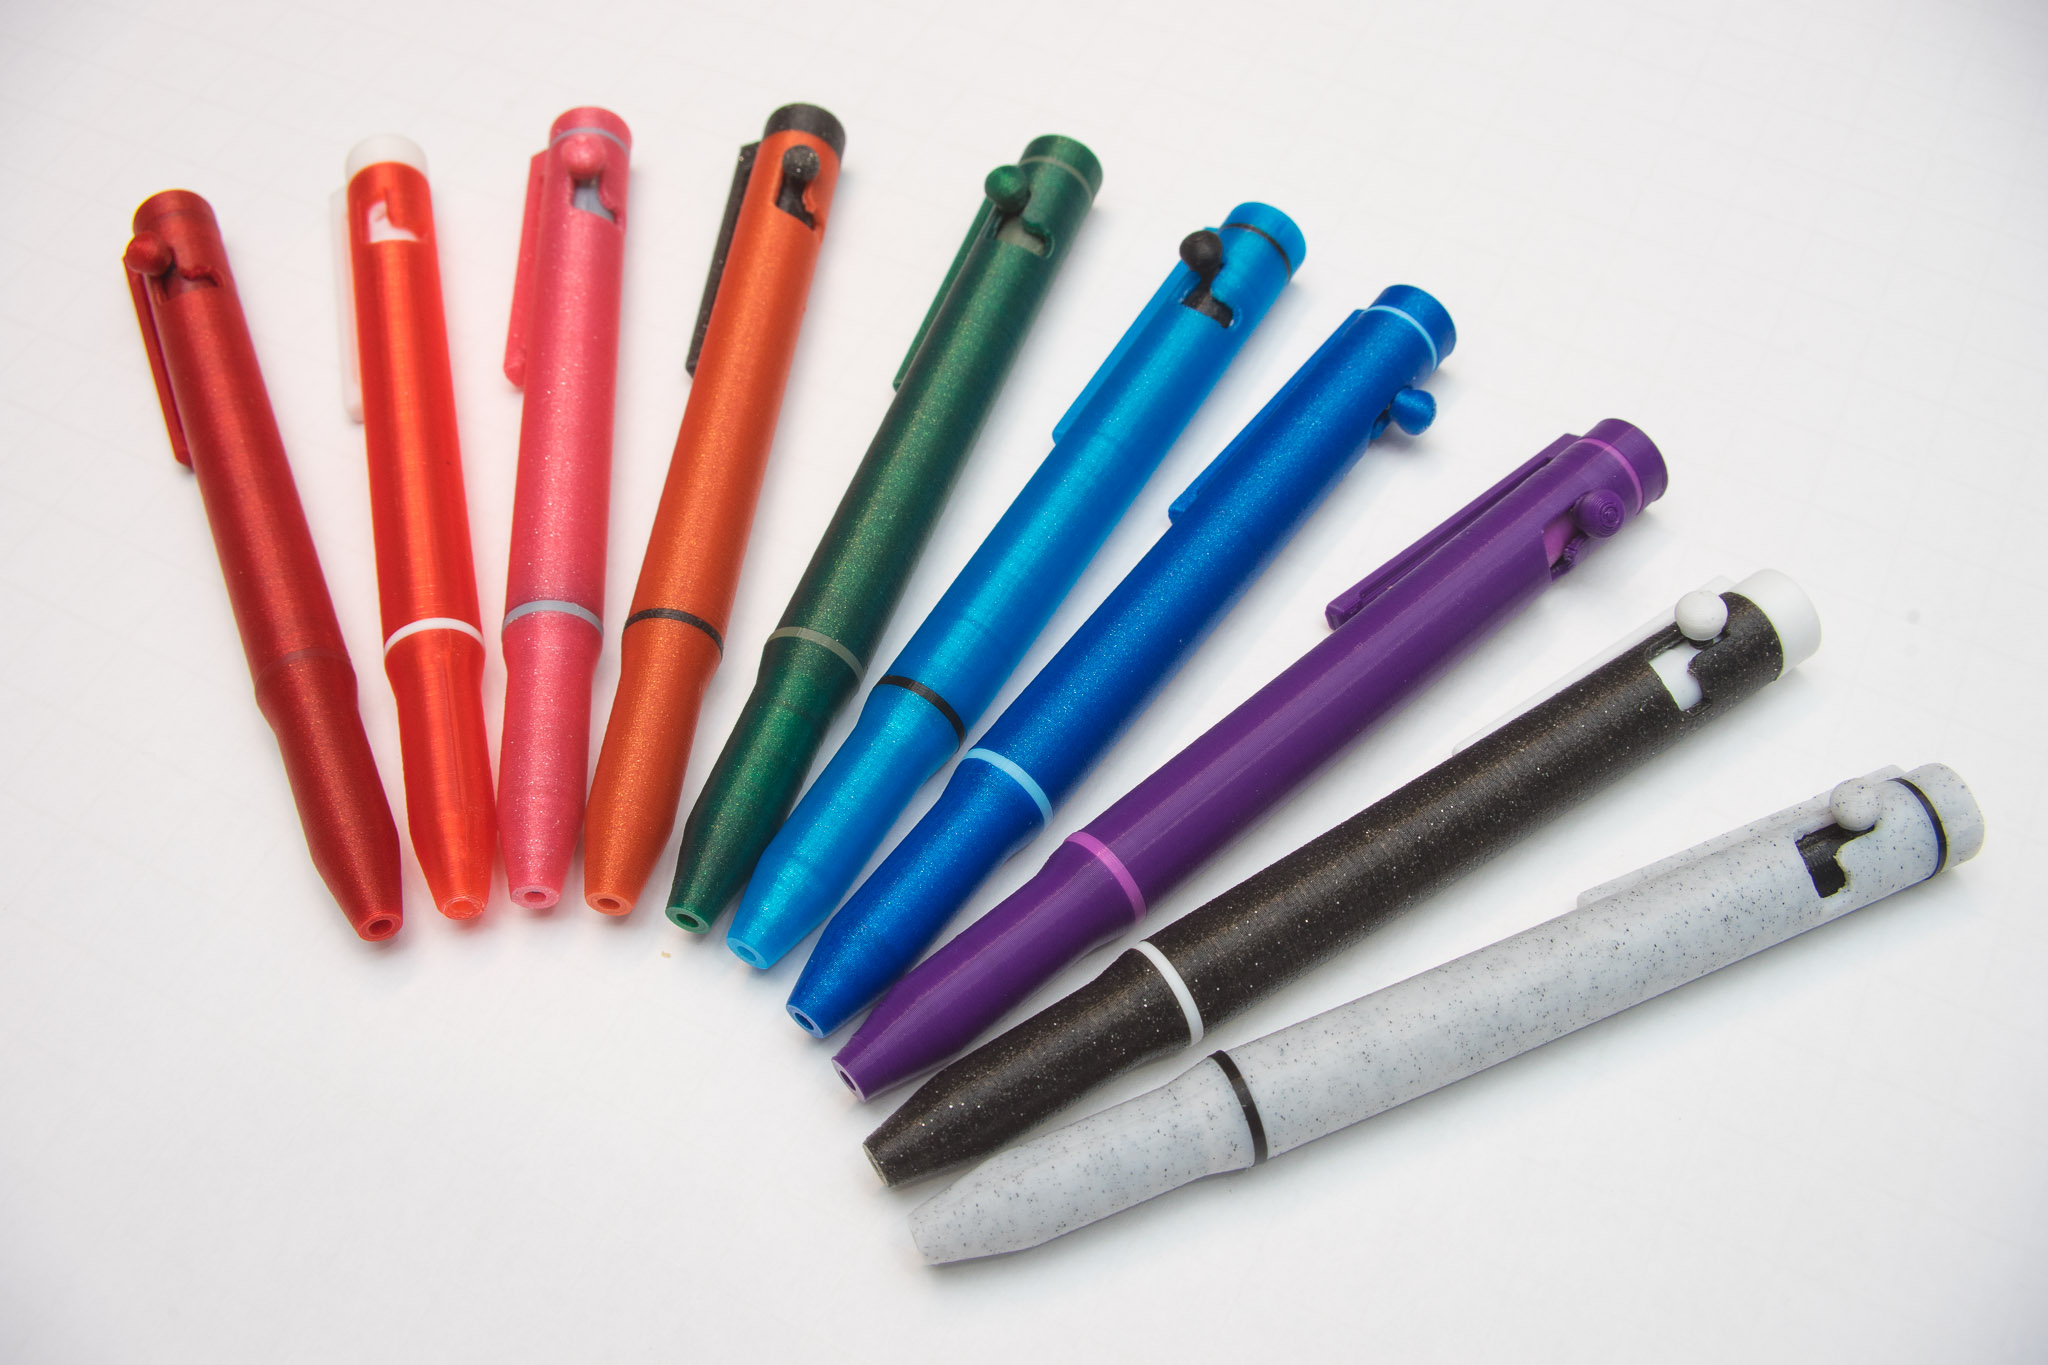
<p><strong>Required Components: </strong></p><p>3D Printed parts</p><p>M3 8mm Socket Head Bolt (see photo of parts for an example)</p><p>Pilot G2 Compatible Refill</p><p>Pilot G2 Compatible Spring - I’ve not been able to find these springs outside the pens so assume you’ll have to buy a pen to acquire a spring and ink refill.</p><p><strong>Tools:</strong></p><p>Hex key/wrench for an M3 bolt</p><p>M3 Tap (optional)</p><p> </p><p><strong>Assembly Instructions:</strong></p><p>Assembly is pretty straightforward, the trickiest part will be threading the bolt through the hole of the body into the G2BoltRefillCarriage. This bolt will be the lever for the bolt action and will also hold the BoltKob. I use an M3 8mm hex head which seems to be a perfect length. Also pre-tap the carriage component to make assembly easier, best case is to use an M3 tap, but it is possible to tap with a bolt also, just go slow as the carriage is weakest at that point.</p><p>Also it’d be a good idea to test thread the nozzle to the body as over extrusion or low tolerance can make these hard to mate. If they’re not wanting to turn, lightly going back and forth with firm pressure will heat up the PLA enough to let the threads work past each other, I’ve also had luck with a low heat heat gun over the nozzle’s threads to allow them to thread more easily (don’t get them too soft!) Go slow, they’ll fit eventually.</p><p>Insert the carriage into the body so that the pocket for the hex head is facing the round hole in the main body, it helps to use a thin screwdriver or even the ink refill to hold it in place. Then thread your M3 bolt through the hole all the way so the hex head is seated in the pocket and the remainder of the bold is through the other side of the body.</p><p>Next screw whichever ClipCap component you plan to use, one has a cutout around the threads to accommodate an accent ring. You need to do this before inserting the Clip into the pocket since it can’t be rotated with the bolt in place. </p><p>The rest is easy, drop your G2 Pilot spring into the nozzle, and your G2NozzleCollar down around the threads of the nozzle. Then the body with the ink refill inside can be inserted into the nozzle and tightened, sandwiching the NozzleCollar. </p><p>Next you can insert the clip into the ClipCap, depending on your print this may need some taps from a hammer to really drive in there, or alternatively a drop of superglue to hold it in place. Look for elephants foot on the clip if your having a lot of trouble here. </p><p>I’ve also included versions of the “cap” that don’t have a cutout for a clip, if you swing that way. </p><p>Finally the knob can be pre-threaded just like the carriage to make the fit easier or just thread right onto the bolt to complete your pen. </p><p>Update: I added a .step file version of the RefillCarriage, this will help if there are any length issues with you particular G2 refill, a simple extrude of the interior face of the carriage will allow you to get a perfect fit, the STL included in the downloads should work for all standard G2 refills however.</p>
With this file you will be able to print 3D Printable Bolt Action Retractable Pen with your 3D printer. Click on the button and save the file on your computer to work, edit or customize your design. You can also find more 3D designs for printers on 3D Printable Bolt Action Retractable Pen.