3D Printed CO2 Car - Part One Design
thingiverse
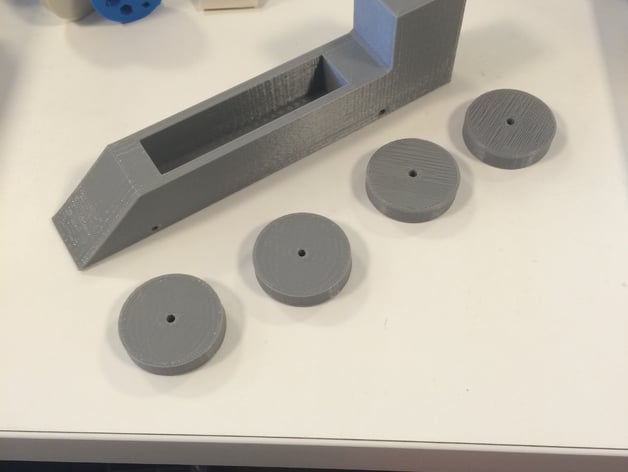
This project entails designing and building a 3D printed CO2 car that requires minimal assembly, with the sole exception being the purchase of small steel rods functioning as axles. This endeavor serves as an excellent means to introduce various skills that can be easily transformed into lessons. The project will be divided into three segments, each encompassing a distinct lesson. These lessons will focus on skills such as physics, math, spatial reasoning, and design. The target audience for this project is 4th and 5th graders; however, it can be adapted for higher grades by adjusting the complexity of the lessons and tasks. The initial part should involve a conversation about the basics of a car and what makes it move and how it can be faster. To execute this project, one needs access to a 3D printer that prints at least six inches in one direction, as the car is approximately five inches long. If the car is too short, it may have trouble moving straight. The cost of 3D printers varies greatly, so it's essential to choose an option based on availability and budget. A CO2 launcher is also required for this project. There are two types available: one uses CO2 pellet cartridges like some bike pumps, while the other is directly connected to a bike pump or air compressor. The latter is recommended due to its affordability and ease of repair. A timer is necessary to accurately measure racing times; however, it can be challenging to find at a reasonable price. The design process will proceed smoothly if one first goes through some basic tutorials on using Tinkercad.com. This link provides an excellent starting point: http://www.tinkercad.com/quests/. It's essential to familiarize oneself with the basics of Tinkercad before initiating the project, as this will ensure a smoother design process. Materials needed for this project include: * A 3D printer that prints at least six inches in one direction * A CO2 launcher (preferably directly connected to an air compressor) * A timer (either from Pitsco or Kelvin) * Axles and screw eyes Preparation is key to a successful design process. It's recommended to complete the basics lessons on Tinkercad.com before handing out the template for the car. Additionally, be aware of common problems that may arise during the project. This project offers an exciting opportunity for students to learn about physics, math, spatial reasoning, and design while creating a 3D printed CO2 car. With proper preparation and execution, this endeavor can be a rewarding and educational experience for all involved.
With this file you will be able to print 3D Printed CO2 Car - Part One Design with your 3D printer. Click on the button and save the file on your computer to work, edit or customize your design. You can also find more 3D designs for printers on 3D Printed CO2 Car - Part One Design.