3D Printed Duct Tape Tie
pinshape
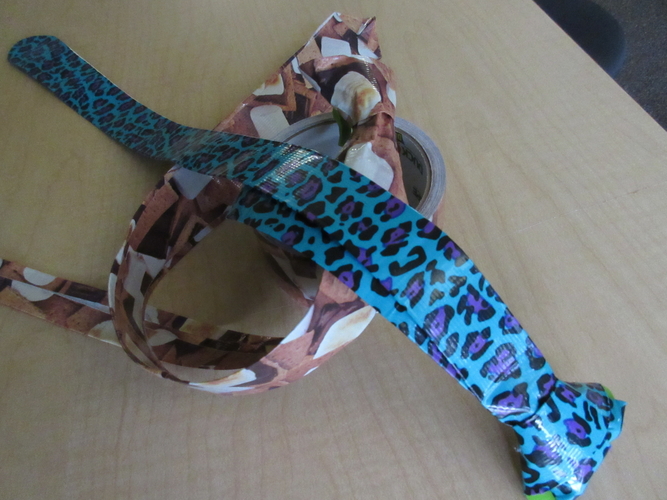
Make your own Duct Tape neck ties with this clever 3D printed clip. Print the tie clip Unroll aprox 3' of duct tape and lay it face up Cut the tape from a little past 1/2 way on one edge to near the other side to taper the tape strip. Unroll another length of tape approximately 6" longer than the tapered strip Fold at tip in one side of the longer strip. Lay the tapered strip sticky sides together on the longer strip with the wider end near the folded tip Fold the sticky sides in following the taper. Now that the tie length is done, give it 19" for adults or 14" for boys and make a back twist, wrapping the thin end around the front of the tie. Tuck one end of the clip into the knot made. Wrap the tail around the back of the clip and tuck it under the knot, behind the long end, but in front of the clip. Pull both ends of the tie to tighten the knot. On the back bring the two sides together and secure them with a small piece of tape to give the knot it's shape. Instructional video can also be found on YouTube:
With this file you will be able to print 3D Printed Duct Tape Tie with your 3D printer. Click on the button and save the file on your computer to work, edit or customize your design. You can also find more 3D designs for printers on 3D Printed Duct Tape Tie.