3D Printed LED Light Bulb Vase
thingiverse
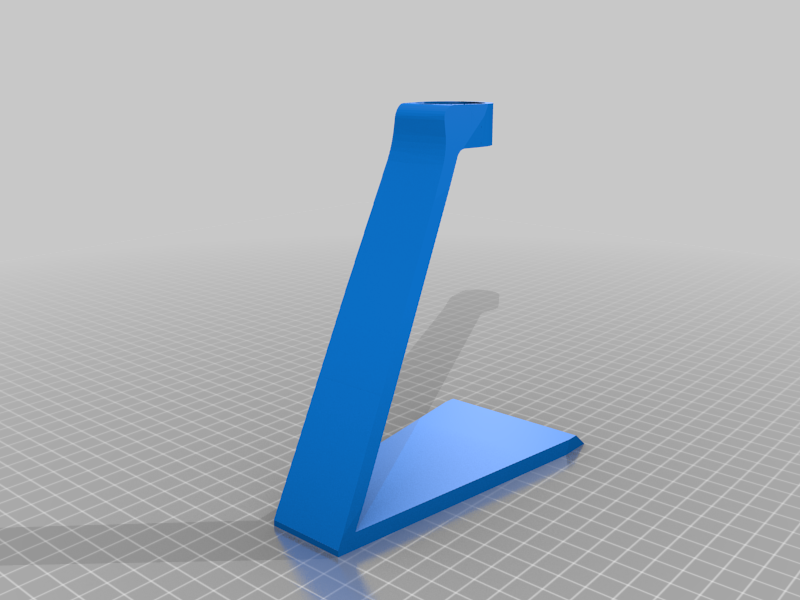
3D Printed LED Light Bulb Vase ========================= Project by Andy - DIYElectronics ------------------------------------------- Note: ------- This project is made by remixing the following 2 files. I tried to make this a remix but Thingiverse couldn't find the original files so I am crediting them here. [Light Bulb Vase by Paul126](https://www.thingiverse.com/thing:2711574) [3D Printed Light Bulb by 3DPrinterNinja](https://www.thingiverse.com/thing:990847) Read the project [blog post](https://www.blog.diyelectronics.co.za/3d-printed-led-light-bulb-vase/) Hey DIY’ers it’s Andy. In this post, I will be talking about my 3D Printed LED light bulb vase. The light bulb and stand I 3D Printed and then I added some cool LED’s inside to give it more of an extraordinary feel – because ordinary bulbs ain’t that fun! I thought this project would be as easy as clicking download and print but I could not have been more wrong. I encountered a few filament tangles, clogged nozzles, and badly leveled beds, but enough of me babbling let’s jump right into this project to see how I got it done right! At this point, I was learning as I was progressing through this project. I know that the bulb I found off Thingiverse needed a part to hold the LEDs in, so I took to Tinkercad to play around a bit and see what I could come up with. I ended up adding a tube-like structure into the centre of the bulb to house the LEDs as it was not a hollow design. After I was happy with the adjustments I started to test print it on our CR-20. I used vase mode with 2 outer shells/perimeters as I wanted an almost transparent look, even though it’s not fully achievable with clear filament. The only downfall of doing so was the gaps and rough edging created towards the end of the bulb. So the only way to resolve this was to add more outer shells. Also note that not all standard bulbs are the same size, I realised my stand was a tad too small. Yet again Tinkercad saved the day, to make it taller and sturdier. Requirements: -------------------- 3D Printer [eSUN Transparent PLA](https://www.diyelectronics.co.za/store/pla/2314-esun-pla-filament-175mm-clear.html?search_query=esun+clear&results=50) [Fillamentum Gold PLA](https://www.diyelectronics.co.za/store/pla/3058-fillamentum-pla-filament-175mm-gold-happens-075kg.html?search_query=fillamentum+gold&results=1) LED Light Strip [DC-DC Boost Step Up Module](https://www.diyelectronics.co.za/store/switch-mode-modules/1464-dc-dc-boost-step-up-2a-2-24v-with-micro-usb-input.html?search_query=boost+module&results=57) [Soldering Iron](https://www.diyelectronics.co.za/store/soldering-irons/14-solder-station-zd99-48w.html) [Solder Flux](https://www.diyelectronics.co.za/store/solder-flux/17-solder-flux-liquid-1l.html) [Sestic Glue](https://www.diyelectronics.co.za/store/glue-glue-guns/1320-sestic-glue-clear-all-purpose-adhesive.html) [Micro USB Charging Cable](https://www.diyelectronics.co.za/store/usb/2248-micro-usb-cable-1m.html?search_query=micro+usb&results=217) Instructions: ---------------- 1. Pre-heat your solder iron to above melting point. Measure out the length of LED strip you want inside the bulb. Once the soldering iron is heated grab a piece of solder flux core and add solder to the tips of the wires on the LED strip light. Do the same on the booster module where the wires would go. 2. Now you are able to melt the wires to the booster module, make sure your positive to negative placement is correct. 3. Set aside the electronics and screw the bulb into the stand from the bottom up. 4. Fold the led strip light into half for double light exposure and place into bulb. 5. To secure everything, glue down the wires and booster module to the back of the stand. 6. Lastly, you can use a Micro USB charging cable and adapter to power up the bulb but because I have designed this for office workspace I have connected the cable to my PC to power it up. Final Thoughts: --------------------- What started as a project I thought would be fairly straightforward turned into a great learning experience. Even though I encountered every 3D Printer problem you can imagine I am still thrilled with the result. Overall I enjoyed making and learning throughout this project. If you as a reader have any suggestions or tips for me please feel free to leave a comment below. If you enjoyed this 3D Printed LED Light Bulb Vase please consider sharing it on social media and if you would like to see more please check out the rest of our blog. Keep up to date with more DIYElectronics Takeovers check on our social media, [Facebook](https://www.facebook.com/diyelectronics/?ref=page_internal), [Instagram](https://www.instagram.com/diyelectronics_/), [TikTok](https://www.tiktok.com/@diyelectronics?is_copy_url=1&is_from_webapp=v1), and [Twitter](https://twitter.com/DIYElectronicza). If you want to check out our store click this [link](https://www.diyelectronics.co.za/store/).
With this file you will be able to print 3D Printed LED Light Bulb Vase with your 3D printer. Click on the button and save the file on your computer to work, edit or customize your design. You can also find more 3D designs for printers on 3D Printed LED Light Bulb Vase.