3D Printed Ornaments (Snap Together)
myminifactory
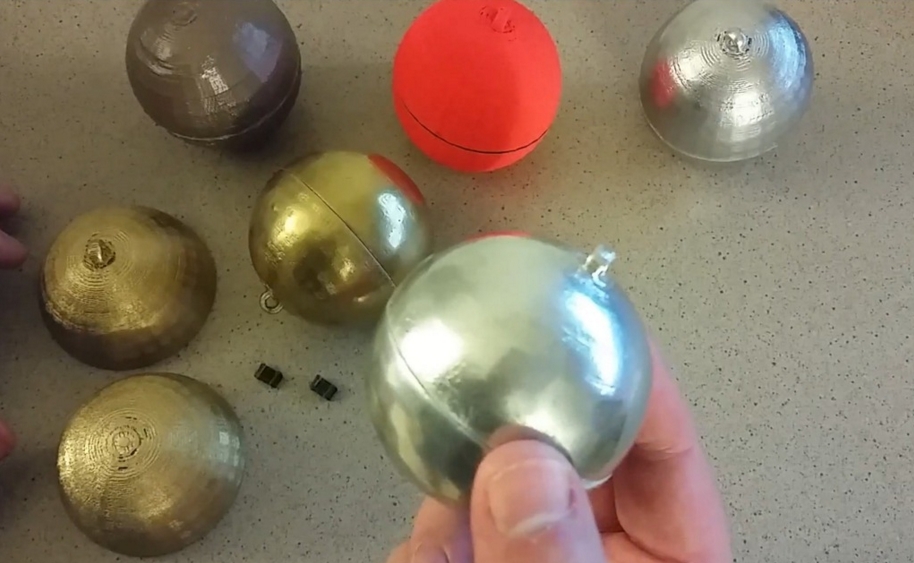
Please watch this video for more information and to see them in action:https://youtu.be/2W8YSOQ2y48 These are traditional holiday ornaments. You can add a little hook or string through the loop hole to hang them on anything you'd like. My wife and I also painted these ones. We'll have a video up shortly that will go into more detail on the process we took. But at a high level, we sanded them using medium to ultra-fine grit sand paper, then we sprayed plastic primer on them, then added a coat of whatever color of spray paint you want. We chose mostly silver and gold. These could be used as a fun craft/art project for kids. Because you can paint them with acrylics as well. So they could paint on their design and they can make their own ornaments while learning about 3D printing. What you'll need to print them, the file called "normal-bottom" is the bottom half. You'll also need to print the connectors. Then you can top half with either the side hanging tab or the top hanging tab. All 3 took me about an hour and a half to print. I printed them at 0.3mm layer height. Once printed, you can snap them together by inserting the connectors into the little slots on the bottom of each half of the ornament. Then pressing them together. 3D Printed Ornaments (Snap Together) byChaosCoreTech is licensed under the Creative Commons - Attribution license.
With this file you will be able to print 3D Printed Ornaments (Snap Together) with your 3D printer. Click on the button and save the file on your computer to work, edit or customize your design. You can also find more 3D designs for printers on 3D Printed Ornaments (Snap Together).
