3D Printed RC Car
thingiverse
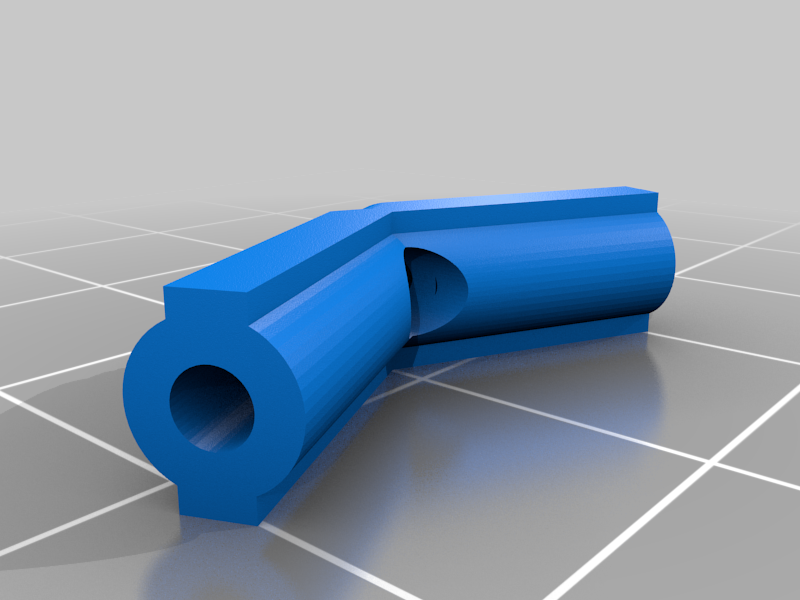
DOES NOT INCLUDE CHASSIS - NEED TO LASER CUT Radio controlled cars offer something not enough people have in their lives: the opportunity to re-experience the child-like glee of racing. But what's even more interesting is putting the parts together, each gear and axle and wheel becoming one single car. Our project allows for both of these freedoms. This build performs best on flat surfaces. Avoid roads or grass to prevent breaking or getting dirt inside the car. If you want to CAD yourself, the car is mainly divided into two gearboxes. Rear Gearbox (acceleration) Essentially, this is just a box with enough room to hold a large bearing. Additionally, the components are split in half, with 3M screw holes on the sides to connect the parts, and allow access to the gearbox. Gearbox: 30mm 30 mm 30mm The large gear fits snugly into the cylindrical hole, and there is space for a pinion gear to rotate (attached to BLDC motor axle), as well as two axles to protrude. Large gear diameter: 30mm Pinion gear diameter: 11.67mm BLDC motor axle diameter: 3.3mm Axles diameter: 8mm There are additionally 4 holes each on the top and bottom spaced in a square, 20 mm apart. This is so the connectors will fit to it. Front Gearbox (steering) This is pretty much the same as the rear gearbox, except for the gears. The space is more hollow than the rear gearbox, this time square shaped. There are no gears for the front, but instead, there is a mini servo that connects to the wheel bearing holders that allow it to rotate. A small little screw is attached to the servo, and the hole fits into a 3D printed piece that connects to the rod. Rod diameter: 2mm The other small little pieces just act as holders for the rod and attach to the sides of the bearing holder with space for a 3M screw. Bearing to Gearbox Connectors / Supports These are the almost triangular pieces with two long arms that stretch out to help support the gearboxes. They connect directly from the top and bottom of the gearbox’s holes (should be 4 on top/bottom), and they all connect to its own bearing holder. Each should have 3 holes at 3.05mm. Approximately 43mm long, 37.5mm for each arm, 27mm wide Bearing Holders This is a cylinder that fits around a regular ball bearing. There are holes on top and bottom that allow for screws to fit and attach to the connectors. There are four of these for the rear gearbox. The front gearbox has the same bearing holders but with an additional 3rd hole on the side so that the 2mm steel rod “arm” can steer it. It attaches via a 3M screw. Height: 30mm Thickness: 3mm Wheels Rim: The rim doesn't need to feature many fancy designs. It just needs to be solid enough to hold the weight of the car. There are three major parts of the rim. The inner circle that holds the axle, the outer circle, and supports that run from the center to the outer circle. I used a triangle pattern that repeated around the origin to hold the rim up. It doesn't take much to have a stable rim. I put 5 triangles. Inner circle diameter: 16mm Outer circle diameter: 60mm Tire: This needs to wrap around the rim. For this to be an effective tire, you need a good tread pattern. There are many types of tread patterns that are available: triangles, rectangles, or whatever V shape that you want to include. You can model your tire around your car's tire, or you could copy a random online model. Ultimately, this doesn't affect the speed of the car too much. Diameter: 60mm Note: all screw holes are 3.05 mm Inspired by the works of Rambros "Easy to Build 3D Printed RC Car - Dragon R1"
With this file you will be able to print 3D Printed RC Car with your 3D printer. Click on the button and save the file on your computer to work, edit or customize your design. You can also find more 3D designs for printers on 3D Printed RC Car.