3D Printed Speaker Enclosure for Visaton B80 Chassis
prusaprinters
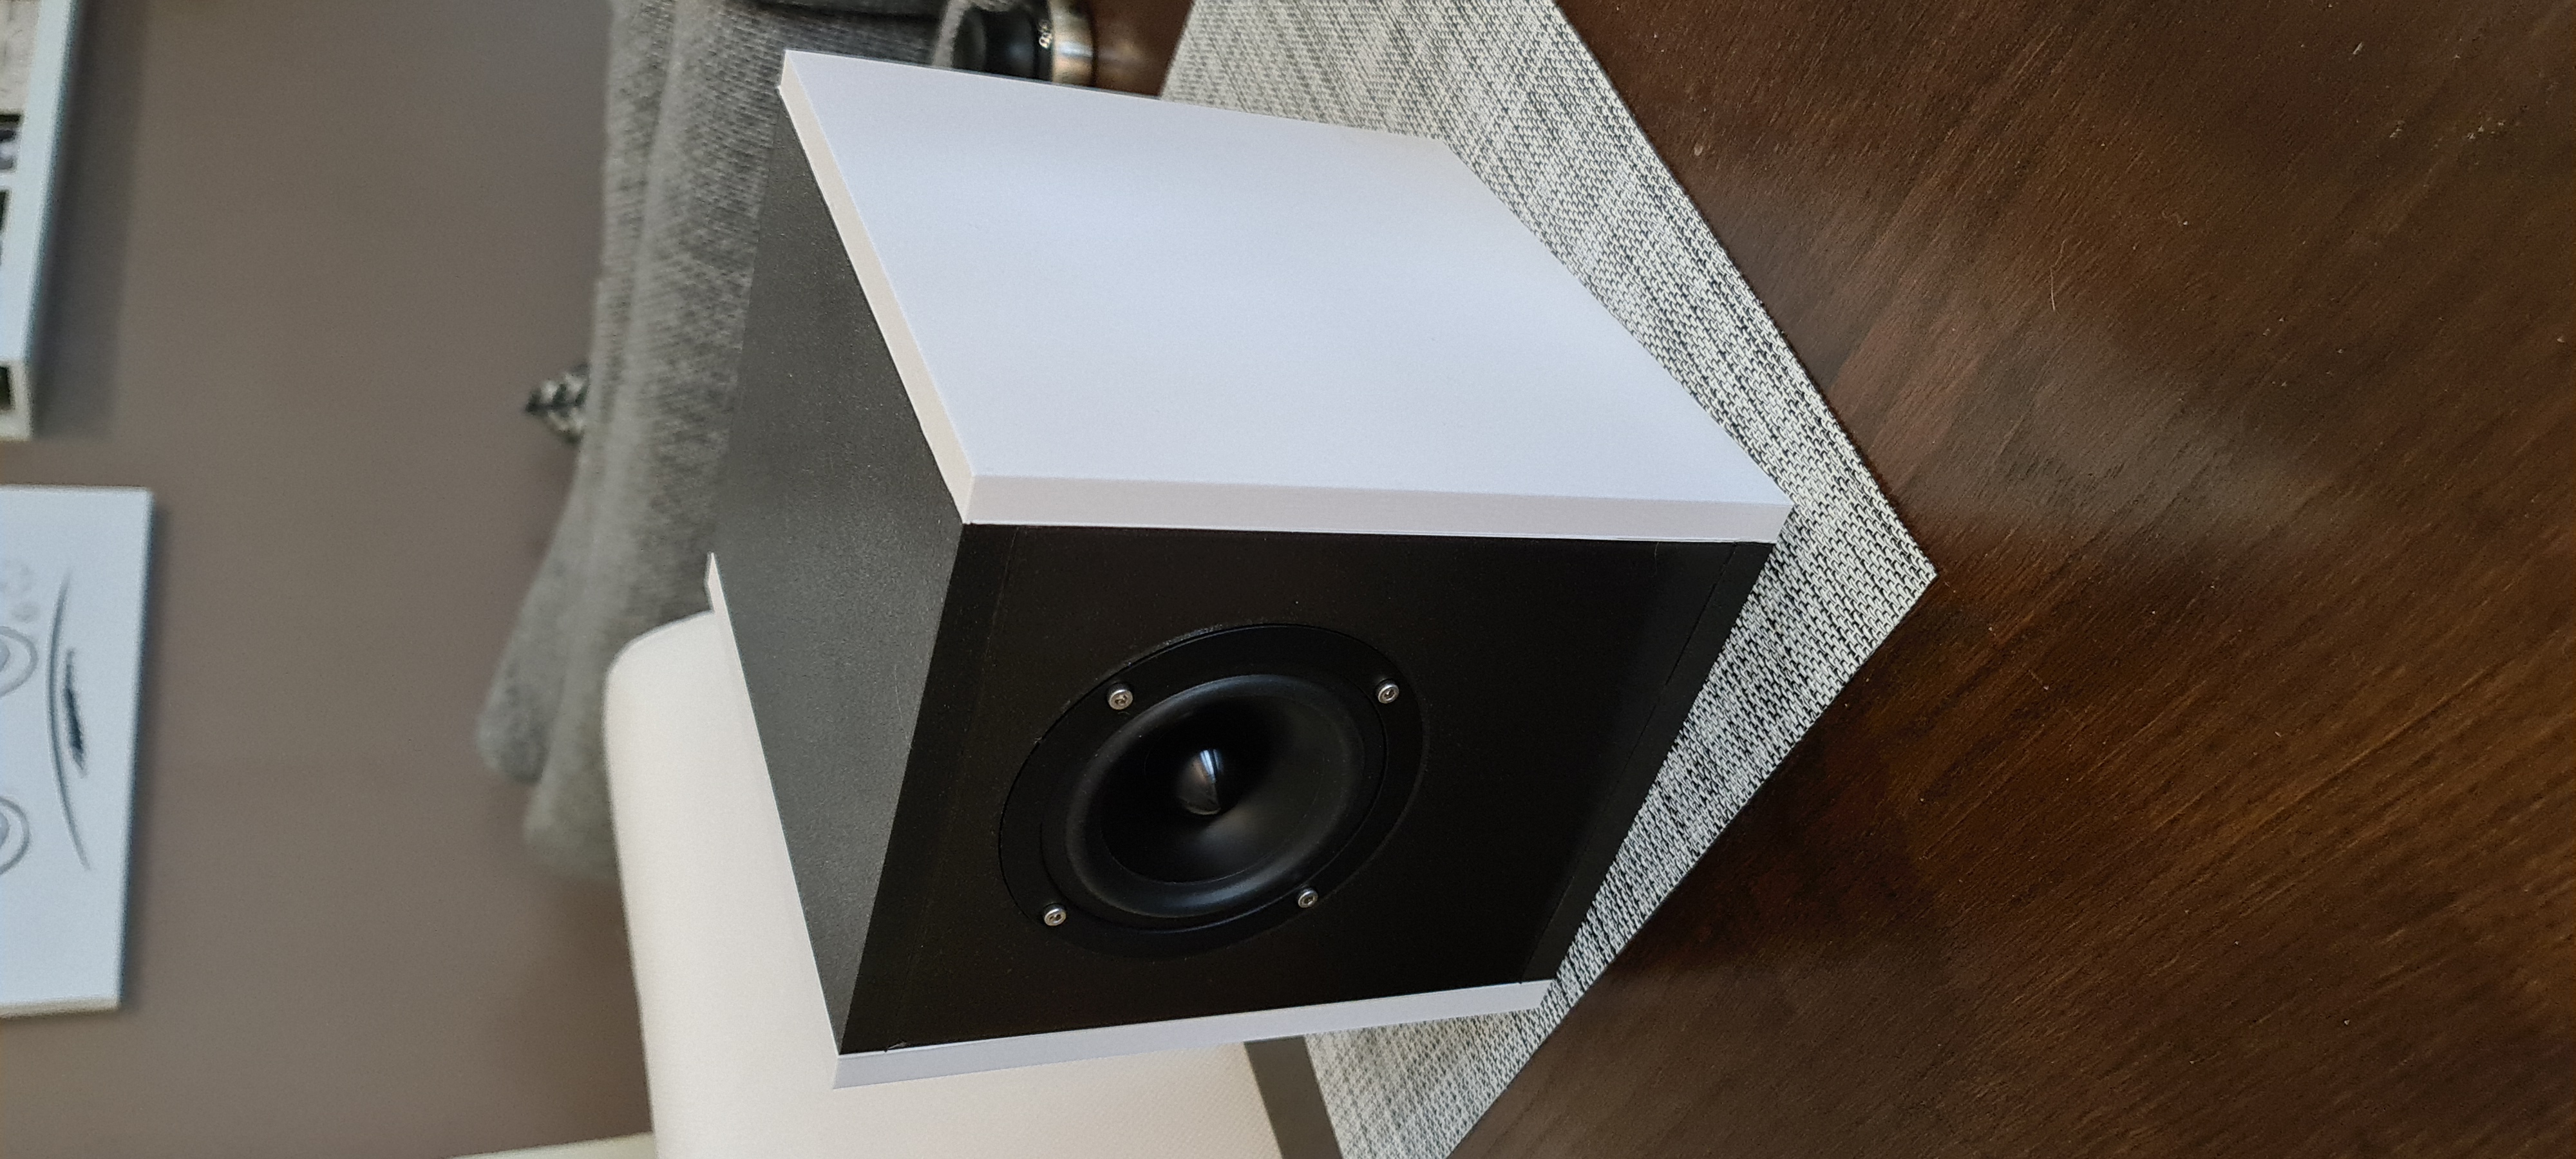
<p>3D Printed Speaker Enclosure for Visaton B80 Chassis based on the "Klang und Ton" “Björn” Concept.</p><p>I saw the building instructions for this initially in the magazine “Klang und Ton 2012/1” and adapted their concept to 3d printing.</p><p> </p><p>I designed all of the parts after the measurements mentioned in the magazine and also included the bass reflex tube and needed holes in the printed parts.</p><p> </p><p>Additionally I melted some threaded inserts into the front and back parts, to mount the loudspeaker chassis and to mount the terminal pins.</p><p> </p><p>To make one of these loudspeakers, you will need:</p><p>-8 threaded inserts M3</p><p>-4 Bolts M3x12</p><p>-2 terminal connectors M3</p><p>-1 Chassis Visaton B80</p><p>-1 Capacitor with 6,8 microFarad</p><p>-1 Inductor with 0,68 milliHenry</p><p>-1 Resistor with 10 Ohm/10Watts</p><p>-¼ mat of acoustic damping wool (e.g. Sonofil)</p><p>-Some Loudspeaker Wire</p><p>-Plastic glue, capable of glueing PETG (or the Material you choose to print)</p><p>-A soldering iron and some solder ;)</p><p>-A hot glue gun may come in handy to glue the electronics into the box</p><p> </p><p>I printed everything in PETG, without supports, layerheight 0,3mm.</p><p>The part "LS_Seite" needs to be printed twice for one box ;)</p><p> </p>
With this file you will be able to print 3D Printed Speaker Enclosure for Visaton B80 Chassis with your 3D printer. Click on the button and save the file on your computer to work, edit or customize your design. You can also find more 3D designs for printers on 3D Printed Speaker Enclosure for Visaton B80 Chassis.