3D Printed TV Fractal Antenna with Wall Mount
thingiverse
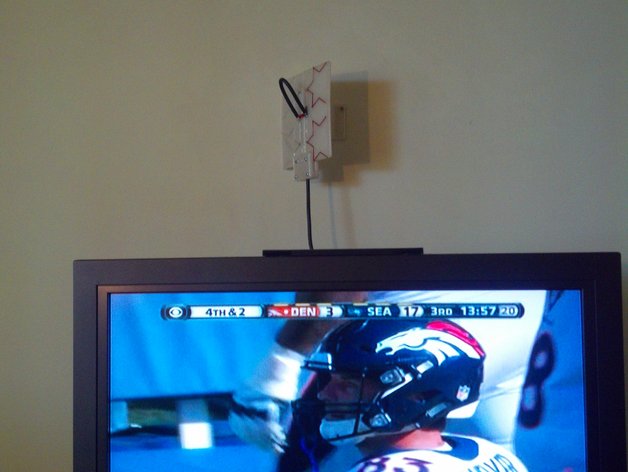
A 3D printable dipole TV antenna that only requires plain wire, one end of a coax cable, and a few machine screws. It's not great, but I'm not an RF engineer so I'd love to hear suggestions on improvements (and if I have enough motivation I'll maybe even implement them :). Depending on orientation and use/placement of a balun and tin foil reflector, it gets me three channels from one repeater station and four from another repeater in my rural area. All channels in my area are the new digital type. The TV antenna fractal pattern was borrowed from William Rucker's instructable:http://www.instructables.com/id/How-to-make-a-fractal-antenna-for-HDTV-DTV-plus-/?ALLSTEPS The 4:1 coax balun design was determined from this balun calculator: http://n-lemma.com/calcs/dipole/balun.htm The center frequency is purported to be 554 MHz (I have not verified this). Instructions Parts list: Wire. (I used 24 AWG solid core wire. You can see on the picture some has insulation, and some does not - it's not important, whatever fits best.) x8 1/2" #4 machine screws and nuts. x4 1" #4 machine screws and nuts. x4 sheet rock screws (for screwing the mount to the wall). Optional: Additional x4 1" #4 machine screws for wall mount (I used foam tape and it seems to be working great). Optional: A 4:1 balun. (AKA an impedance matching transformer, like the one from Radio Shack in the instructable. It may provide better results with than the coax balun I made up. No local Radio Shack where I live, so I made my own.) There may be some holes missing in the 3D designs that you might have to drill by hand - it was a work in progress, and I didn't go back and add screw holes for connecting things that were drawn up later. I may fix this later as I would like to print an antenna for a second bedroom TV. Steps: 1) 3D print the parts. 2) Cut the wire and follow the fractal pattern printed (see the instructable for more info). Use screws to hold the wire in place and to make the connections. Tape or glue can help keep the wires in the tracks. 3) Attach the panel-side of the wall mount to hold the two sides together. I used foam tape - you could also drill through the antenna panel and use screws. 4) If using a coax balun, cut your spare coax cable so there's enough length for the RF connector to reach the TV from where you intend to mount your antenna to your TV. I went for about 5 feet. Otherwise, make sure you have a working and intact coax cable with RF connectors on both ends. 5) If you are using a home-made coax balun: a.) Cut a 7" length of coax. Strip back about 1/4' to 3/8" on both ends, including enough of the dielectric material to get a good connection on the center conductor. b.) Connect the coax balun to the dipole centers following this design: http://n-lemma.com/calcs/dipole/balun.htm . The "antenna feed point" should connect to the dipole center conductors. This is the black loop in the middle of the antenna in the picture. c.) Use screws and wire to connect the coax balun to the coax cable attachment points at the bottom of the panels. I attached the balun very near to the dipole centers, and then ran wire down to the coax cable connection points. d.) Strip the cut end of the coax cable back about 1-2". Screw these connections down to the coax cable connection points on the bottom of the panel. It will be a weak point here until you screw down the coax antenna strain relief. Use two of the printed strain reliever halves and four 1" #4 screws to clamp the coax cable in place. 5) If you are using a store-bought impedance matcher: -> Follow the instructions from the instructable. You may or may not want to use the coax cable clamp - up to you to figure out since I didn't use this approach. ;-) 6) At this point, your panel is mostly made. If you want the wall mount, use a wooden 5/16" dowel (or print one). Force it down from the top through the hinge points on both sides of the wall mount. 7) Use sheetrock screws to attach the mount to the wall. 8) Enjoy a few channels :) Still somewhat in utero, but it does work. It may not work any better than a coat hanger, but it makes for a better conversational piece!
With this file you will be able to print 3D Printed TV Fractal Antenna with Wall Mount with your 3D printer. Click on the button and save the file on your computer to work, edit or customize your design. You can also find more 3D designs for printers on 3D Printed TV Fractal Antenna with Wall Mount.