3D-Printer IKEA Enclosure
thingiverse
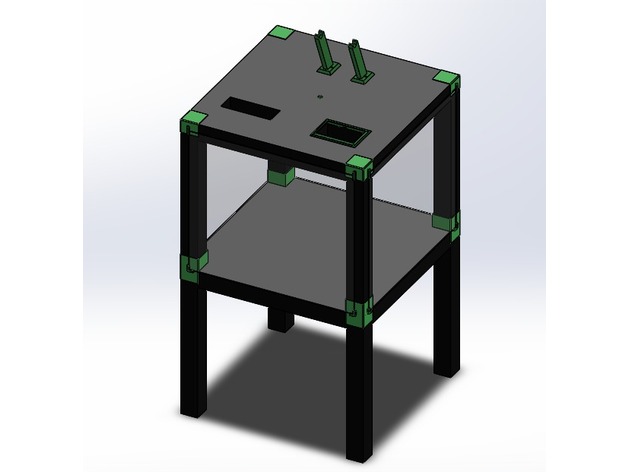
This is an enclosure that I built out of 2 IKEA LACK tables, some Velcro, and hot glue. I got the idea from this Instructable: http://www.instructables.com/id/3d-Printer-Enclosure-from-Upcycled-Furniture/ . I designed this with the intent of having more room for the printer than the one in the instructable though. Print Settings Printer: Prusa i3 Rafts: Yes Supports: Yes Resolution: .125-.25 Infill: 100 Notes: I have added a picture of the assembly in SOLIDWORKS, as well as built so that you can see how it is assembled. Velcro is used at the top so that the corners are adjustable for when the acrylic is put in place. Any screws in place are only there for extra support. I was in a hurry, so I put hot glue down, but I would recommend something like gorilla glue for the filament holder on top. For the power supply, I had to unscrew the leg some, and then wedge the plate it was mounted on between the table and the leg. If you have a different printer then the power supply will probably be different, so I would just mount it any way you want on the bottom, that way you don't have to worry about it overheating inside the enclosure. The case I printed out was specifically for a raspberry pi 3 with a 5 inch touch screen by 52pi. The only things that really need to be bought are the raspberry pi, LACK tables, Acrylic siding (optional), and the 5 inch screen. LACK Table (Need 2): http://tinyurl.com/z4zwef8 Raspberry Pi 3: http://tinyurl.com/joslhc2 5 inch touch screen: http://tinyurl.com/hf2leoa Acrylic Siding (Need 4): http://tinyurl.com/hqmgjle I plan on making a kind of hinge piece later on when I actually have the rest of the Plexiglas.
With this file you will be able to print 3D-Printer IKEA Enclosure with your 3D printer. Click on the button and save the file on your computer to work, edit or customize your design. You can also find more 3D designs for printers on 3D-Printer IKEA Enclosure.