3D printer multimodel test and troubleshooting kit
prusaprinters
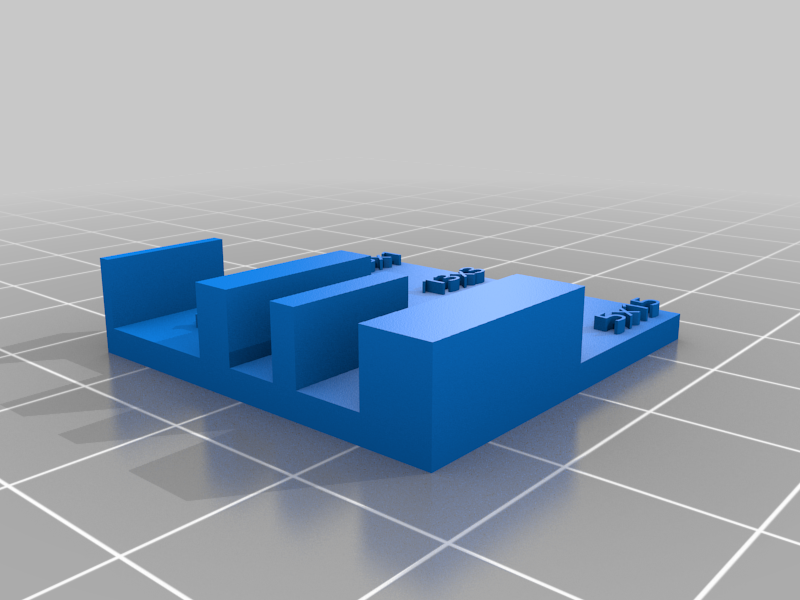
<p>In the POST-PRINTING section I will tell you what to do with each test after printing is done. PLEASE READ THAT SECTION!</p> <p>How to print each test:</p> <p>2x2x2 and 1x1x5 cm blocks: Print them with your normal settings. Use them to test general print quality and dimensional accuracy.</p> <p>Support Test: Print it with supports enabled so the overhanging piece is supported. Use it to test the quality and strength of support material.</p> <p>Bridging Test: Print it with supports disabled and bridging enabled. Use it to test the quality of bridging with different lengths.</p> <p>Stringing Test: Print it with your normal settings. Use it to test for stringing between the posts.</p> <p>Hollow Box: Print it with your normal settings. Use it to check the quality and strength of infill support as well as how well your printer can handle hollow parts.</p> <p>Precision Test: Print it with your normal settings. Use it to test the accuracy in increasingly small parts.</p> <p>DimAcc (Dimensional Accuracy) Test: Print it with your normal settings. Use it to test dimensional accuracy, the boxes are labeled with their millimeter sizes, as well as the gaps between them.</p> <p>Overhang Test: Print it with supports DISABLED! Use it to test your printer's performance with overhangs.</p> <p>Text Quality Test: Print it with supports disabled. Use it to test for precision and quality, especially with text. Includes six tests in one, with horizontal, vertical, and 45-angled text, both protruding and inset.</p> <p>Feel free to remix, but please credit me.</p> <p>Feel free to ask any questions you may have in the comments.</p> <h3>Print Settings</h3> <p><strong>Printer Brand:</strong></p> <p>Creality</p> <p class="detail-setting printer"><strong>Printer: </strong> <div><p>Ender 3</p></div> <p><strong>Rafts:</strong></p> <p>No</p> <p class="detail-setting supports"><strong>Supports: </strong> <div><p>No</p></div> <p><strong>Resolution:</strong></p> <p>0.2mm</p> <p class="detail-setting infill"><strong>Infill: </strong> <div><p>30%</p></div> <p><strong>Filament:</strong> Doesn't matter PLA / ABS / PETG Doesn't matter</p> <p><br/> <p class="detail-setting notes"><strong>Notes: </strong></p> </p><div><p>Can be printed in any material, but PLA, ABS, or PETG is recommended.</p> Color doesn't matter. <p>Filament brand doesn't matter, although I've had good experience with 3DSolutech and Overture filaments.</p> <p>Be careful with really cheap filaments, they tend to have adhesion issues and are often somewhat brittle.</p> <h3>Post-Printing</h3> <p><strong>What to do after printing?</strong></p> <p>2x2x2 cm Block: Use the general quality of the print to determine if any adjustment is needed.</p> <p>1x1x5 cm Block: Same as above</p> <p>Support Test: Use it to determine the best support settings for your needs. Remember, supports should be able to properly support a print, but should also be easy to remove. Use this print to find the right balance.</p> <p>Bridging Test: Look for the length that the bridges start to get messy, and then you know how large a part can be without supports.</p> <p>Stringing Test: Relatively straightforward, just adjust your temperature and retraction settings until the pillars print cleanly but there are little or no strings.</p> <p>Hollow Box: Use it to check if your printer can handle hollow parts, and design future models accordingly.</p> <p>Precision Test: Look for the size at which the parts start to get messy or don't print. Use that to determine the smallest part your printer can handle, and design future models accordingly.</p> <p>DimAcc Test: Measure the blocks and the gaps between them (preferably with calipers, since they are very accurate). Adjust your print speed and steps-per-mm until all of the measurements are the same as the ones shown on the model.</p> <p>Overhang Test: Look for the angle (0-90 degrees) at which the print starts to get messy. Then, change your support overhang settings to add supports to anything more than the angle before it.</p> <p>Text Quality Test: Adjust print speed, quality, infill, layer height, etc. settings until the model prints cleanly.</p> </div></p></p></p> Category: 3D Printing Tests
With this file you will be able to print 3D printer multimodel test and troubleshooting kit with your 3D printer. Click on the button and save the file on your computer to work, edit or customize your design. You can also find more 3D designs for printers on 3D printer multimodel test and troubleshooting kit.