3d Printer Plexi Enclosure
prusaprinters
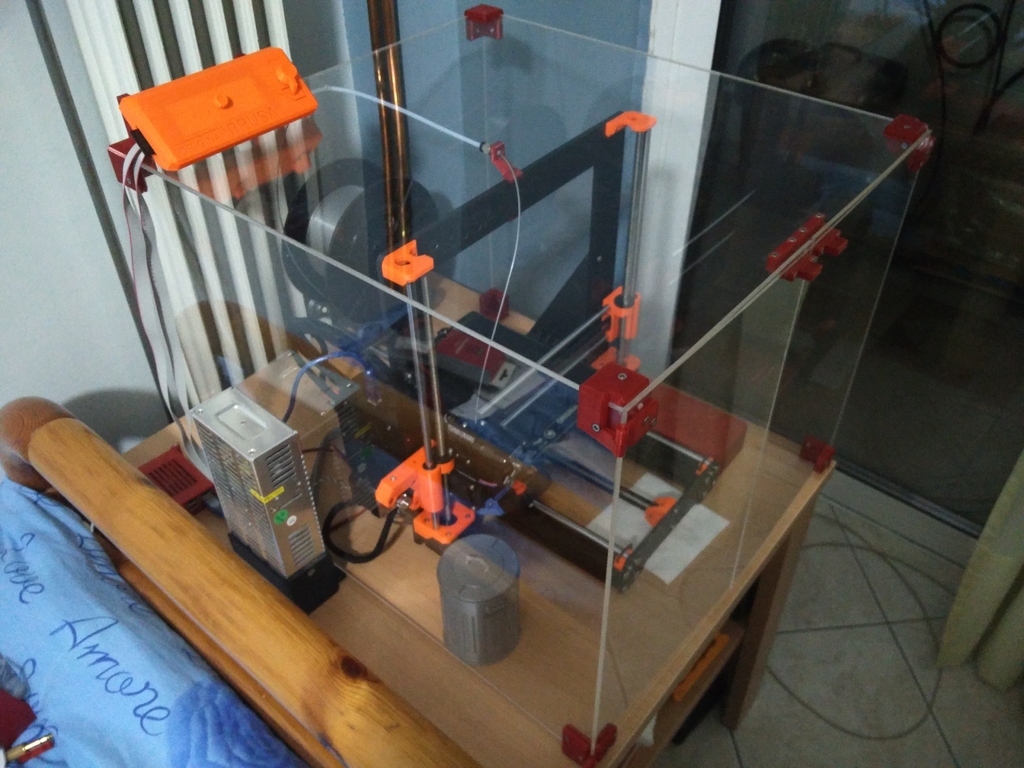
<p>I decided to design my own enclosure. The goal was to make it as little visible as possible. So, plexiglass and prints!<br>Originaly designed around the Prusa i3 MK3, but this ended up being customizable in terms of size, as you can make the plexi parts as big or as small as you wish, to suit your personal needs.</p><p>PS: Included .zip file is organized in folders, much easier to organize your prints. Standalone STLs included mainly for viewing on your browser.</p><p>PS: Please contact me for suggestions or just if you need help in building this! Better do this through my Instagram or Twitter :)<br>While you are at it, give me a follow if you like to see what 3d printing or designing adventures i might end up in. :D</p><p><strong>Update 02/03/2022:</strong> Removed old single-part Einsy stand with new two-part. I kept breaking the single piece while installing the Einsy and cables. New design makes the whole proccess much easier. SIngle part piece is kept for archival reasons.</p><h3>Print Settings</h3><p><strong>Printer Brand:</strong></p><p>Prusa</p><p> </p><p><strong>Printer: </strong></p><p>i3 MK3</p><p><strong>Rafts:</strong></p><p>No</p><p> </p><p><strong>Supports: </strong></p><p>Yes</p><p><strong>Resolution:</strong></p><p>0.2</p><p> </p><p><strong>Infill: </strong></p><p>30%+<br> </p><p><strong>Notes: </strong></p><p><strong>CAUTION</strong>: Make sure your printer is calibrated, and dimensional accuracy is great, tolerances are <i>TIGHT</i>.</p><p>Use common sense while placing the parts in your slicer, to avoid needless supports. The majority of the parts print without supports if positioned properly.</p><p>Use 4 perimeters in other to give proper strength where the bolts/nuts are placed.</p><p>I would also <i>STRONGLY</i> suggest you up your infill for the door hinges, in order to make them as strong as possible.</p><p>Every parts needs a single print, except for the door latches.</p><p>You need 4 magnet cases, and 2 handles.</p><p>Back upper corners are almost identical, but not really. Round indentations exist on the inside sides of the parts, in order to help piece matching and placing.</p><h3>Post-Printing</h3><p><strong>Hardware needed</strong></p><p>You need the following bolts/nuts:</p><p>(34) M3x10mm Hex bolts for all plex parts</p><p>(4) M3x14mm Hex bolts for the LCD </p><p>(34) M3 Hex nutsrnrn(4) 15mm x 4mm x 4mm neodymium magnets</p><p>Plexiglass: 3mm plexiglass sheets are needed, see below for dimensions</p><p><strong>Plexiglass dimensions</strong></p><p>Sheet dimension i used, based on making the enclosure as small as possible for my MK3 (you MUST remove the LCD and the heatbed cover)</p><p>Top: 480 x 530</p><p>Left/Right: 420 x 530 (2 pieces)</p><p>Back: 420 x 474</p><p>Doors: 418 x 240 (2 pieces)</p><p>If you want to make this bigger or smaller, start by figuring out the total XYZ dimensions of your enclosure. Use the following types to determine your sheet dimensions.</p><p>Top: X x Y</p><p>Left/Right: Z x Y (2 pieces)</p><p>Back: Z x X-6</p><p>Doors: Z-2 x X/2 (2 pieces)</p><p>All dimensions are measured in mm.</p><p><strong>Assembly</strong></p><p>First of all, i can't stress enough the need for your printer to be dimensionally calibrated. Tolerances are <i>TIGHT TIGHT TIGHT</i>. Moving on... :D</p><p>Dry fit all your parts, to make sure than everything is printed properly, and your plexis are cut to size. If everything is ok, mark down where you need to drill the plexis, by using a permanent marker and placing it in the bolt holes in the prints. Make extra sure that all the parts are placed properly in order to dril the holes in the right spots.</p><p>Make 4mm holes in your plexis by using a normal drill. Don't use extreme pressure and speeds. Take your time so you won't end up with broken plexi. I you don't feel confident in your hole placement, try drilling 5mm holes, even 6mm. Even so, it is way better to drill smaller, more accurate holes, so you won't need to tighten your bolts too much in order to hold the parts in place. Measure twice, drill once!</p><p>When everything is drilled, peel off the protective nylon for your plexis, just enough to be able to mount the printed parts. Bolt everything together, leave the doors on the side for now.</p><p>Place the enclosure on the surface you are going to be using it, and start by marking down the back corner positions. Use double sided tape to secure the base parts. Now carefully place the doors on the front, and push the front bottom corners inwards, until the doors fit and move properly. Mark the bases, use double sided tape again.</p><p>Now your main box should be securely mounted, and the doors should be able to move freely, but they propably don't stay closed! Now is magnet time!</p><p>Mark the mid point in your top plexi. Start by temporarily placing the magnets, do you can figure out where everything need to be mounted. Mark with marker again, drill in place, and now you should be able to mount the last prints. Make sure the magnets are oriented properly so they don't repel the doors.</p><p> </p><p> </p><p> </p><p>Category: 3D Printer Accessories</p>
With this file you will be able to print 3d Printer Plexi Enclosure with your 3D printer. Click on the button and save the file on your computer to work, edit or customize your design. You can also find more 3D designs for printers on 3d Printer Plexi Enclosure.