3D Upfitters Prusa Enclosure Additions
prusaprinters
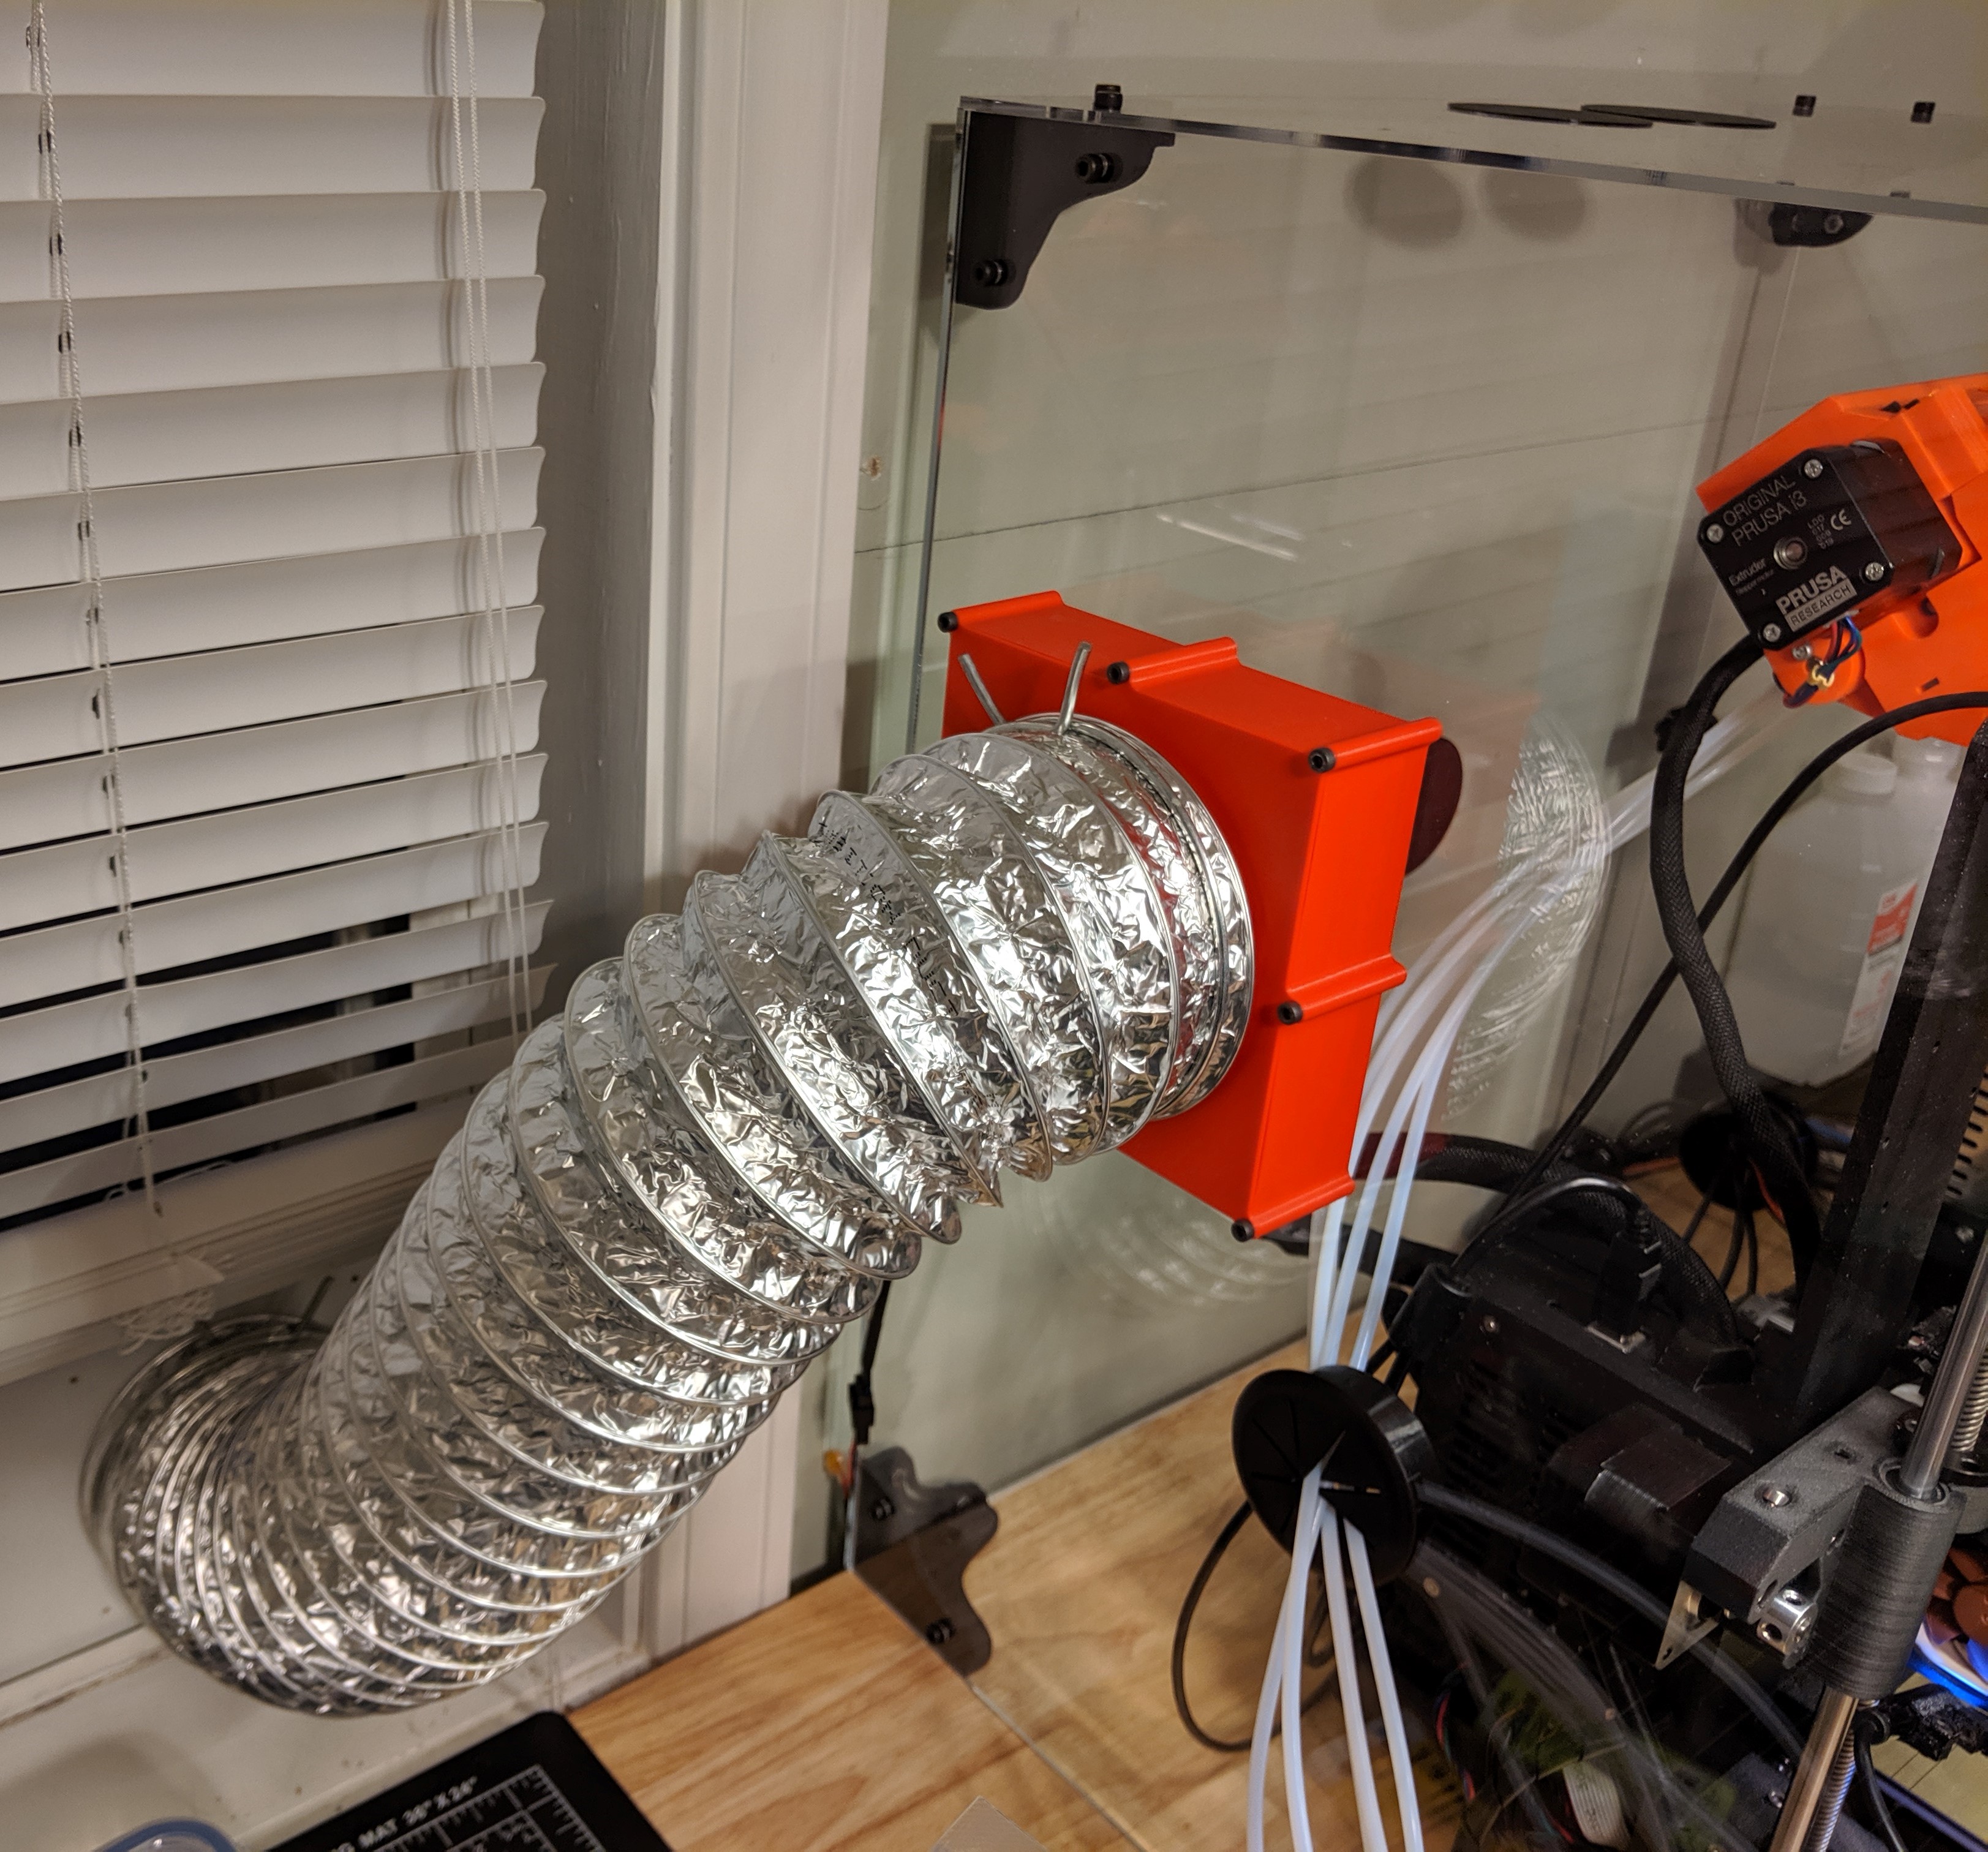
<p>Exhaust mount and plugs for the many openings on the 3D Upfitters MK2/MK3/MK3S acrylic enclosure.</p><h3>Print instructions</h3><p>The strip plug and solid plugs can be printed in any material, but I was able to print them all in TPU to create nice seals for the holes they fill.</p><p>The side exhaust fan files should be printed in a hard plastic (any type). They fit a Noctua NF-F12 fan, and if you have another fan you should check the measurements and modify the files appropriately. This is a SNUG fit for the NF-F12.</p><p>You will need M3 bolts for final assembly. The main body uses the M4 bolts that come with the enclosure kit.</p><p>To use the side exhaust fan you will need to use a 4" hole saw on the acrylic wall while the adhesive is still on it. Take your time and don't apply much pressure so you don't crack your acrylic. I recommend slicing the main body of the mount to just a few layers to use as a guide for marking the acrylic before you drill the main fan hole and smaller holes for the M4 bolts.</p><p>While not required, you can use a tiny bit of super glue to affix the ring to the body cover.</p><p>The ring is sized for a standard 4" dryer hose.</p><p><strong>Update</strong></p><p>I have included 3 more files used for my window exhaust. I used the same 4" hole saw in a piece of MDF that I placed in my window. It was a tight fit to squeeze the dryer hose attachment through the hole in the wood, but it fit. The other two pieces are used to sandwich a piece of window screen (to keep the bugs out) and then screw into the wood with wood screws.</p>
With this file you will be able to print 3D Upfitters Prusa Enclosure Additions with your 3D printer. Click on the button and save the file on your computer to work, edit or customize your design. You can also find more 3D designs for printers on 3D Upfitters Prusa Enclosure Additions.