3DRobotics IRIS+
myminifactory
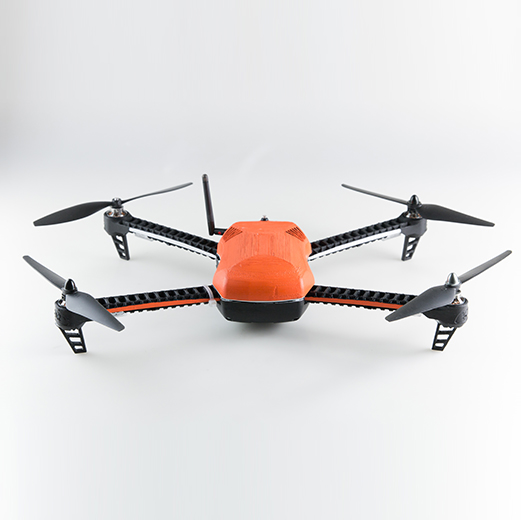
UPDATE - 3DR IRIS+ Clip Now Included 3D Robotics has been a strong advocate of open source collaboration, as seen in their IRIS+ and MADE FOR SOLO projects. They're giving back to the community by releasing the files for the IRIS+ for free! MyMiniFactory is documenting the process and highlighting any issues along the way. Kirby Downey recently released an optimized version of the arms and legs, which are up to 50% lighter and require less support - download here. Follow these steps: 1) Remove the bottom shell by taking out the screws. 2) On this shell, remove the LED and USB devices and insert them on the 3D printed bottom shell. 3) Remove the screws that hold the bottom plate, and remove the top shell. 4) On the top shell, disconnect all wires from the pixhawk, remembering where they were connected. 5) Take out the pixhawk and components glued or screwed to the plate, placing them on the 3D printed top plate. 6) Remove connections to the pixhawk from the bottom plate and remove screws holding the arms of the drone. 7) Carefully remove the foam from the bottom plate. 8) Take out screws that hold the board, putting it back on the 3D printed small plate. 9) Remove clips holding wires in the center of the arm. 10) Make two marks on each wire near the motor to avoid mixing them after cutting. 11) Cut the wires, take out screws holding the motor, and insert it into the 3D printed arm. 12) Solder wires (using heat shrink wire wrap for a secure joint) and put clips back in place. 13) Screw arms to the plate and shell. 14) Remove components glued to the top shell and place them in the 3D printed shell. 15) Glue foam of top plate back on the small plate. 16) Connect all wires to the pixhawk again. 17) Screw the 3D printed top shell and gimbal piece at the bottom.
With this file you will be able to print 3DRobotics IRIS+ with your 3D printer. Click on the button and save the file on your computer to work, edit or customize your design. You can also find more 3D designs for printers on 3DRobotics IRIS+.