3FPD-Replicator 2X - Extruder Upgrade - REV4

3FPD-Replicator 2X - Extruder Upgrade - REV4

thingiverse

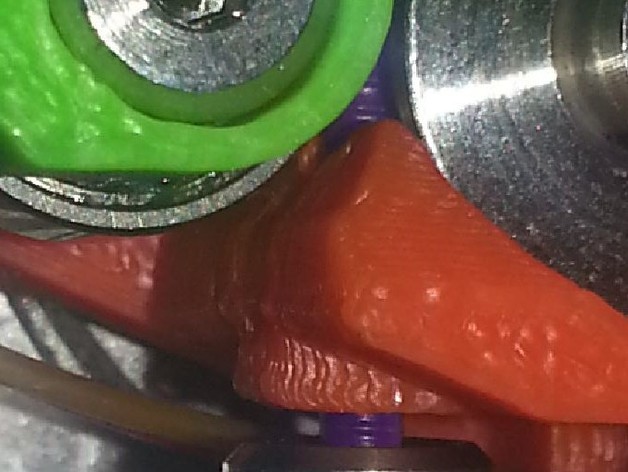
This is an extruder upgrade designed specifically for the Replicator 2X, but with improvements like it is now suitable for use with FLEXIBLE FILAMENTS!!!! OK...01May14, We have used a highly modified Recreus Hot End kit (by chopping the Aluminum Heat sink fins, tapping the thermistor hole to fit a STD Makerbot one, and insulated it) and the REV4 Extruder works out-of -the-box, but not optimally. We will be releasing the REV 5 extruders, and a newly modified Fan Duct REV 2 with a modified cooling tube back to the extruders which has made a huge improvement in cooling the area around the filament in the extruder area before it feeds into the hot-end tube... -base is fully printable without supports(REV4=DESIGN TWEAKS include enclosed guide tube to control flexible filaments like FILAFLEX, and NINJAFLEX) -arm is printable with only external supports for bearing slot(REV4=slight geometry tweaks) -arm integrates feed tube mount as well -tension spring geometry improved -use 5/32" and 1/4" bits for tight clearance bearing/arm pivot holes -uses Makerbot hardware kit for Rep2 + 1 extruder screw ($8 ea from Makerbot.com) -can be pre-assembled for quick swap (under 2 minutes each) -L and R extruder parts included, and labelled (common pin) Instructions from everything I have read, the Makerbot 2X can print the FILAFLEX filament, but it needs to have a guide tube into the hot-end feed tube. We have redesigned our extruder to have this, and give the filament nowhere to go except into the hot-end. Without the PTFE liner, feed speed must remain below 50mm/sec and temps between 205°C and 220°C...we have not confirmed this, but will very soon...just thought we would give the community something to start with Again...feedback is greatly appreciated so we can continuously improve the design. -Acquire the Rep2 extruder upgrade kit hardware only. ($8 ea shoudler bolt, small FH screw, bearing, spring) from Makerbot -I printed it at 0.20mm layer with no support on base, and external supports for the arm just because of the bearing channel. -you will need to chase the bore for the bearing shoulder bolt with a 5/32" drill bit just to make sure it is a tight fit. -you may need to chase the 1/4" pivot hole in the arm to make sure it is a tight fit as well. -you will need to lightly file the pin flats, and round edges to make it fit tight into the base key slot -the base key slot has a relief at the bottom to make sure the pin seats flush and square with no radius in the corners Pre-Assembly: -included parts are LH-Arm, LH-Base, RH-Arm, RH-Base, and a common pin (print 2 of them, and one each of the others) -put the small flathead screw into the deep corner countersunk hole in the base part. -put the pin into the arm part so it is flush on the outside face -put the bearing into the arm slot and secure with the shoulder bolt -shoulder bolt head should be flush to the outside face, and the threads should stick out the back -bearing should spin freely -put arm onto base rotating the pin so the shoulder bolt threaded end rests in the curved slot in the base face. now that the movement is limited in the arm via the threaded end in the slot you can add the spring -place the spring on the bottom perch and compress it into the arm perch. pre-assembly complete. -follow makerbot instructions on how to remove the existing extruder. -place the newly pre-assembled extruder upgrade onto the stepper. You may have to compress the arm slightly to move the bearing out of the way of the drive gear. -new extruder should seat flush to the stepper face. -use one of the long flathead screws from the removed Makerbot extruder through the corner pin to secure the new 2X extruder upgrade to the stepper. -tighten until snug, but arm moves freely with very slight resistance. -press the arm down until you can insert the hex-key though the arm hole to tighten the small flathead screw in the other corner. -repeat entire procedure for the extruder upgrade for the other side. Please let know if you have any suggestions on improvements.

Download Model from thingiverse

With this file you will be able to print 3FPD-Replicator 2X - Extruder Upgrade - REV4 with your 3D printer. Click on the button and save the file on your computer to work, edit or customize your design. You can also find more 3D designs for printers on 3FPD-Replicator 2X - Extruder Upgrade - REV4.