3V LED Flashlight Bulb
thingiverse
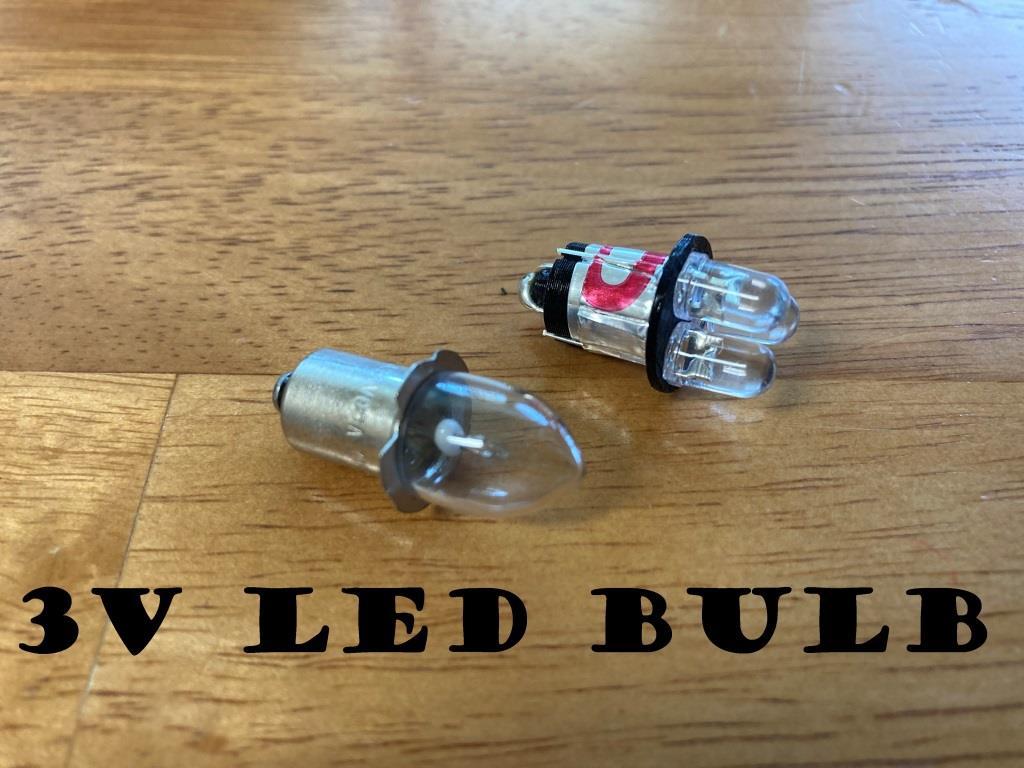
As I have stated before, I love flashlights. It is an addiction. Another one of my addictions is not being able to throw useful things away. So, as the world has transitioned from incandescent flashlights to LED, I have resisted the urge to throw away all of my old incandescent flashlights. They still work, so why should they go to a landfill? They do not work well, however, when compared to the newer LED lights. So, conundrum. I could spend more than the light is worth to buy a replacement LED bulb. Or, I could make the bulb myself. Enter 3d printing technology and a little ingenuity. So began my 3V LED bulb project. NOTE: By using 3V LEDs, this bulb is designed to be used in flashlights that use TWO 1.5V batteries (Battery sizes AAA, AA, C, and D are all 1.5V). Tools and materials: (I do not know why this shows up as larger text when published) 1. an old incandescent flashlight 2. a 3D printer and filament 3. a drill with a 1/16" bit (only if needed) 4. aluminum tape 5. wire cutters 6. soldering iron and solder 7. 3 - 3 volt 5mm LED bulbs of the color of your choosing Procedure (with corresponding pictures): Step 1: Download and print the .stl file. Print slowly for a better end result. at 10mm/s, this file take about 45 minutes to print. Step 2: If the holes for the LED connectors were fused shut on the build plate like mine were, use a 1/16' drill bit to open them again. This is only necessary if the holes are not open fully after printing. Step 3: Cut two strips from the aluminum tape approximately 3/8" (10mm) wide. Step 4: Wrap one strip of the tape around the base of the bulb. Trim the tape to keep it from overlapping. Step 5: Inset the LED bulbs as shown. The longer connector lead should be towards the center of the bulb. Step 6: Wrap the base of the bulb with the other strip of aluminum tape, sandwiching the negative LED leads between the two layers of aluminum. Trim the tape to prevent overlap. Also, trim the excess length from the LED leads that are now encased in the tape. Step 7: Bend the tree center LED leads to make them meet in a Y shape at the base of the bulb. Trim if necessary. Step 8: Solder the Y together. to make the positive bulb connector. Step 9: Install in your old flashlight. I hope this brings you as much joy as it did to me, and prevents usable flashlights for ending up in the trash.
With this file you will be able to print 3V LED Flashlight Bulb with your 3D printer. Click on the button and save the file on your computer to work, edit or customize your design. You can also find more 3D designs for printers on 3V LED Flashlight Bulb.