4-pin fan header
thingiverse
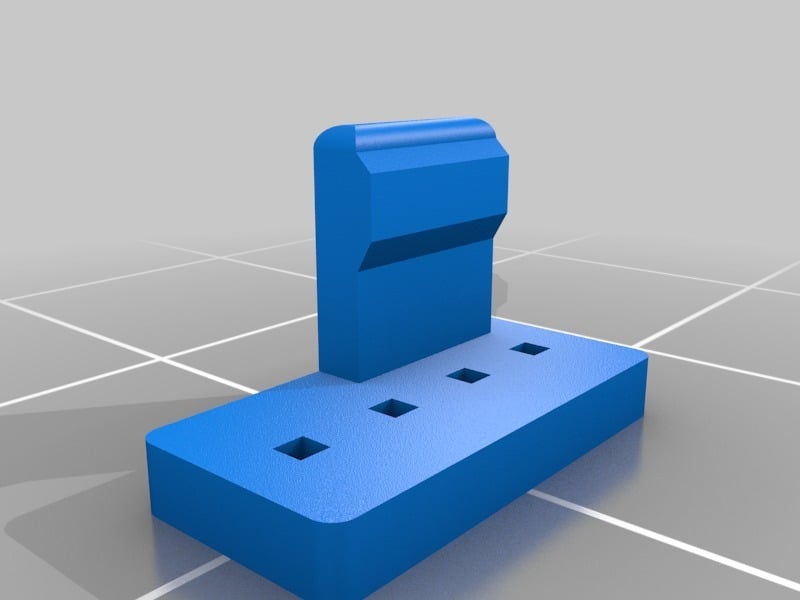
I'm using some spare fan extension cables for a project and wanted a way to connect them to a PCB to guarantee correct orientation. These are 0.1" headers. If you've built a PC, you should recognize the 4-pin fan connector because of the tab sticking up on one side. ### Assembly instructions for Fan Header Male: > Take 4 loose square header pins and shove them through the 3d printed part. Be careful not to bend the pins or stab yourself. This is a very tight fit so it will take some work to get them inserted. I found it was helpful to use some needle nose pliers to hold the pin, and push it through against a hard object (my workbench). Push them through until they are about 1mm longer than the connector's tab. ### Assembly instructions for Fan Header Female: > Take 4 loose square header pins and push them through the 3d printed part. Again, this is a tight fit, so take your time. Push them through until they are about 2mm sub-flush of the top opening. ### Notes Due to the tapering of the female connector's opening, your male connector's pins should make a good connection once they're clicked together. I printed two copies and my multimeter always registered them as connected. Print in the same orientation as the .STL files. These connectors fit my fan extension cables very well, but your mileage may vary.
With this file you will be able to print 4-pin fan header with your 3D printer. Click on the button and save the file on your computer to work, edit or customize your design. You can also find more 3D designs for printers on 4-pin fan header.