4x5" Wet Plate Holder
thingiverse
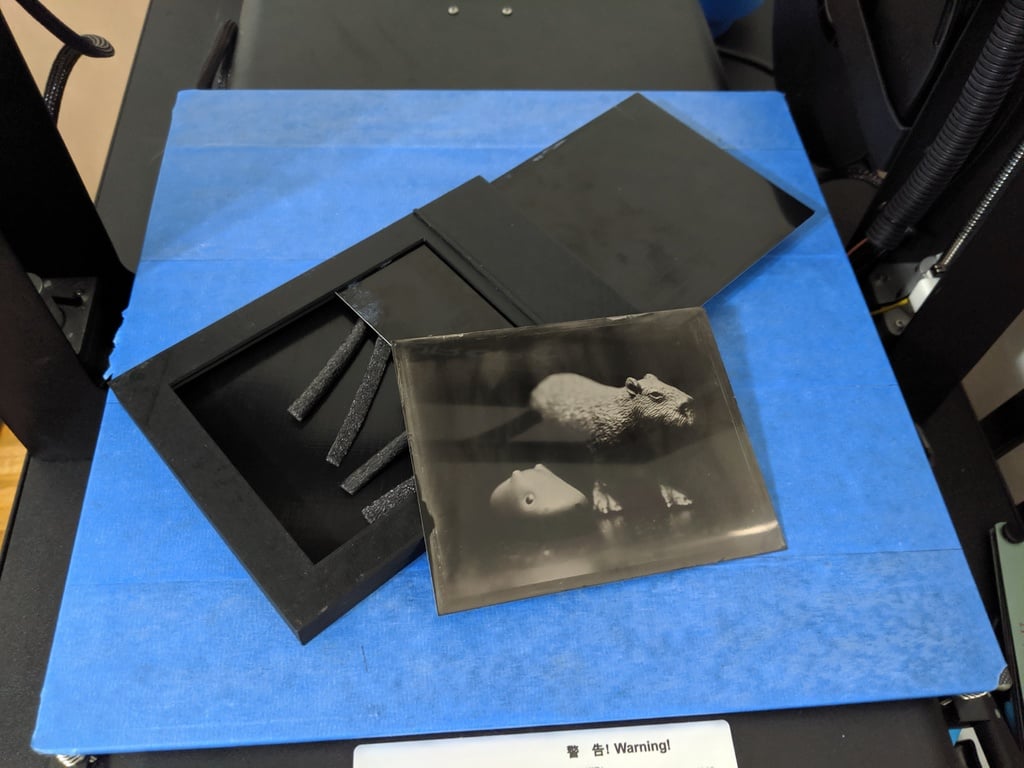
This is a wet plate holder for 4x5 plates. It will accommodate anywhere from a full 4x5 inches down to 3 7/8 x 4 7/8. You can print every part of it except for the dark slide and the light traps which you'll need some foam for (more on that later). You can use anything opaque and up to about a millimeter thick for the dark slide. I've personally been using the same trophy aluminum that I use for tintypes, and a 5x7" plate cut down with its corners filed down works very well. Make sure you don't use anything with sharp corners for a dark slide, as it will tear the light traps. For light traps, you'll need some 1/4" foam backer rod. This stuff is dirt cheap, I bought a hundred feet of it for $9, and you'll only need about a foot. To build the holder, first print all of the following parts: | File | Quantity| | ------|-------| | bottom.stl | 1 | | top.stl | 1 | | retaining_tab.stl | 1 | | lid.stl | 1 | | latch.stl | 4 | | latch_cover.stl | 8 | | latch_cap.stl | 4 | | foam_cap.stl | 4 | Once you have all the parts printed, start by assembling the top and bottom parts. Glue the locking ridge (retaining_tab.stl) into the trough in the front of the top piece (top.stl). This should be a nice tight fit. To assemble the bottom, take the four latch caps (latch_cap.stl) and glue them into the indentations of matching size on the back of the bottom piece (bottom.stl). Try to center them perfectly so that the arches in the cover piece form a continuous space with the gap below for the latches to slide into. Once the top and bottom pieces are both prepared, cut two pieces of 1/4" backer rod for the light traps. You'll want these to be *almost* long enough to extend the entire width of the holder, just a tiny bit less. Squeeze them into the two round channels in the bottom piece. At this point, if you fit the top and bottom pieces together you'll have a complete plate holder body. The foam should extend to fill the slot that the dark slide fits into and keep it light tight, but squeeze out of the way when you insert the slide. Run a thin line of super glue all along the channel around the edges of the bottom piece, then fit it together with the top piece and clamp them together nice and tight. I used 8 clamps all around the edges to keep them as perfectly pressed together as possible. While that sets, you can assemble the lid. The four latches will each go on one edge of the back of the lid, held in place by the 8 latch covers you printed (latch_cover.stl). These will arch over the latches, with the center post of each slide lock going through the center channel of the latch, and they'll anchor to the holes in the back of the lid. Just put a little bit of super glue in each hole, push the posts of the latch slide locks into place, and let them set. At this stage you'll need to watch out as some of the glue might ooze out of the holes and get onto the latches themselves, which need to slide freely. If that happens, just keep moving the latch back and forth while the glue dries to keep it from sticking the latch in place. Once the glue dries, the only thing left to do is to install the foam hole caps (foam_cap.stl) over the holes in the side of the holder where the foam is. Make sure that your foam is perfectly centered (use tweezers if you need to pull it a little bit one way or the other), and then cap it off. The caps are sized such that they should be a very tight fit. I just use a dab of super glue to keep them in place and a wood clamp to squeeze them in nice and tight. After that, the holder is ready to use. You'll need to supply some kind of spring (a piece cut from a plastic soda bottle should work well) or a piece of sponge or foam to keep pressure on the back of the plate, which you just lay face down on the bottom ledge when you're looking down into the holder from the back. I've actually had some luck using the same backer rod foam that I made the light trap out of, just cut into thinner strips lengthwise. Put the lid in place, the slide the latches into the holes on the edges of the frame to keep it in place while you shoot.
With this file you will be able to print 4x5" Wet Plate Holder with your 3D printer. Click on the button and save the file on your computer to work, edit or customize your design. You can also find more 3D designs for printers on 4x5" Wet Plate Holder.