5" Retro Raz
thingiverse
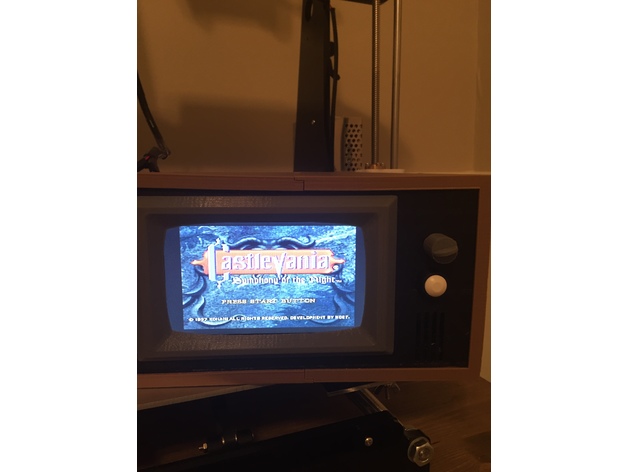
Forget those handhelds! Give me a classic SNES/PlayStation controller any day. I loved the retro TV's look, but an all-in-one was what I really wanted. This project requires a large print bed since the parts are quite big - mine measures 220mm x 220mm x 230mm. Some parts need gluing, and that's okay. The Raspberry Pi 3 mounts inside the TV. A huge shoutout to Kazy for the original design! eBay is my go-to store for everything. PARTS Video Note: HDMI is RetroPie's primary video output. If you've got an HDMI connection hooked up, it will auto-switch in once turned on. If not connected to an HDMI source, it will default to the secondary connection - the A/V connection. • 5" LCD Screen - $19 - Easy to crack open a cheap backup monitor and grab the screen - http://www.ebay.com/itm/272521288290?_trksid=p2060353.m2749.l2649&ssPageName=STRK%3AMEBIDX%3AIT • 4-Pole Audio/Video Connector - $1.20 - Made my own with some solder and wires, and I'm in business - http://www.ebay.com/itm/252478906201?_trksid=p2060353.m2749.l2649&ssPageName=STRK%3AMEBIDX%3AIT Pinout can be found here - https://www.element14.com/community/thread/43364/l/raspberry-pi-2-av-output-via-rca-question?displayFullThread=true • HDMI Panel Mount - $2.50 - http://www.ebay.com/itm/391559192757?_trksid=p2060353.m2749.l2649&ssPageName=STRK%3AMEBIDX%3AIT • 270 Degree HDMI Cable - http://www.ebay.com/itm/382123783421?_trksid=m570.l1313 Audio Note: This project doesn't include a speaker, but you can easily add one if you want to. • USB Sound Card - $5 - http://www.ebay.com/itm/172387577004?_trksid=p2060353.m2749.l2649&ssPageName=STRK%3AMEBIDX%3AIT Other Note: This project uses a Raspberry Pi 3, but you can use any version of the Raspberry Pi if you want to. • Raspberry Pi 3 - $37
With this file you will be able to print 5" Retro Raz with your 3D printer. Click on the button and save the file on your computer to work, edit or customize your design. You can also find more 3D designs for printers on 5" Retro Raz.