Cryptex
thingiverse
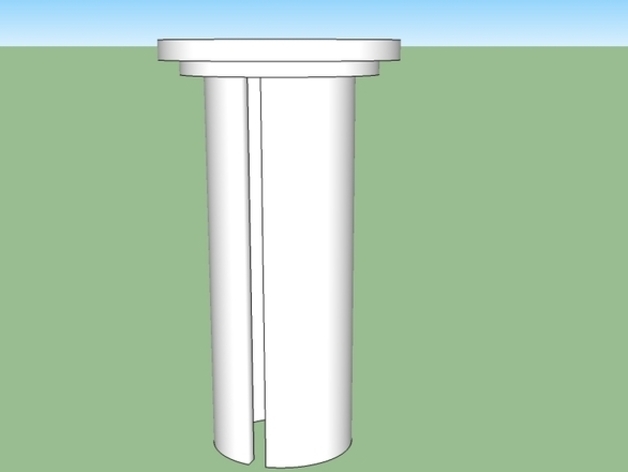
This is a fully functional cryptex Instructions This is my first model I have ever made in a 3d designing program. Instructions: Place the rings over the main body, so that the grove taken out around the rim is closest to the handle of the cryptex. Then mark each flat space around the ring so that the key letter that you want to be used is above the notch that goes all the way through, and not the small notches.When you have assembled it you will want to glue the cap ring to the end sealing the rings of letters. Then you will want to glue the pegs inside the notches on the inner cryptex body (I would recomend super glue) Then you may insert a note into the inside and close it up. Notes:The pegs should go in, so that the curved sides are sideways, and allign themselves wth the curvature of the rings. This will most likely require some filing down to get everything to fit right (I don\'t know how accurate your 3d printer is). You might want to try to file down a little bit off the edges of the rings to allow you to put in a spacer in between each letter ring (Sorry I didn\'t include that) I have also included notches in the inside of the letter rings, to prevent lock picking....Thanks Marcus. I would reccomend you print the inner and outer body with the large end on bottom so you dont have to worry about the overhang. (this design has not been tested since I don\'t have a 3d printer) Please let me know if you print this out, I would really like to see it! Updates: I have made some changes since uploading this cryptex originally, so make sure u have the latest versions of each file. sorry for the inconvenience. I'm learning as I go along. I have now also added the sketchup files, in case you would like to modify my design.
With this file you will be able to print Cryptex with your 3D printer. Click on the button and save the file on your computer to work, edit or customize your design. You can also find more 3D designs for printers on Cryptex.