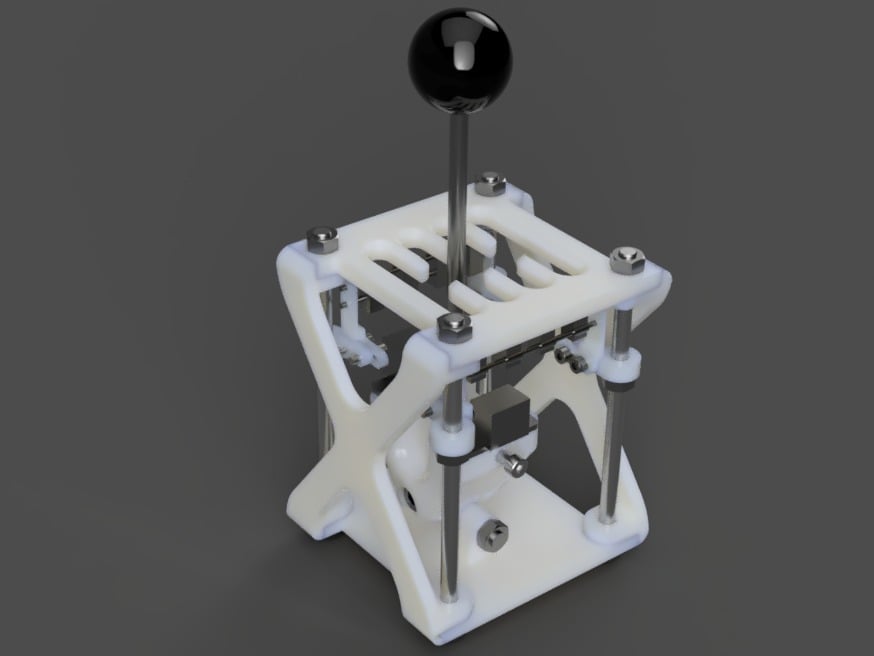
7+1 speed H-Shifter
thingiverse
Since my old H-shifter is not working anymore, I decided to design one. First I made a wood version, out of scrap I found around the house, and came up with this: https://www.youtube.com/watch?v=763-1WVAYfk It's not pretty, but it's working, and the dimensions are right, so it was a good starting point. What do you need for this project: -Fork: https://www.tme.eu/gb/details/gn751-6-12-m6-b/joints/elesa_ganter/gn-751-6-12-m6-b/ but you can also print one, I just had this around, so i used this one. -M6 threaded rod, and M6 nuts, M6 screws -M2 threaded rod and 4 nuts -Microswitches, I used this ones for the designing https://www.amazon.co.uk/Cylewet-25Pcs-Switch-Arduino-CLW1073/dp/B073XH5TL6/ref=sr_1_1?ie=UTF8&qid=1522524917&sr=8-1&keywords=microswitches -Double roller catch, you might need to position the holes for the mounting on the "core" part, and 3mm screws to mount them -Electronic board, I use one from Leo Bodnar: http://www.leobodnar.com/shop/index.php?main_page=product_info&cPath=94&products_id=183&zenid=637d4a8e757a382eedea23c1651af87c -Rubber band to keep it in the center position Later I will add different sized brackets to mount different types of microswitches. I couldn't print it yet, but I will update with pictures to help the assembly. To assemble the shifter, you need to print one of each component, except the brackets and side. From the bracketA you need 4 pieces, from the bracketB _left and _right you need 2-2 pieces, fromt he side you need 2 pieces. UPDATE1: I printed the core.stl part, the fork had a pretty tight fitting, so I widened the inside to allow for some play. You can see a picture of the assembled part. Also, there are some mounting holes on the baseplate now. UPDATE2: I managed to assemble the brackets and the microswitch. It's not easy to assemble it, because of the small nuts and tight spaces. When I will have some time, I will design a better bracket and spacers to make it easier. UPDATE3: Deleted the old brackets. Now the assembly is a bit easier. Repositioned the holes on the core.stl, so it's in the middle of the assembly now. UPDATE4: strategolie made an arduino program, that can be used for this shifter, you can find it on the following link. Thank you for this, I couldn't do it myself! https://github.com/dahunni/Arduino-H-Shifter-Pedals
With this file you will be able to print 7+1 speed H-Shifter with your 3D printer. Click on the button and save the file on your computer to work, edit or customize your design. You can also find more 3D designs for printers on 7+1 speed H-Shifter.