7 inch IPS 1024x600 Display Enclosure
thingiverse
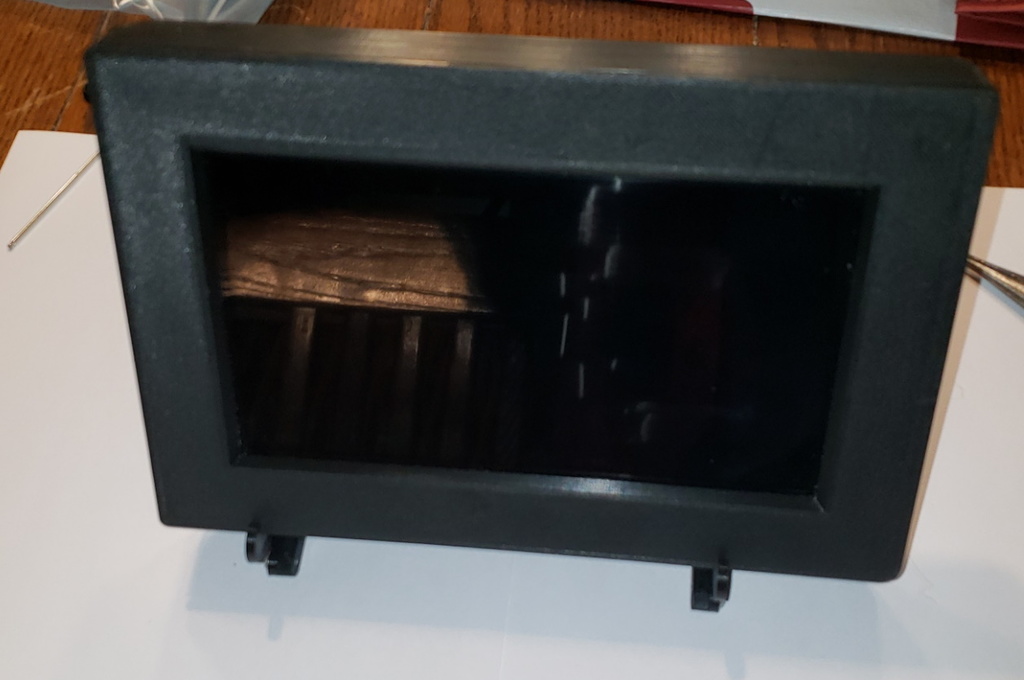
I made this enclosure to fit the below 7 inch (1024x600) IPS Touch Screens, it may fit other brands as well, they are generic but quite nice displays with stereo speakers. The top 2 USB ports on Pi3 are still accessible with the Pi cover on. I've included a simple desk stand as well. Fits these displays (No paid links): https://www.amazon.com/gp/product/B07S51QDTG/ref=ox_sc_act_title_1?smid=A1XSAZLYSMSHPO&psc=1 https://www.amazon.com/Lebula-Touchscreen-Raspberry-1024X600-Capacitive/dp/B07VNX4ZWY/ref=sr_1_4?crid=KY4OV6G1BN9V&dchild=1&keywords=lebula+touchscreen+monitor&qid=1586956989&s=electronics&sprefix=lebula%2Celectronics%2C160&sr=1-4 I used this 90 deg USB cable for touch input to fit inside enclosure. https://www.amazon.com/gp/product/B01M1UYRCD/ref=ppx_yo_dt_b_asin_title_o00_s00?ie=UTF8&psc=1 I have printed all pieces and assembled, fit is very good and PC board is supported in center. I tend to keep bolt holes tight then enalarge as needed. I used button head bolts for assembly. See pictures. Tips appreciated 2020-04-22: Marked on the photo of the display board a source for 3.3v logic so you can also cleanly power Pi down and wake it using the displays power button. Works with the scripts that use falling edge detection on GPIO3. Only need that single wire. Build Notes: ========== **Make sure no more than 5-6mm of the 20mm bolts protrudes from back cover or you risk buldging or punctering the front bezel.** I used a ruler pressed up against button extensions to hold them while setting the back cover in place. Small orings or a rubber band could also be used. Once cover is in place they can't fall out. For stand print 2 sides and 1 center piece. You will need 5 of the button extensions. I made power red, menu open and close blue and the up/down white. No opening for power connector: I have not added a cutout for power cable since I will be using a 12v power source in a vehicle. Add a power opening if needed either in CAD or by hand. I've included the Fusion 360 file for back. In 1st sketch you can see the outline of the onboard display connectors. Top of Display PC board is at the height of the standoffs. Network connection: If you need ethernet port access you should open up the end of the Pi cover to allow it. Support: Print Front, Back and Pi Cover with support. It won't use much time or filiment but preserves bolt recesses and contours. No post production was done for photos aside from tapping holes and slightly reaming recesses to fit the bolts I used. Hardware: 4 M3 x 20mm button head bolts for back, don't use anything longer 4 M3 x 12mm button head screws to attach the Pi cover 4 M3 x 8mm for desk stand 40mm Fan: 4 M3, My fans came with hardware. Use appropriate length M3 bolts.
With this file you will be able to print 7 inch IPS 1024x600 Display Enclosure with your 3D printer. Click on the button and save the file on your computer to work, edit or customize your design. You can also find more 3D designs for printers on 7 inch IPS 1024x600 Display Enclosure.