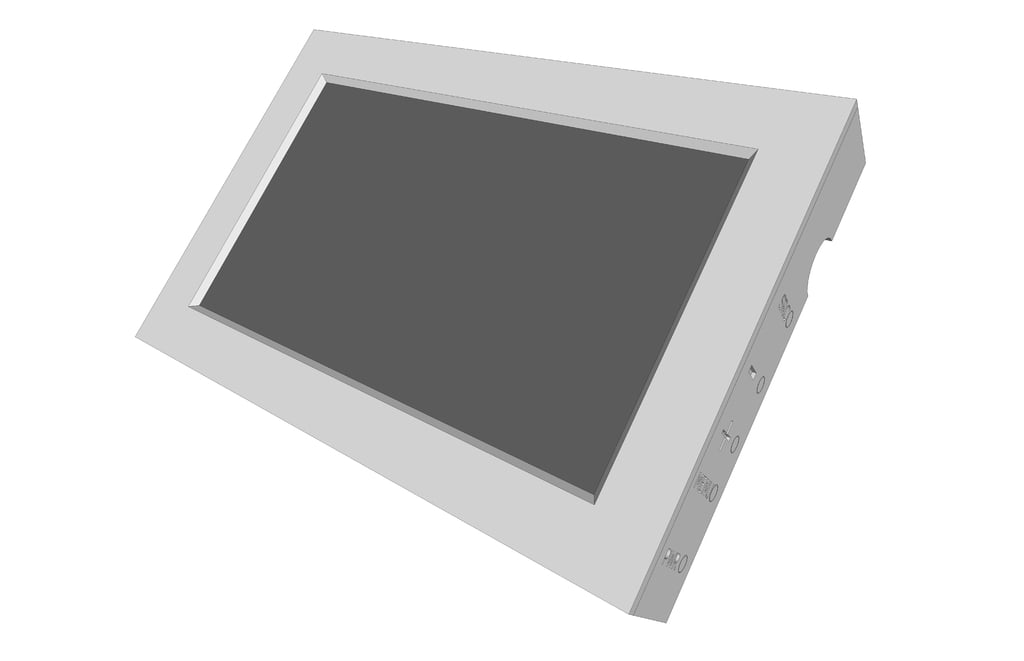
7" Touch screen enclosure (pcb800099) and mounting
thingiverse
UPDATE 21-JAN-2019: Fixed model faces, it should slice correctly now. UPDATE 02-JAN-2018: Added a 5" version after request. Untested, PCBs might be the other way around... ------------------------------- Because of limited space, the cable grooves have been removed. Some other changes have been made. There is no mounting position for Touch pcb. The desk stand and z axis mount holes are compatible. NOTE: If you actually print this can you send me a picture of the front side. I wan't to check the screen alignment in relation to the frame. I have printed a really early version where it wasn't aligned. I made this for my personal use and decided to share it. It is provided as is, with no guarantee that it will fit your display. It should fit the results of the ebay search provided (both the touchscreen and display only variants. https://www.ebay.com/sch/i.html?_from=R40&_trksid=p2047675.m570.l1313.TR0.TRC0.H0.X7%27%27+HDMI+HD+1024x600+Touch+Screen+Display+Module+Board+Kit+Set+For+Raspberry+Pi.TRS0&_nkw=7%27%27+HDMI+HD+1024x600+Touch+Screen+Display+Module+Board+Kit+Set+For+Raspberry+Pi&_sacat=0 The design accommodates a few different ways of mounting. 1. Wall hanger (A 3D printed optional part provided) 2. Desk stand (A 3D printed optional part provided)\ 3. VESA 75mm mount 4. Single screw on the bottom side (no guarantees that the plastic could support the weight without breaking. 5. Multiple holes on the back that provide you with the ability to use your own design for a mount. 6. A Z-Axis mount (For a personal project of mine to have the RPi on my reprap with a touchscreen) UPDATES: 1.The front part wasn't able to handle the screw pressure so I had to drill out the holes. Perhaps some cosmetic Hex cup nuts would fix the issue. 2. A: I increased the length of the screw hole on the front panel. they should hold now. B: Also I decreased the size of the hole so the metal inserts shouldn't be required any more. 3. A: Added a hole next to the buttons for the ir sensor (you might need to bend the sensor slightly) B: Moved the main driver board so it better aligns with the LCD flat flex cable. C: Added a new screw hole so that that the case closes better. D: Reduced the size of the buttons so that they don't misclick if you tighten the case. E: Finalised the Z-axis mount. (8mm smooth rod mount) F: Converted the Groups to components in the *.skp file so that changes to one of the "views" are automatically transferred to the others. G: Modified the Z-axis clamp (8mm rod clamp) so it doesn't interfere with the cable "tie" 4. Modified the wall hanger for better structural strength.
With this file you will be able to print 7" Touch screen enclosure (pcb800099) and mounting with your 3D printer. Click on the button and save the file on your computer to work, edit or customize your design. You can also find more 3D designs for printers on 7" Touch screen enclosure (pcb800099) and mounting.