79:1 HarmonicDrive for Keen-One EQ
prusaprinters
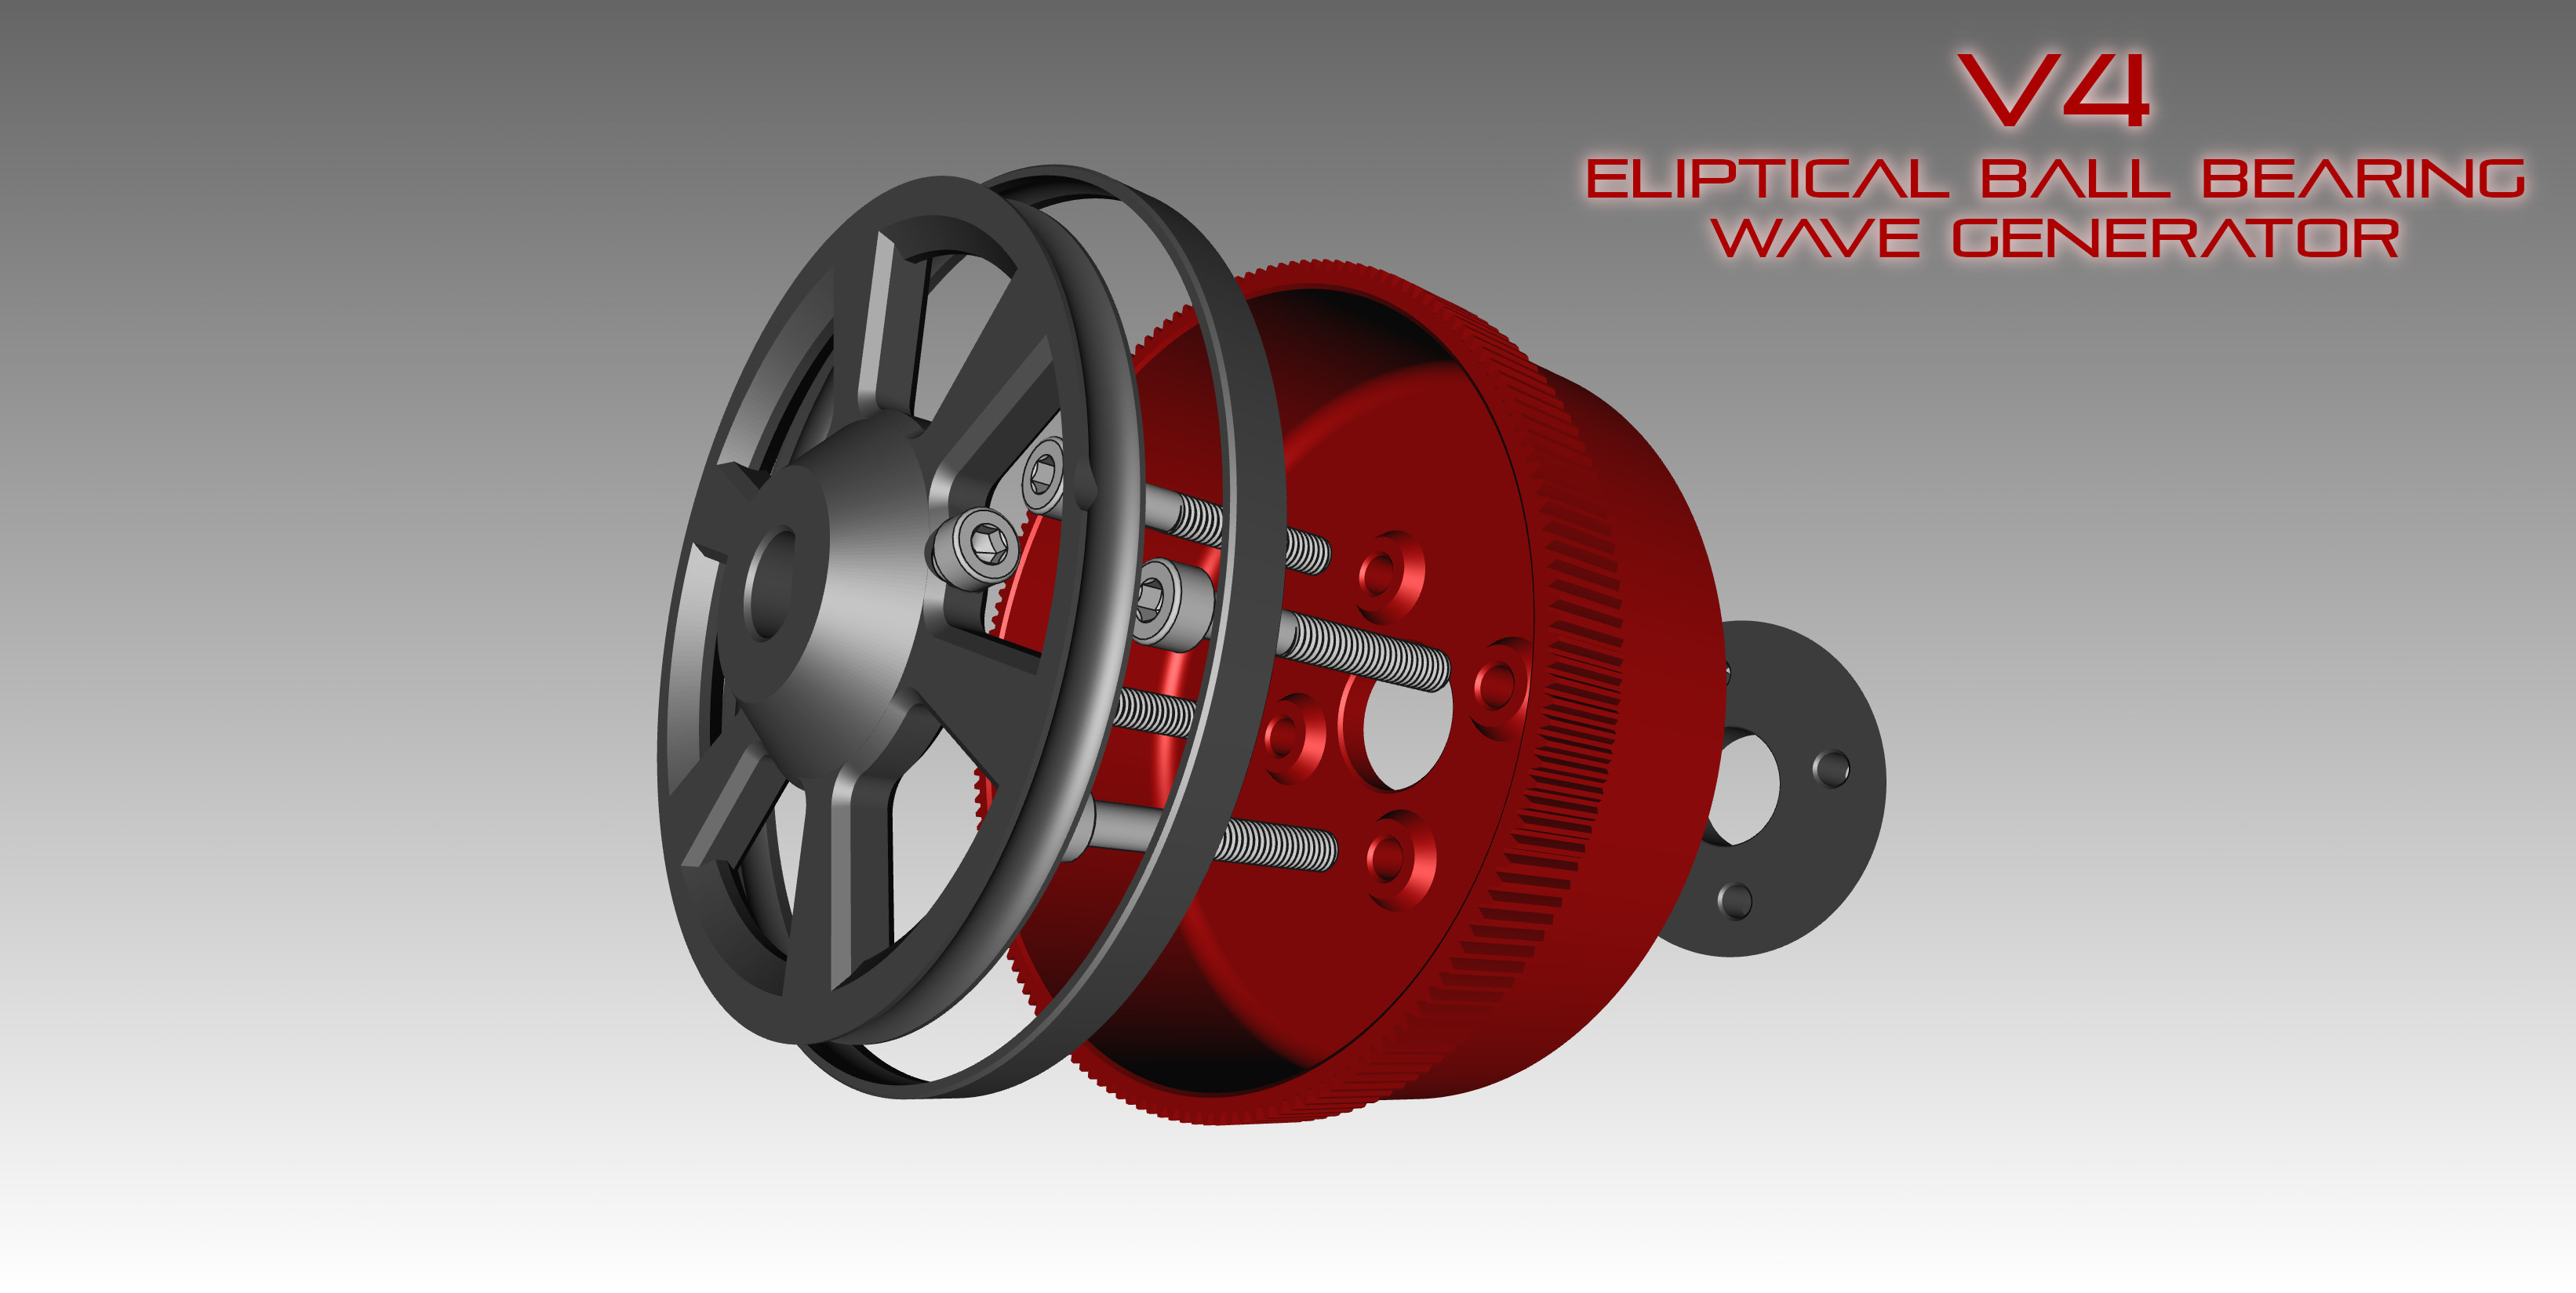
<h3>HarmonicDrive for Keen-One EQ</h3><p>This is a variant with finer teeth (module 0.5) and can be printed without supports.<br>The CircularSpline has 160T, the FlexSpline has 158T.<br>The gear ratio is <strong>79:1</strong></p><h4><br>How to print the gears</h4><p><br><strong>FlexSpline</strong> is printed with PETG with a <strong>0.25</strong>mm or <strong>0.2</strong>mm nozzle.<br><strong>CircularSpline</strong> is printed with ABS with a <strong>0.25</strong>mm or <strong>0.2</strong>mm nozzle.<br>This fine toothing becomes too imprecise with a 0.4mm nozzle,<br>4 M4x30 screws are required to screw this unit together.</p><p> </p><p><strong>Important</strong></p><p><strong>These are precision parts with tight tolerances, so the printer has to be set very well.</strong><br>In order to ensure dimensional accuracy, you must first calibrate your printer best possible. Flow, pressure advance (klipper) linear advance (marlin) and including the shrink factor of the filament, because that makes the difference between success and failure.</p><p>To calibrate your shrinkfactor, use this: <a href="https://www.printables.com/de/model/308591-shrinkfactor-calibation">https://www.printables.com/de/model/308591-shrinkfactor-calibation</a></p><p> </p><h4>Uptade 2022-11-07</h4><p><strong>V2 is done!</strong></p><ul><li>redesigned 158T_Flexspline_V2 to use M4x30 screws, M4x25 are too short</li><li>use the original wave generator</li><li>removed V1</li></ul><h4> </h4><h4>Update 2022-11-13</h4><p><strong>V3 is done!</strong></p><p>After many tests, i found out that the gear works best when the flexspline is completely formed by the wave generator. The thinner wall at the toothing also brings advantages and, above all, smooth running.<br>The 3rd variant was created.<br>With 20 small ball bearings that form the flexspline into an ellipse that does not allow any further freedom for the deformation of the flexspline.<br>Without the elliptical wave generator, I always saw an "unround" movement with the GoTo and cracking noises in the gears that came from improperly engaging teeth.<br>Now the gearbox runs quietly and smoothly but because of the weather I can't test on the stars :(</p><p><strong>BOM for one unit:</strong></p><ul><li>1x 158T_Flexspline_V3.stl</li><li>1x WaveGenarator_A_V3.1.stl</li><li>1x WaveGenarator_B_V3.1.stl</li><li>20x ball bearings 693ZZ (3x8x4) <a href="https://amzn.eu/199SvqO">https://amzn.eu/199SvqO</a></li><li>6x M3 heatset inserts </li><li>6x screw M3x8 </li><li>20x screw M3x10 </li><li>1x grub screw M3x16 </li><li>1x nut M3</li></ul><p>The 20 M3x10 screws are screwed into WaveGenarator_A_V3.1, i drilled the threads here with an M3 tap. Unfortunately there is no space for heatset inserts or nuts</p><p> </p><h4>Update 2022-11-19</h4><p><strong>V4 is done! </strong></p><p>This variant is a printed flexible elliptical ball bearing, it uses 42 5mm steel balls to form the thin flexible outer ring. This then forms the 158T_Flexspline_V3 in a very well-defined ellipse, which creates optimal smoothness. A little grease with PTFE also helps here ;)</p><p><strong>How to print: </strong></p><p>I printed the parts <strong>Wavegenerator_A_V4.x</strong> and <strong>Wavegenerator_B_V4.x</strong> with the <strong>0.25mm nozzle</strong> and a layer height of <strong>0.1mm</strong> to get the most accurate and smooth surface possible. </p><p>Wavegenerator_A_V4 is printed with ABS to have a hard and stable base and Wavegenerator_B_V4 with PETG without cooling and printed very slowly (33mm/s outer perimeter, 60mm/s inner perimeter) to maximize layer adhesion. The outer ring is optimized for 0.25mm nozzle and has 2 perimeters at its thinnest point, i.e. 0.5mm thick</p><p>Layer adhesion is very important here! </p><p><strong>BOM for one unit: </strong></p><ul><li>42 x Ball 5mm </li><li>1x M3 nut </li><li>1x M3x12 Allen screw</li><li>1x 158T_Flexspline_V3.stl</li><li>1x WaveGenerator_A_V4.x.stl</li><li>1x WaveGenerator_B_V4.x.stl</li></ul><p>WaveGenerator_B_V4.3 has slightly thicker edges for more stability. If your V4.2 works without problems, you dont need to reprint it.</p><p><strong>Note:</strong> </p><p>Do not tighten the clamping screw too much, otherwise the wave generator will warp and it will no longer run smoothly. Check the run before you screw the two assemblies together. The hole for the motor shaft is intentionally made a little narrower so that the wavegenerator is as well centered as possible. A lot of torque doesn't work here anyway.</p><figure class="image"><img src="https://media.printables.com/media/prints/309144/rich_content/7a312fae-5319-4ebc-9b7c-3db62270285c/eliptical_bearing_v4.jpg#%7B%22uuid%22%3A%2257647838-5e8f-4413-beb4-3a01e15facd1%22%2C%22w%22%3A1000%2C%22h%22%3A750%7D"></figure><p>Sorry about the many updates, I'm trying to make this mount as good as possible and this is how these development variants came about.</p><p>This short video shows the Keen-One EQ in GoTo. Also hear the sound, it just sounds clean :)</p><figure class="media"><oembed url="https://youtu.be/Of496qCQmSw"></oembed></figure><p>GoTo Speed was 2,5°/s with 27:1 Stepperonline Steppers.</p><p> </p><p>Happy printing :)</p>
With this file you will be able to print 79:1 HarmonicDrive for Keen-One EQ with your 3D printer. Click on the button and save the file on your computer to work, edit or customize your design. You can also find more 3D designs for printers on 79:1 HarmonicDrive for Keen-One EQ.
