8 Track Bluetooth Adapter
thingiverse
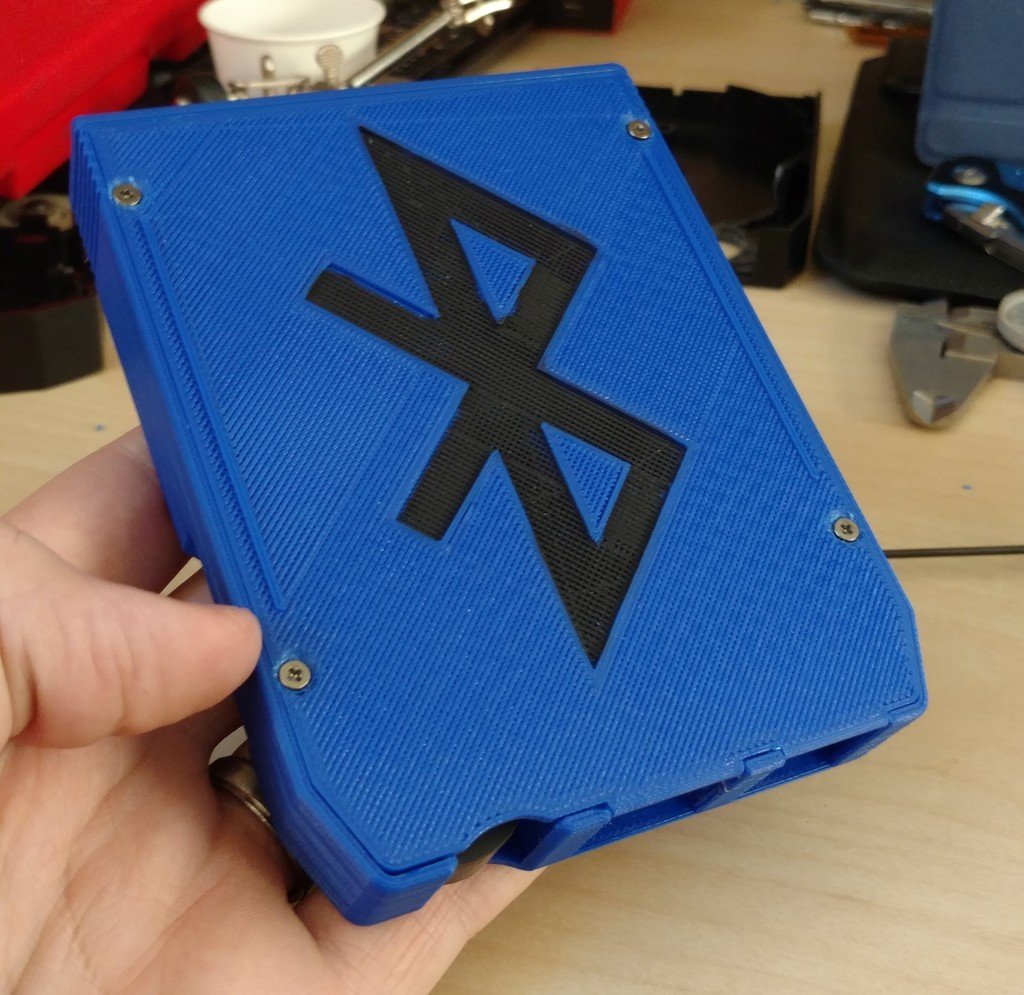
Looked for a way to keep my classic car 100% stock but still get Bluetooth in it somehow, then I thought of this! Once you realize there is 12 volts readily available in any 8 track player the world opens up to you (12v is pulled from the track changing sensor in the player). Simple concept. Take the 12 volts in the 8 track player, reduce it to 5 volts using a gutted car USB charger, and then power a Bluetooth module (and LED to show that it's powered on). That simple! Just hot glue it all in place as seen in the diagram. Also, the USB has an extra unused port so you can charge your phone too! Honestly sounds better than any of my 8 tracks lol Step by step wiring instructions: After you have everything in front of you, take the shell off the USB charger. Desolder one of the USB ports to get access to the solder pads. Solder two + wires to the + side of the USB pads and two to the - pads. These will be your 5V power supplies for the LED and Bluetooth module. Put a 330 ohm resistor in line with the LED + wire and solder that to the LED, then the - wire to the LED (the longer leg of the LED is the +). Now rip the shell off the Bluetooth module. Desolder the battery and keep it for another project. Desolder the headphone jack and below it you will see L, R, and G (left, right, and ground). Cut the micro USB cable that came with the Bluetooth module and strip the wires (keeping the micro USB wire long enough to use). Plug the micro USB into the module and wire the other end to the other two wires coming off the USB charger (no resistor needed). Desolder the tactile button on the Bluetooth module and wire on the new giant tactile switch with two decent-sized wires (found in materials list). Tear open the Sparkomatic adapter and tear out the head adapter and power contacts. The power contacts should screw right into the new case and the head should just use the one screw to hold the guide of the head down. Wire the L, R, and G of the head to the wires coming off the Bluetooth module. And finally, wire the 12V from the power contacts to the + and - of the USB charger. Side note, not sure about every car but the polarity of the power contacts matters! For us (1969 Charger) the positive terminal was on the left side of the two contacts (looking into the player from inside the car). Materials: * 2-port USB charger * Sparkomatic cassette to 8 track adapter * Bluetooth module * 7mm tactile switch * 5mm Blue LED (3.2V) * 330 ohm resistor
With this file you will be able to print 8 Track Bluetooth Adapter with your 3D printer. Click on the button and save the file on your computer to work, edit or customize your design. You can also find more 3D designs for printers on 8 Track Bluetooth Adapter.