8x10 Plate Glass Clips
prusaprinters
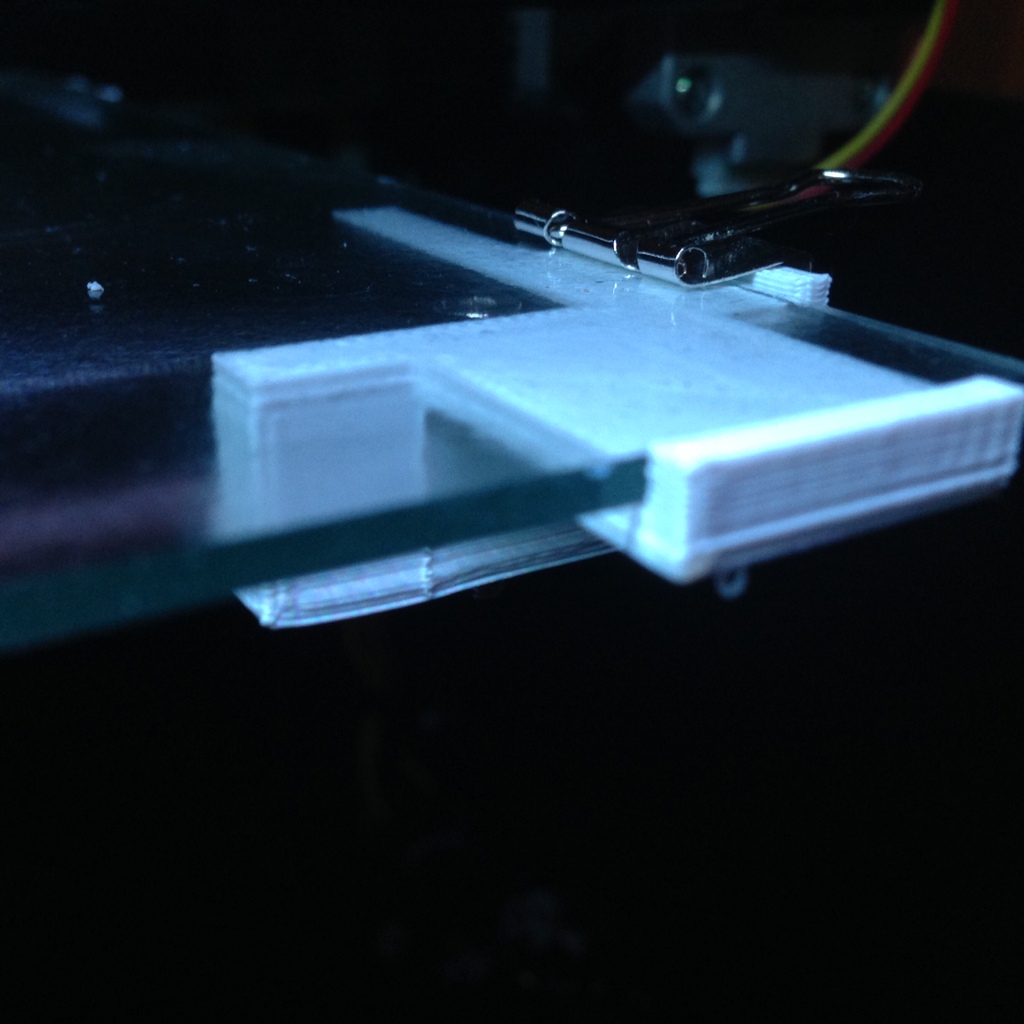
<p>For printing, glass is an ideal surface because it's extremely flat, and stays that way. But custom glass sizes are expensive special orders, while 8x10 plate glass is cheap and easy to purchase.</p> <p>My printers (Replicator and FlashForge) have roughly 6x9 print beds. And it turns out that 8x10 plate glass works perfectly. Unfortunately it's tricky to hold glass larger than the print bed in place, because you have to use large binder clips, and the extruder can run into the clips. And you can only clip down two edges, because the other two edges stick<em>way</em> out.</p> <p>So I've designed these clips that fit on the corners of the print bed, extending it so that it holds standard 8x10 plate glass. The edges of the clips are thin, so you can use small binder clips.</p> <p>There are quite a few similar clips on Thingiverse, which inspired me to design my own. The main difference is that it's Customizable so it's easy to generate clips for different printers with similar designs. And it has thin edges, which allows using small binder clips.</p> <p>Warning: Glass can Break</p> <ul> <li></li> </ul> <p>One caveat - $1.99 plate glass is 3/32" thick, so it's not as durable as thicker, more expensive glass. But in my experience, as long as the glass is flat on the print bed or other surface, it's supported and won't break. But if you try to pull prints off of glass while holding it in your hand, it can easily break. So don't do that.</p> <p>You can also get 8x10 sheets of plexiglass, wood, etc., which can be useful to print on, depending on what you're printing with.</p> <p>Z-Adjust</p> <ul> <li></li> </ul> <p>You'll probably want to use something like <a href="https://www.thingiverse.com/thing:43783">http://www.thingiverse.com/thing:43783</a> to adjust the Z-stop. The details vary by specific printer.</p> <p>What to print</p> <ul> <li></li> </ul> <p>I have a MBI Replicator (original) and a FlashForge Pro, so I have attached STL files for those printers. Print two each of the Left and Right parts.</p> <p>If you use a slicer that generates support, you can use the NoSupport STL files. The other files include support in the design.</p> <p>It's also Customizable, so you can put in measurements for other similar printers.</p> <h3>Instructions</h3> <p>Instructions</p> <p>=</p> <ol> <li>For the Replicator 1 or FlashForge, print two "Left" and two "Right" clips. The "left" clips will go in the front-left and back-right corners, and the "right" clips will go in the front-right and back-left corners. The long clip arms should stick out the front and back, and the short clip arms should stick out the sides. See the rendering and photo's for examples of how the clips are oriented.</li> <li>Get some 8x10 plate glass, and some small binder clips. You can leave them plain glass, put blue painter's tape, Kapton tape, Tufnell, glue stick, Souave, etc.</li> <li>Unscrew the front-left corner screw. Leave the screw in place, but remove the nut. You'll need a hex screwdriver or Allen key, which likely came with your printer.</li> <li>Place the nut into the 'capture' hole in the bottom of one of the "left" corners.</li> <li>Press the corner up against the screw (with your finger on the nut to hold it into place) so that it fits onto the end of the screw. Tighten the screw until it pulls the clip into place, so the top of the clip is level with the top of the print bed.</li> <li>Repeat for the other three corners.</li> <li>Place a plate of 8x10 glass on the print bed. It should fit between the clips, with minimal 'wiggle' room. Clip the front edges with small binder clips.</li> <li>Tighten down the adjustments for the print bed, and level the print bed as usual.</li> </ol> <p>Customizer</p> <ul> <li>If you have a different, similar printer, you can use Customizer to adjust the print bed size (left-right, front-back, and thickness) and screw position and size to generate clips that fit your printer.</li> </ul> <p>Souave</p> <ul> <li>For printing PLA, my best results are using Souave Extreme Hold hairspray, sprayed (and dried) three times, so the coating is quit smooth and solid, giving dozens of prints on a plate before it needs to be re-coated. Wood Glue also works extremely well, applied with a squeegee. Because 8x10 plate glass is cheap and easily available at the hardware store, I prepped a dozen sheets of plate glass, so I always have plenty to print on, and can easily swap between print beds to suit PLA, ABS and Nylon.</li> </ul> Category: 3D Printer Accessories
With this file you will be able to print 8x10 Plate Glass Clips with your 3D printer. Click on the button and save the file on your computer to work, edit or customize your design. You can also find more 3D designs for printers on 8x10 Plate Glass Clips.