90 Degree Right-Angle Bracket for household repairs (#6 screws, customizable)
prusaprinters
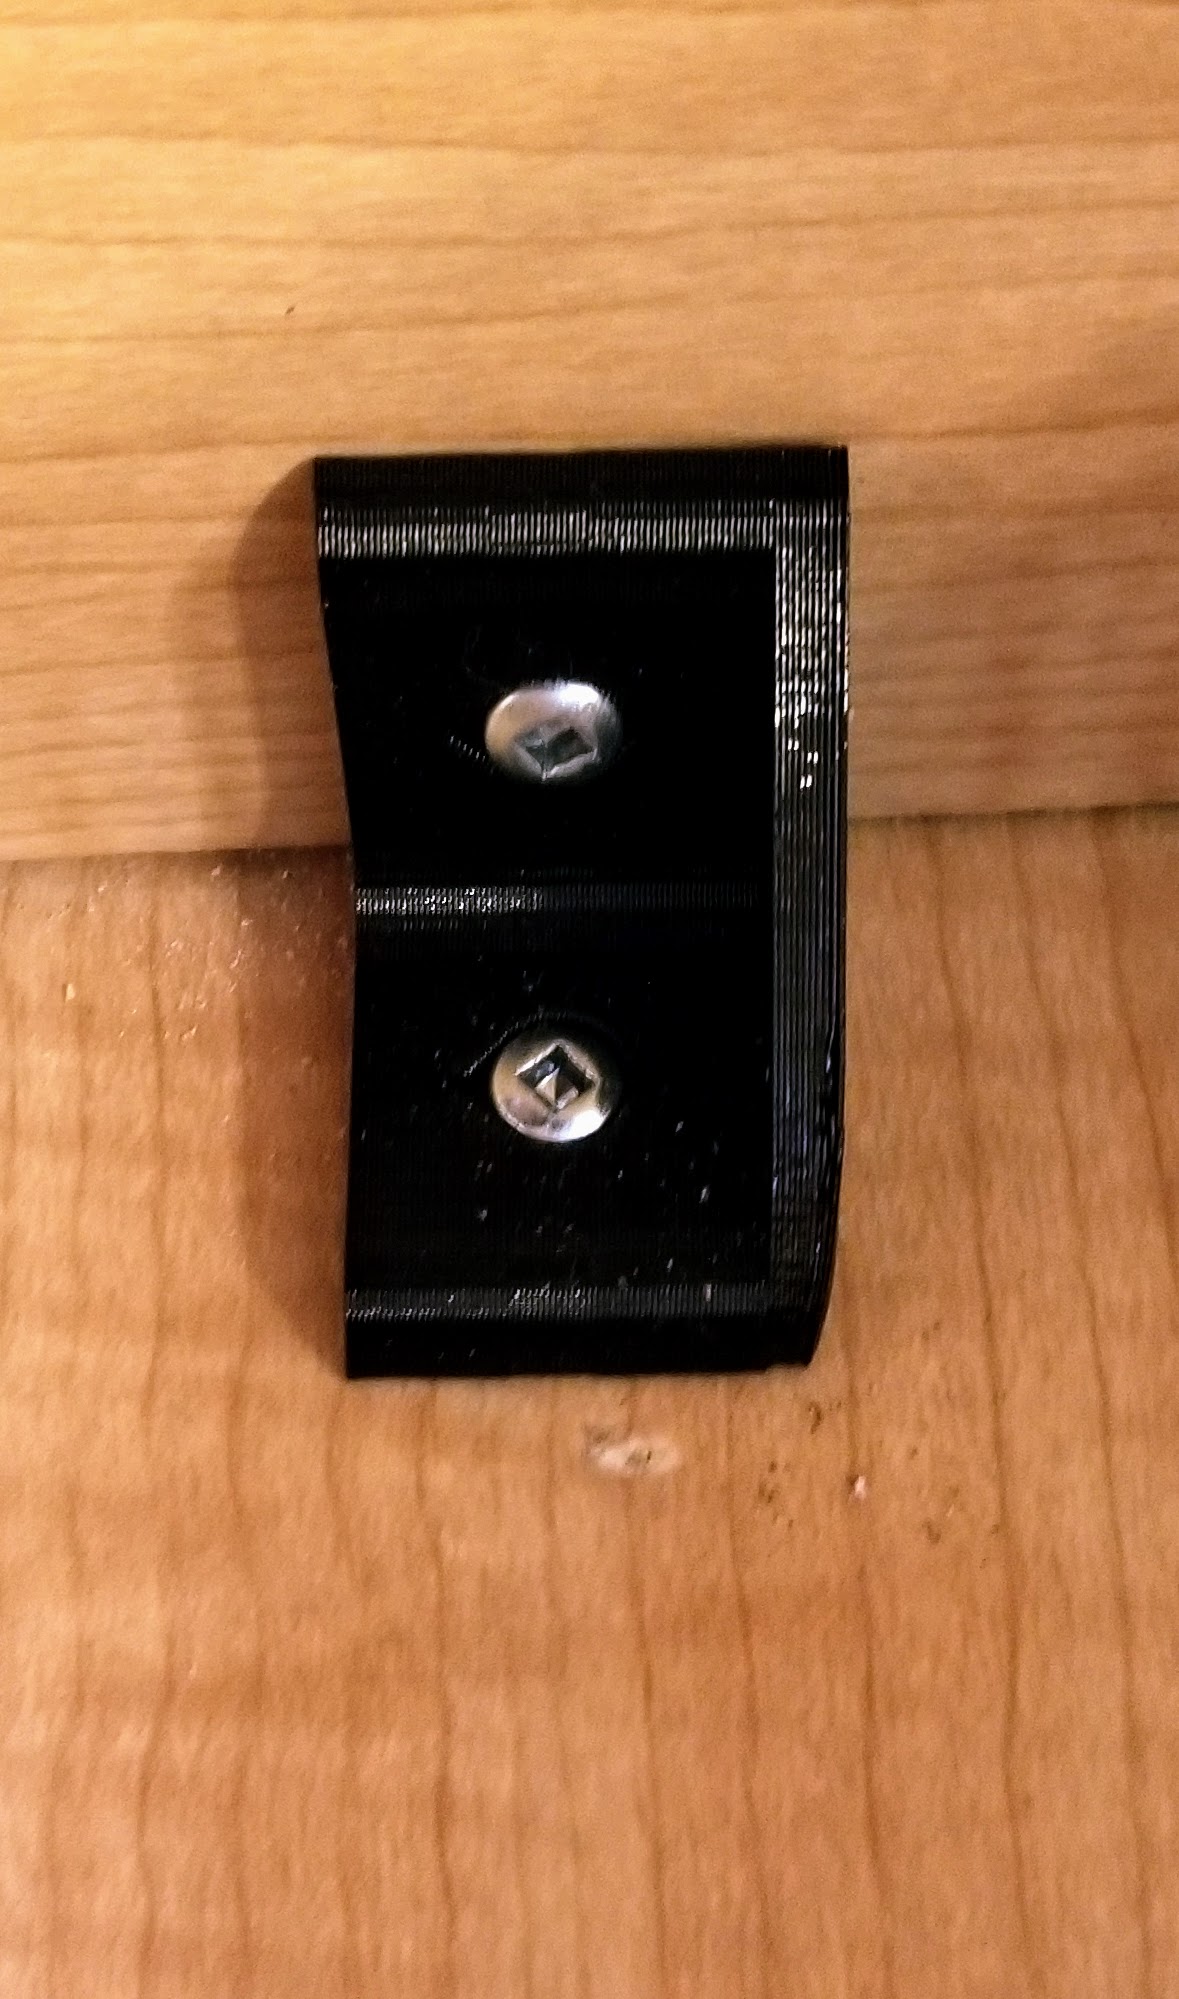
<p>While you are staying safe at home, you might have something break that you'd typically go buy a replacement or perhaps a repair bracket for. (For example, the snack drawer's increased contents and enthusiastic children might result in some damage :D ) You can print this file out and use it to perform a repair without leaving home.</p> <p>I initially looked around for models like this but ended up making my own that I think is useful for a few reasons, mostly related to designing especially for use with 3D printing:</p> <ul> <li>Print on its side: the strength in X and Y are used in the bracket, and no load is applied to the weaker Z direction. It won't break along layer lines. Most ones I saw out there printed upright, or didn't appear optimized for one print direction, </li> <li>Single diagonal brace: Both makes this easier to print by increasing surface area on the bed, and adds even more strength. Only one brace, so no supports are needed.</li> <li>Teardrop-shaped holes: Both the through-hole and the partial countersink are teardrop-shaped, limiting the overhang to 45 degrees. Should be easy and fast no matter what printer you use.</li> </ul> <p>The main model is designed for #6 round-head wood screws since that's what I had, but (especially if you get the SolveSpace file) it can be customized to adjust to whatever screw you have. See the pictures for info. SolveSpace 3.0/master source files available at: <a href="https://gitlab.com/ryanpavlik/angle-bracket-3d-printable">https://gitlab.com/ryanpavlik/angle-bracket-3d-printable</a></p> <h3>Print instructions</h3><p>Print flat on the diagonal brace side. No supports required, and in nearly all cases, no additional bed adhesion (raft/brim) required either. I printed with 0.28mm layer height for speed and strength, but that's up to you. Any material should work - I used PETG out of habit since it's mechanical-ish.</p> <p>Despite being load-bearing, I suspect you can get away with fairly low infill, because the shells provide most of the strength and their orientation is optimized for that. I printed with 18% gyroid infill, 2 perimeters, 4 top layers, and 3 bottom layers.</p> <p>Each one took me about half an hour to print. Lots of printers are faster than mine.</p> <p>The 3MF file is my PrusaSlicer project file for printing on the right extruder of a Replicator 2X with eSun Black PETG. The G-Code is untested slicing for a Prusa i3 Mk3, because PrusaPrinters wouldn't accept the M codes in my Replicator's GCode.</p>
With this file you will be able to print 90 Degree Right-Angle Bracket for household repairs (#6 screws, customizable) with your 3D printer. Click on the button and save the file on your computer to work, edit or customize your design. You can also find more 3D designs for printers on 90 Degree Right-Angle Bracket for household repairs (#6 screws, customizable).