92MM Fan Shroud for Maker Select V2
thingiverse
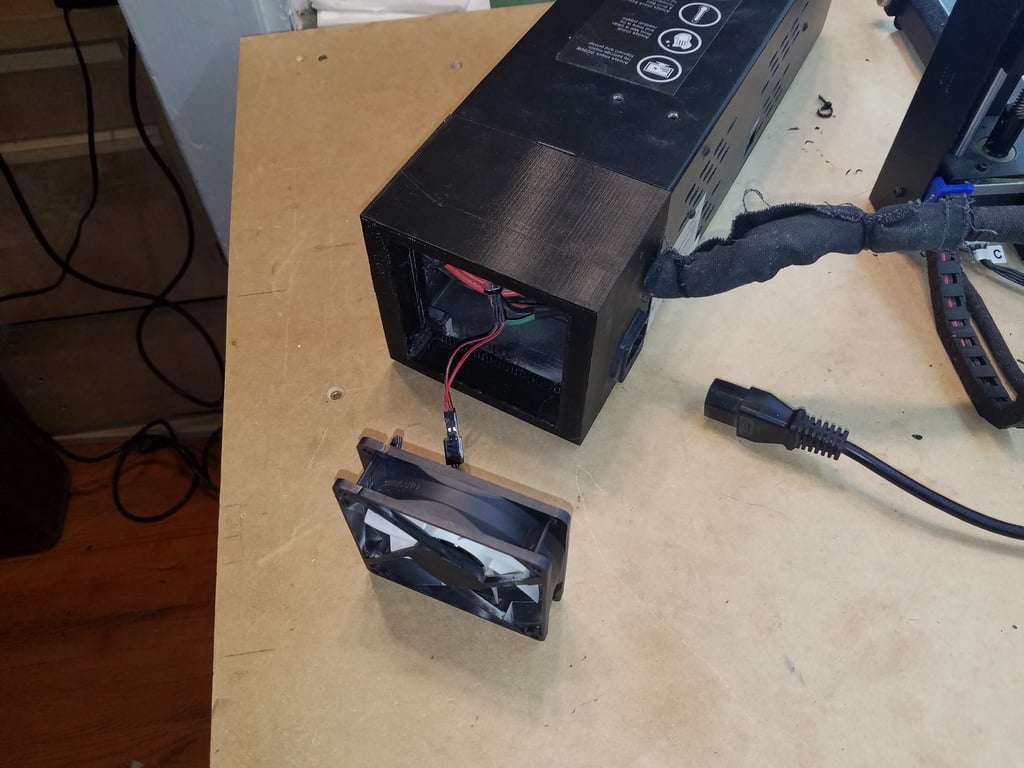
A while back, there was a surge in interest for external 120MM fan shrouds specifically designed for the Maker Select V2. The stock 40mm fan was not doing its job and was actually pulling air in instead of pushing it out. I liked the idea of using a 120mm design but was concerned that it would make the control box look oversized. So, I came up with a solution by designing a shroud that fits an internal 92MM Arctic F9 fan. The new design attaches to the same 4 screw mounts as the original cover and has a fan grille attached over it using longer M3 screws. In the process, I made a few additional changes: 1. I replaced the rear power switch with a lighted rocker on the front of the control box. This was a game-changer for me, as I no longer had to reach the back of the printer to turn it on and off. 2. I removed the fused power cord feed in favor of just a fused power cord. 3. I repositioned the Melzi board inside the control box, which gave me easier access to the SD card port. This allowed me to design a shroud that securely holds a full-size SD adapter. 4. I extended the cable harness by about 6 inches, giving me more slack in the control box. 5. I added a MOSfet for the hot bed, and the mount incorporates both the MOSfet and smoothers. However, my design still needs some work as it's warping inside the box. 6. I also added smoothers for the axis and extruder motors. Honestly, I'm not convinced they've made much of a difference. The fan shroud has two different configuration options: 1. Power and data come out on the same side (power low and data high). 2. Power comes out one side, while data comes out the other. To switch between these configurations, simply mirror the corresponding piece in your slicer. I should note that when I printed this design, it took over 24 hours to complete at a speed of 60mm/s. However, nowadays, prints like this are no longer daunting for me, and I usually print at speeds of 80mm/s or faster. The SD card shroud is positioned on top of the control box, which makes it less likely that I'll accidentally bump into it and halt a print. However, I have had one occasion where I inadvertently turned off the printer by hitting the front-mounted power switch.
With this file you will be able to print 92MM Fan Shroud for Maker Select V2 with your 3D printer. Click on the button and save the file on your computer to work, edit or customize your design. You can also find more 3D designs for printers on 92MM Fan Shroud for Maker Select V2.