A Decoratable Photo Frame
thingiverse
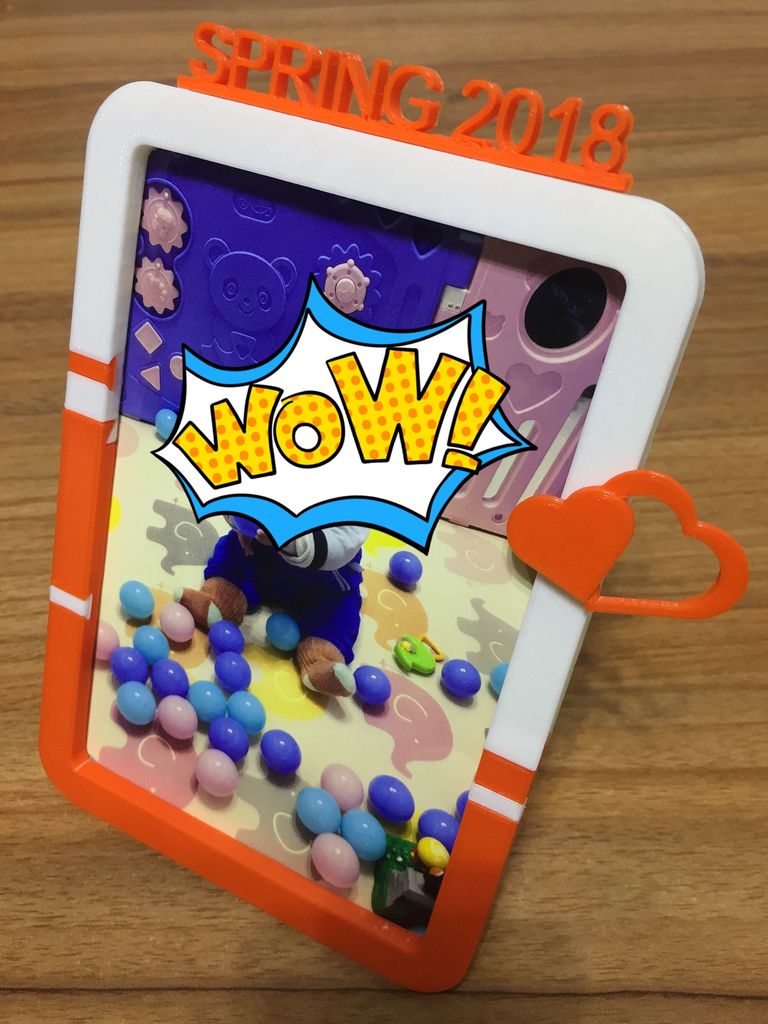
After I bought the Canon CP1200 photo printer, I found I need a photo frame to show the printed photos. #### Features * 3d-printed title * customizable decorations * friendly to both orientation: portrait or landscape * the main body of the frame could be divided into two same part to make it possible on the printer within a small plate So I created this thing which is suitable to be printed in only two different colors. In portrait orientation, the frame body has four front slots, four back slots, a top slot and a bottom slot. The front slots are designed to add decorations and the back slots could be used to install the frame holder. The title part could be installed at the top slot for portrait orientation or at the front/back slot for landscape orientation. #### Parts Here is a list in the attached file, you can change the MODEL variable in the openscad file to get different parts: * **frame-KP100148.stl**: the 1/2 frame body for postcard size photo. Please print two for this part. Remove the small brim under one of the frame connector before assembling. The brim is used to hold the auto-generated support for the connector. * **holder-8.stl**: the frame holder with 8mm thickness * **expander.stl**: use it to fill the unused decoration slot * **heart.stl**: an example of the decoration * **stop.stl**: use it to fill the bottom slot in portrait orientation to avoid the photo drops out * **title_sprint-2018.stl**: an example of the title at the top slot * **tester.stl**: use this model to calibrate your printer, see below. * **all.stl**: assembling example for all the parts. DON'T print this. #### Calibration Tester Because the printed parts must exactly match each other, print the tester.stl before the other models. This part could help you to setup the compensation parameters of the front/back slot and the frame body connector for your own printer. Print it and change the variables with a name of "*XXX_COMP_XXX*" until the tester fits well. The top/bottom slot should also be calibrated. Print the frame body first, and then the stop.stl. Adjust the parameter until the stop block fits well in the top/bottom slot of the frame body. Then print the stop and the title parts. #### Customization All the parameters for the photo frame are defined as openscad variables. e.g. You can easily change the parameters to make a frame for your photo size. The front/back slots are another part for customization. You can even add an LED lamp at the front slot and a battery&arduino at the back slots to light your photo in the dark automatically. **Free your imagination and enjoy yourself!**
With this file you will be able to print A Decoratable Photo Frame with your 3D printer. Click on the button and save the file on your computer to work, edit or customize your design. You can also find more 3D designs for printers on A Decoratable Photo Frame.