A shielded case for the Red Pitaya
thingiverse
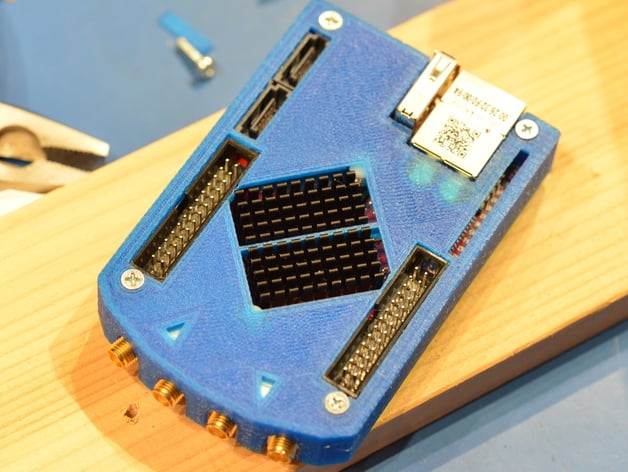
Introducing the Red Pitaya Shielded Case A protective case for the Red Pitaya scope/function generator instrument from http://redpitaya.com/ is presented in this project. The design ensures all connectors are accessible and LEDs are visible through a slot in the case, with decorative arrows indicating inputs and outputs. The heatsink protrudes from the case but may not require additional cooling under normal conditions. Check updates or submit pull requests on https://github.com/hzeller/RedPitaya-Case for more information. To create this case, print the shielding design from the provided PostScript file and affix it to a thin iron shield metal. Mark drill holes with a center punch and cut out the shape using scissors or a drill. Bend the metal as indicated on the printed instructions. An OpenScad file provides the 3D objects for case construction, while an included STL file offers easy use. Assemble the shielding and case by attaching the top part with plastic heat staking, placing stand-offs on the bottom metal shield, and securing the Red Pitaya in the bottom case with stand-offs. Finally, place the top case on the assembly and fasten it using 20mm M3 countersunk screws and nuts. For improvements or alternative designs, submit a pull request to https://github.com/hzeller/RedPitaya-Case.
With this file you will be able to print A shielded case for the Red Pitaya with your 3D printer. Click on the button and save the file on your computer to work, edit or customize your design. You can also find more 3D designs for printers on A shielded case for the Red Pitaya.