ABL Magnetprobe Anycubic i3 Mega MK4 Carrier
prusaprinters
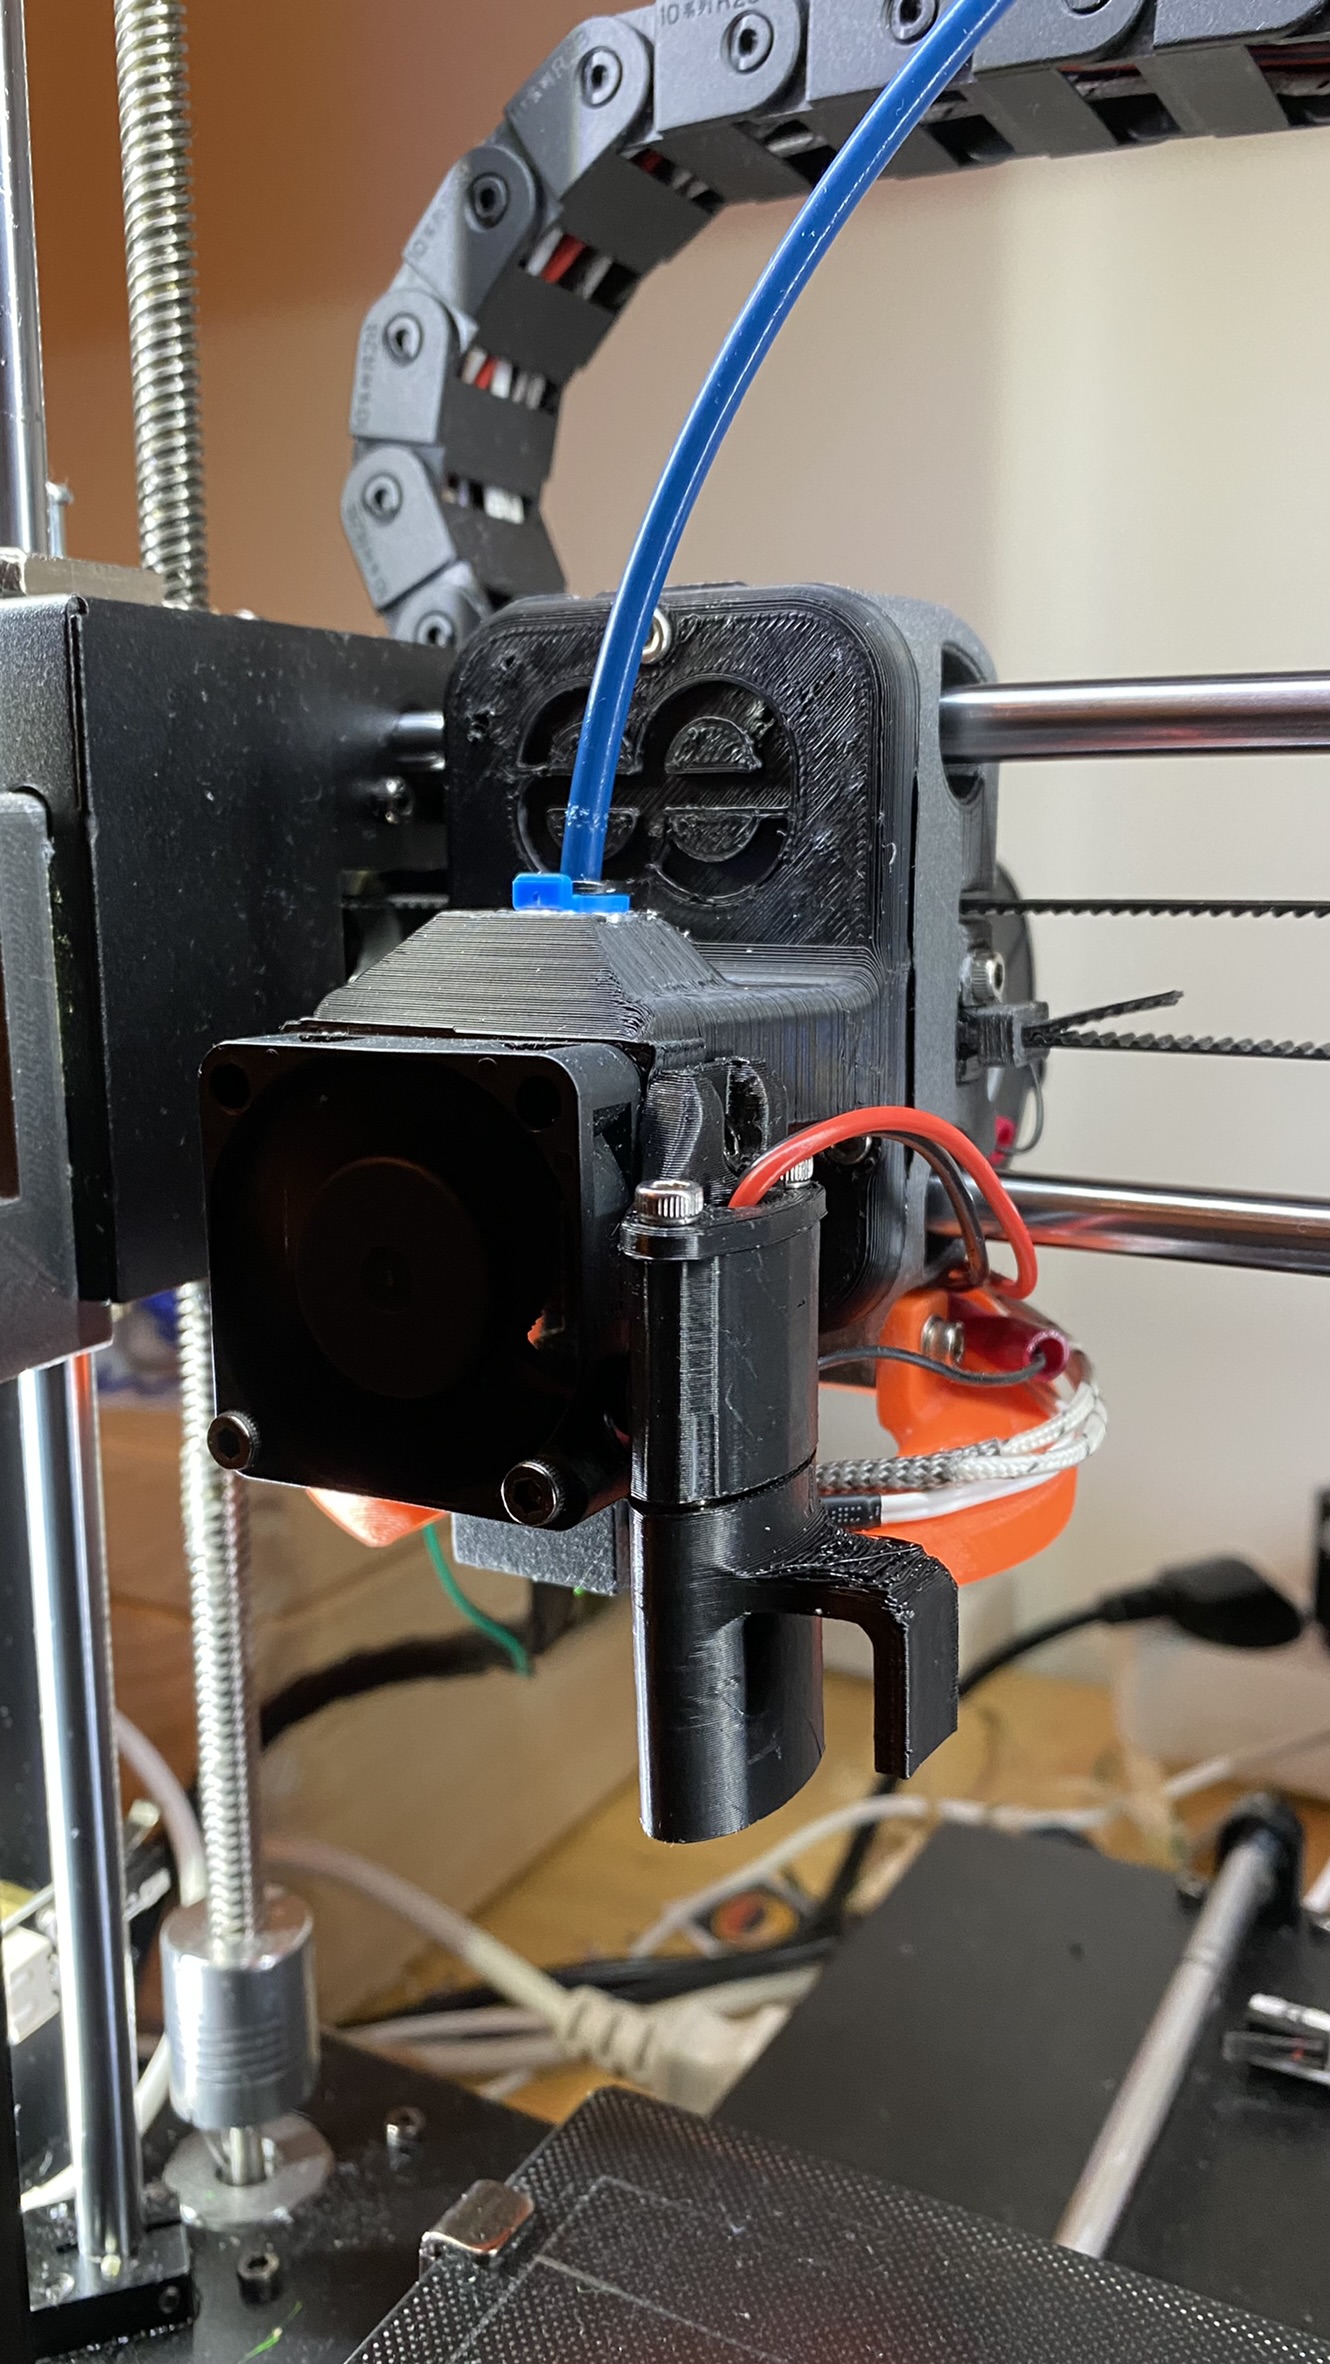
<p>What you need:</p><p><a href="https://www.thingiverse.com/thing:3537449">Mk4 Carrier</a><br>1x <a href="https://www.amazon.de/Zertifikat-Original-OMRON-Maus-Mikroschalter-D2F-01F-Graupunkt-Gold-Legierungskontakte/dp/B07QDXJXD9/ref=sr_1_2?__mk_de_DE=%C3%85M%C3%85%C5%BD%C3%95%C3%91&crid=168PMM42YN56A&keywords=d2f+mikroschalter+omron&qid=1646157323&sprefix=d2f+microschalter+omron+%2Caps%2C339&sr=8-2">Microswitch</a> it needs to be normaly closed(NC)<br>1x4M3<br>2x3M3<br>4 <a href="https://www.amazon.de/gp/product/B08F7HNG45/ref=ppx_yo_dt_b_search_asin_title?ie=UTF8&psc=1">Magnets</a><br>the printed parts. For the botton its better to use ABS, ASA, PC or Nylon because the bed of the most is more than 60°C hot at printing and meshbedlevel on a hot bed is the best way you can level.</p><p>You need a Ground and a i/o pin from your board. For me it is PH1 on the Trigorilla board.(marked on the pic)</p><p>my klipper config looks like this:</p><p>[probe]<br>pin: ^PH1<br>x_offset: 25.90<br>y_offset: -24.1<br>speed: 5.0<br>samples: 2<br>sample_retract_dist: 2.0<br>samples_result: average<br>samples_tolerance: 0.100<br>samples_tolerance_retries: 0</p><p> </p><p>for i3 mega S as special the meshbed macro but you can use your own too:</p><p>[bed_mesh]<br>speed: 80<br>horizontal_move_z: 8<br>mesh_min: 27,10<br>mesh_max: 210,195<br>probe_count: 5,5<br>fade_start: 0.5<br>mesh_pps: 2,2<br>fade_end: 10<br>relative_reference_index: 12<br> </p><p> </p><p>[gcode_macro G29]<br>gcode: BED_MESH_CALIBRATE</p><p> </p><p> </p><p>solder 2 cables on the microswitch for NC.<br>put the Microswitch in the bottom part. if needed use glue.<br>the 2 cables go up to the hole.<br>Put 2 Magnets on the top side of the Bottom part. Over the first magnet place one of the cables than put the other magnet on it so the cable is fixated by the magnets. They should sit tight(hammer needed)</p><p> </p><p>same on the other side. put 1 magnet on every side in the top part<br>take the cables through the top part and place it on the first magnet. Than the other magnet on top of it. BE AWARE!!! put the magnets the right way arround that the bottom part glues on the top part!</p><p>if you ask: Why is there a lever on the bottom part?</p><p>it is because i wanted to build a Parking spot for the probe so the carrier can get the probe before the print and put it back after probe is finished. Thats how it is usualy used on xycore. For bedslinger its more tricky and im still working on it.</p><p> </p><p> </p><p>When everything is placed, soldered and programmed: start the mesh bed leveling :)</p><p> </p><p>Commands:<br>“probe_calibrate” for zoffset of the probe.<br>"probe" to test the probe<br>“g29” to start mesh bed leveling.<br> </p><p> </p><p>Besonderer Dank geht an @AnakinCaesar und @Rejd für die unterstützung bei diesem Projekt.<br> </p><figure class="media"><oembed url="https://youtu.be/XA3jSbHz7PE"></oembed></figure><p><br> </p>
With this file you will be able to print ABL Magnetprobe Anycubic i3 Mega MK4 Carrier with your 3D printer. Click on the button and save the file on your computer to work, edit or customize your design. You can also find more 3D designs for printers on ABL Magnetprobe Anycubic i3 Mega MK4 Carrier.