ABS indicator holder to level Rep 2 build plate
thingiverse
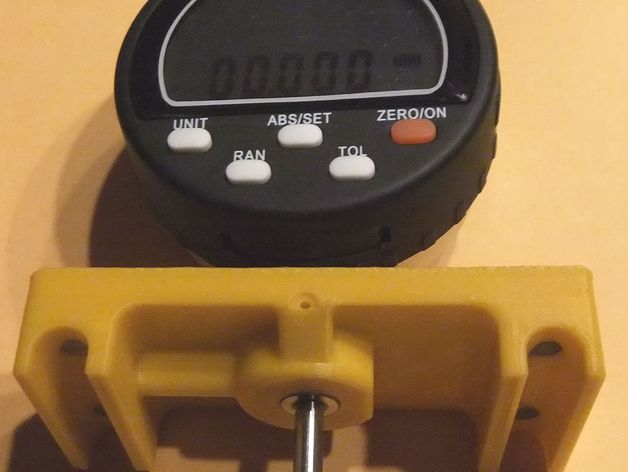
This MakerBot Replicator 2X ABS print features a leveling jig for your printer's build plate. The design takes into account the distance and diameter of the gantry system rails, as well as the X-axis belt allowance. It uses an Anytime Tools Digital Electronic Indicator (Amazon p/n AT203188) for accurate readings and includes holes for Radio Shack rare earth magnets (p/n 64-1895). Pilot holes are also included if you want to secure the indicator with a set screw. To use, print in ABS using Octave 1.75mm filament with standard settings (0.20mm layer height), 10% infill, 3 shells, 230C extruder temp, and build plate at 115C with a raft. Place the jig on its back on the build plate for optimal results without support.
With this file you will be able to print ABS indicator holder to level Rep 2 build plate with your 3D printer. Click on the button and save the file on your computer to work, edit or customize your design. You can also find more 3D designs for printers on ABS indicator holder to level Rep 2 build plate.