Abstract Bridge: An Art-Engineering Fusion
thingiverse
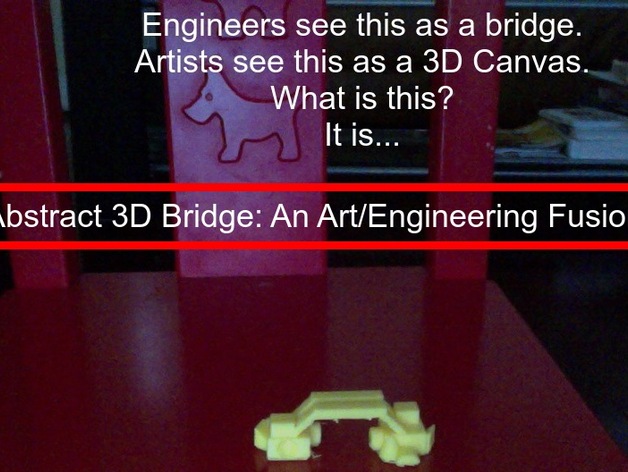
UPDATE V1.0.2 I've completed constructing the bridge, but to fully appreciate it, you need to go full-screen In previous times, top designers like Picasso were forced to restrict their creative ideas within a two-dimensional space. In past times, actual prototypes of bridges took dedicated workers weeks or even months to complete. Now, in this comprehensive guide for educators and makers alike, I'm introducing... Abstract 3D Bridge: An Artistic-Engineering Combination This intricate model is an impressive fusion of artistic expression, design, and engineering elements that come together in perfect harmony. You can easily find the .stl file on Tinkercad to edit at Abstract 3D Bridge online. Encourage your students or yourself to enhance this basic bridge with innovative ideas, such as transforming it into a suspension bridge and designing a print-in-place structure with realistic shaking movements. An additional exciting challenge is to instruct your students to redesign the bridge as creatively as possible, incorporating an abundance of artistic elements. The fusion of free and intuitive design tools on Tinkercad and powerful Makerbot 3D Printers enables the creation of remarkable and imaginative projects. Print Settings Printer Brand: MakerBot Printer: MakerBot Replicator 2 Rafts: Doesn't Matter Supports: Yes Resolution: Doesn't matter-but choose a higher resolution Infill: 20% Notes: The prints should turn out beautifully. This above printer brand is what this model is optimized for, but I use a different printer. Post-Printing Inspecting the Bridge Once your students have successfully printed their designs, inspect each bridge carefully. Does the structure have gaps that could pose a hazard? Does it provide ample space underneath for passing vehicles or obstacles? Is the material used efficiently to achieve its structural integrity? Are the side designs innovative and aesthetically pleasing? Creating This The art aspect is depicted above. It evolved into a bridge shortly after completion, revealing basic design elements that can be replicated using an abstract base as a starting point. Feel free to use this as a foundational template! Explain the entire design process from scratch to your students for more information, refer to the "Steps" area below. Project: 3D Engineering Art Bridge Objectives By following this guide, students will acquire knowledge and skills in: -3D Designing -Engineering -Art Audience This project is designed for and most beneficial for... -Middle Schoolers (Grades 6-8) -Ages 10-14 -Beginning designers Preparation Requirements Students need... -A reliable connection to the internet via a computer -Ample time and space for experimenting -Filament -Friendly staff Educators/Instructors For best results, you'll need: -Knowledge of basic design concepts -Understanding and experience with 3D printing technology The classroom can be divided into small groups. Steps Below is a detailed step-by-step guide to help you create an identical or improved bridge structure from scratch. Use the existing .stl file from Tinkercad (available in the "Design" section) as your baseline template. Now, start by selecting the desired base type and add your design features freely. Duplicate the base object Clone it by right-clicking on it Scale your clone to fit a reasonable space. Use either command-C on Mac or ctrl-C on Windows for copying Position the new entity in an apparent distance. Design and add more details From this point onward, refine your ideas without limitation. To get the final output, download Tinkercad’s STL file directly. Download the slicing program Cura from your computer using Google. Start with configuration settings under the slicing settings Select and open "Cura." In Cura software UI window , you will see all available printing profiles. Find a profile matching Printrbot Simple settings Print resolution (set in “Preferences”): 0.1984 mm layer thickness (in this example) Printing Temperature setting: Set the heatend to 208°C Configure USB function by plugging in your USB drive into computer. Select print option Wait patiently for a while Once your heating element is cooled down. Done
With this file you will be able to print Abstract Bridge: An Art-Engineering Fusion with your 3D printer. Click on the button and save the file on your computer to work, edit or customize your design. You can also find more 3D designs for printers on Abstract Bridge: An Art-Engineering Fusion.